¶ Drive Certification
Drive Certification checks an individual drive and gives you a report in plain language. Use it before trusting a new or used drive with files, or when you want more information about a drive's health.
Concept illustration. The screenshots below use example drive data.
A test describes what the drive reported during that run. Passing does not guarantee that a drive will never fail, and testing does not replace backups.
¶ Start a quick check
Click Storage, then click the drive's tile. For a drive already in a pool, open the pool first, then click the drive. Check its Serial number so you know which physical drive you are testing.
Drive details and test button
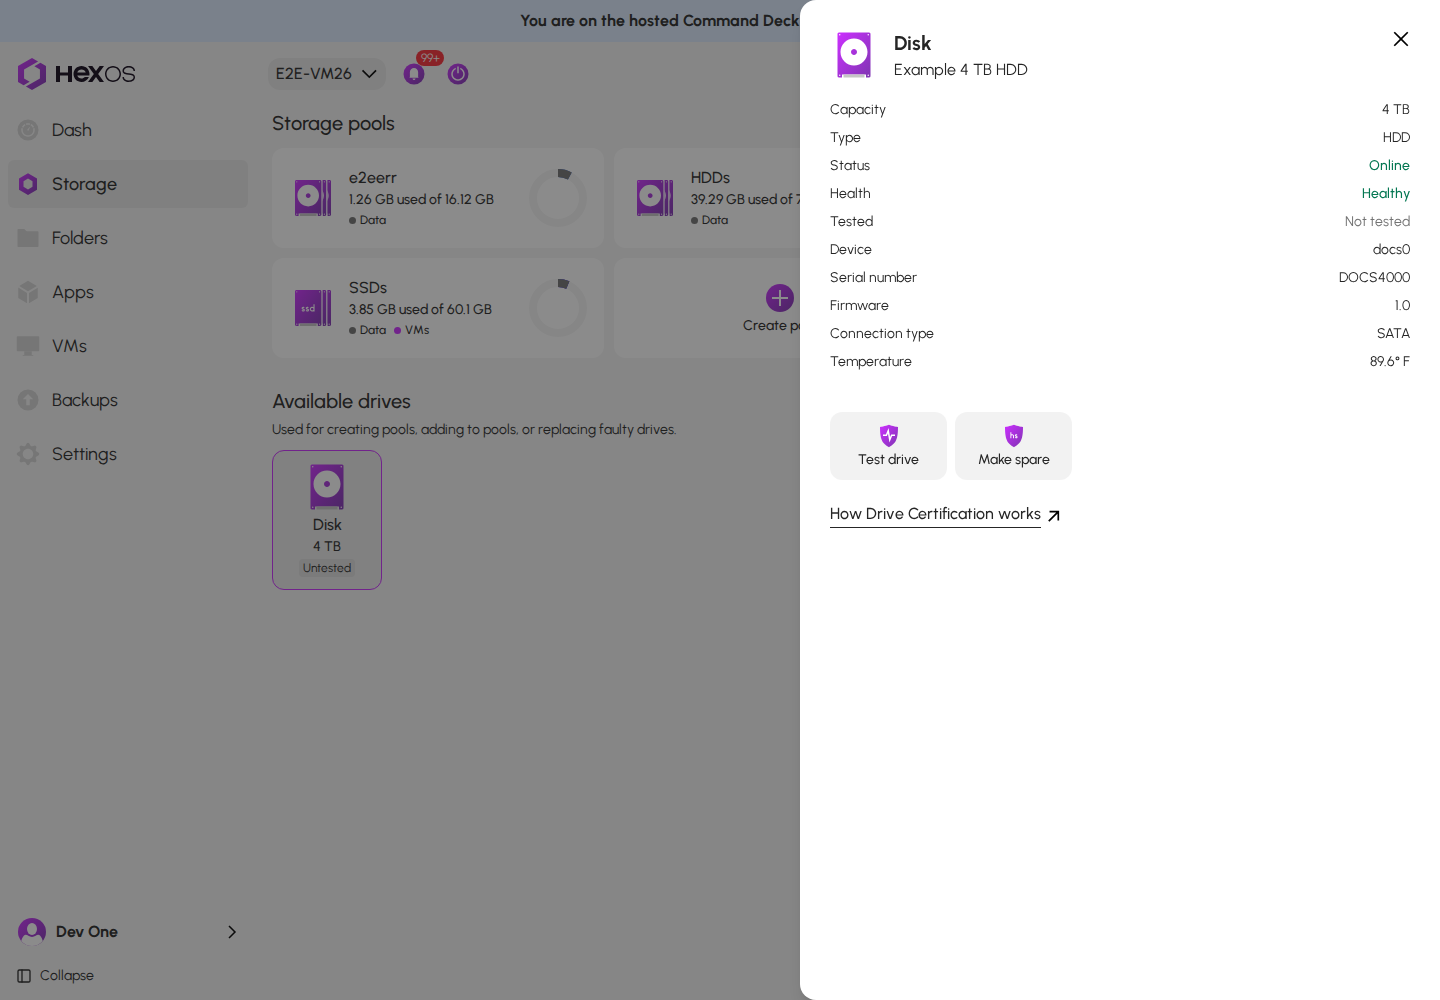
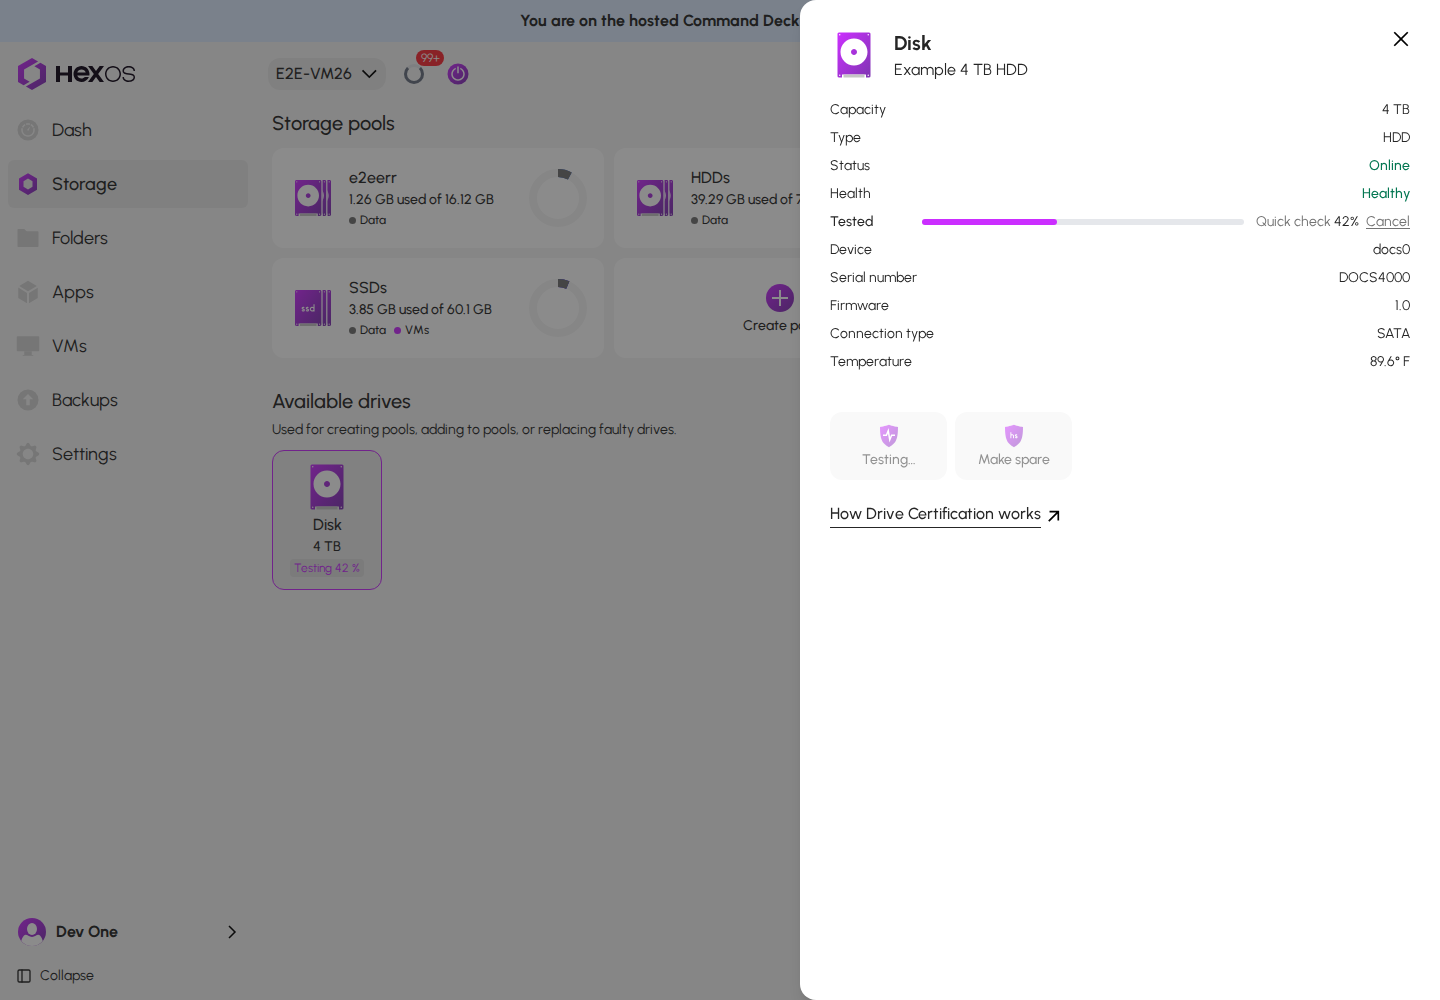
Click Test drive to start a Quick check. This reads the drive's health information and, for supported non-NVMe drives, starts its short built-in self-test. An NVMe quick check reads its health information without starting a self-test. The quick check does not erase your files.
Quick check in progress
Click the Activity Center icon beside the server name to see running drive tests alongside other server activity.
A running test in the Activity Center
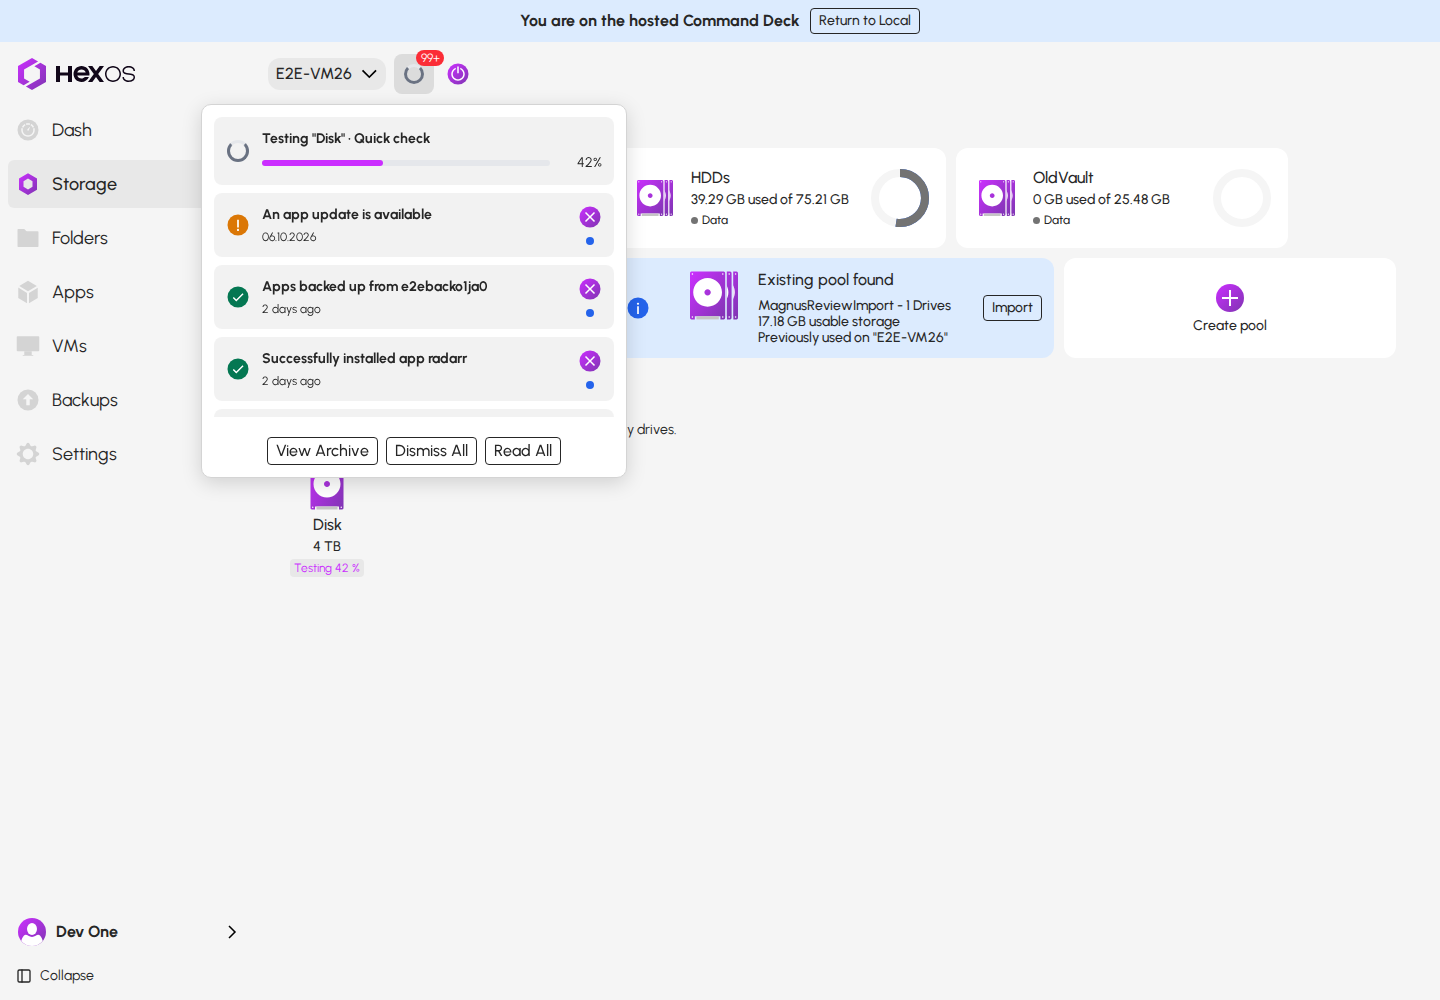
The Tested row shows progress. You can close the page while a test runs. Opening the drive again reads its current progress from the server.
¶ Read the report
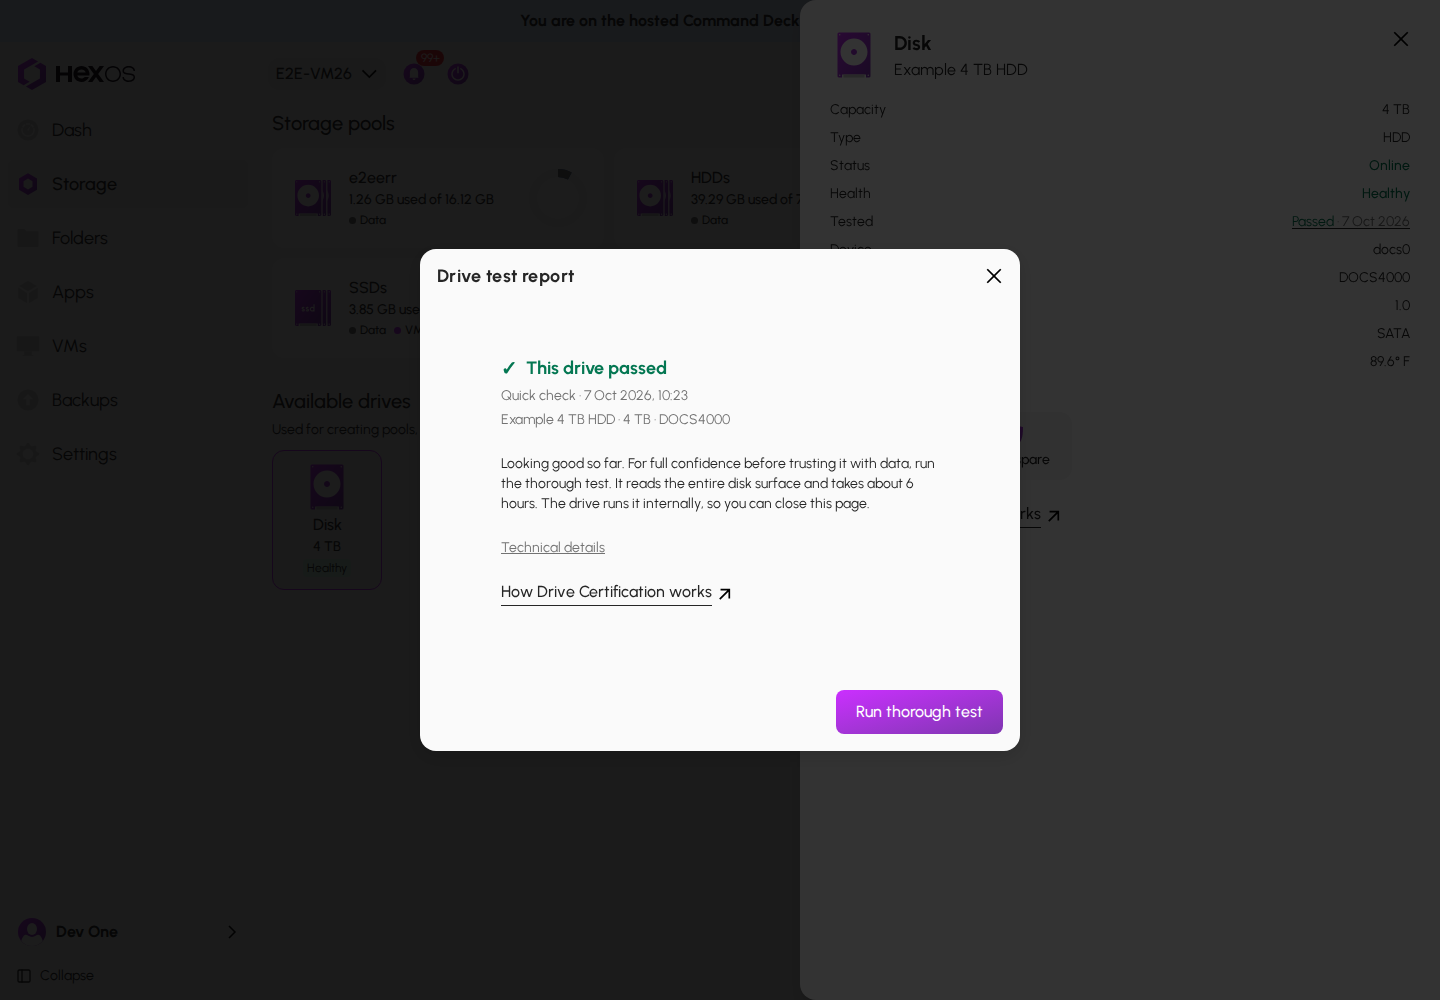
When the test finishes, click the result beside Tested to open the Drive test report. The report shows the test, date, drive details, and any findings.
Completed quick check
| Result | What it means |
|---|---|
| This drive passed | The available checks found no problem that changes the result. |
| This drive passed, with a few things to know | Read the findings before deciding how to use the drive. |
| Don't use this drive | The test found evidence of a drive problem. Keep your backups and plan a replacement. |
| This looks like a cable problem | The evidence points to the connection. Check the cable, power, and drive connection before testing again. |
| We couldn't finish testing this drive | The run did not produce a conclusive result. This alone does not mean the drive failed. |
Health describes current health information. Tested records a completed test. If a retest is stopped, an earlier conclusive result can remain beside Tested; the newest report explains the interrupted run.
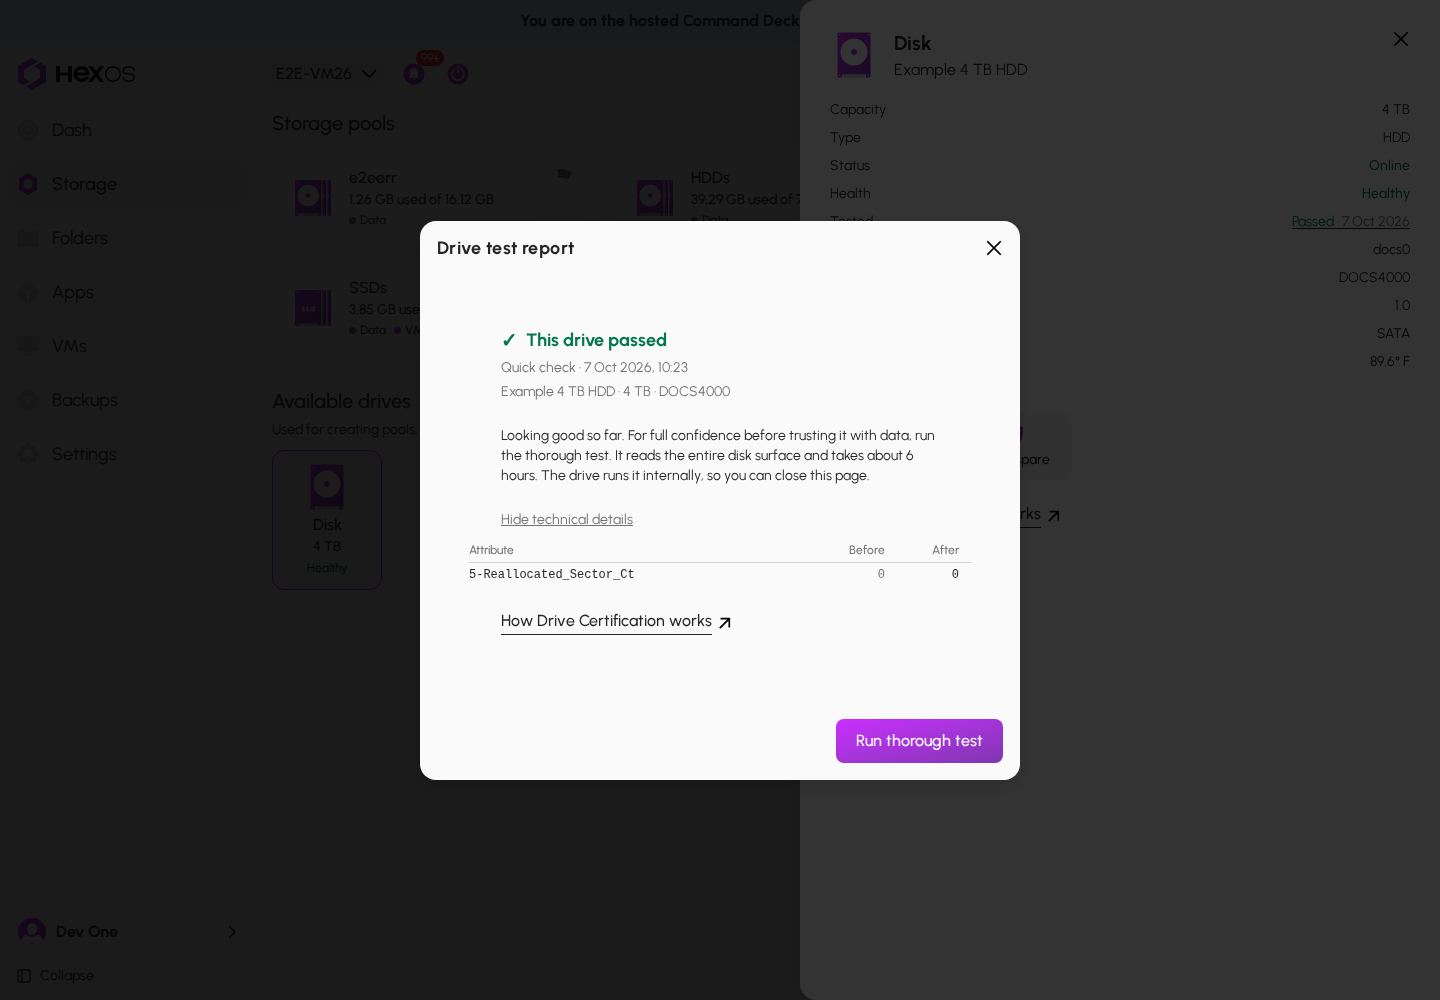
For the drive's reported measurements, click Technical details in the report. Before and After show the values the drive supplied. Some drives provide fewer measurements than others.
Technical details
¶ Choose a deeper test
A passing quick check can offer Run thorough test. Click it to run the drive's extended built-in self-test without erasing files. The estimate is a guide, not a deadline; large drives and slower hardware can take longer. If the drive cannot complete a self-test, read the report's explanation rather than assuming the whole surface was checked.
Thorough test recommendation
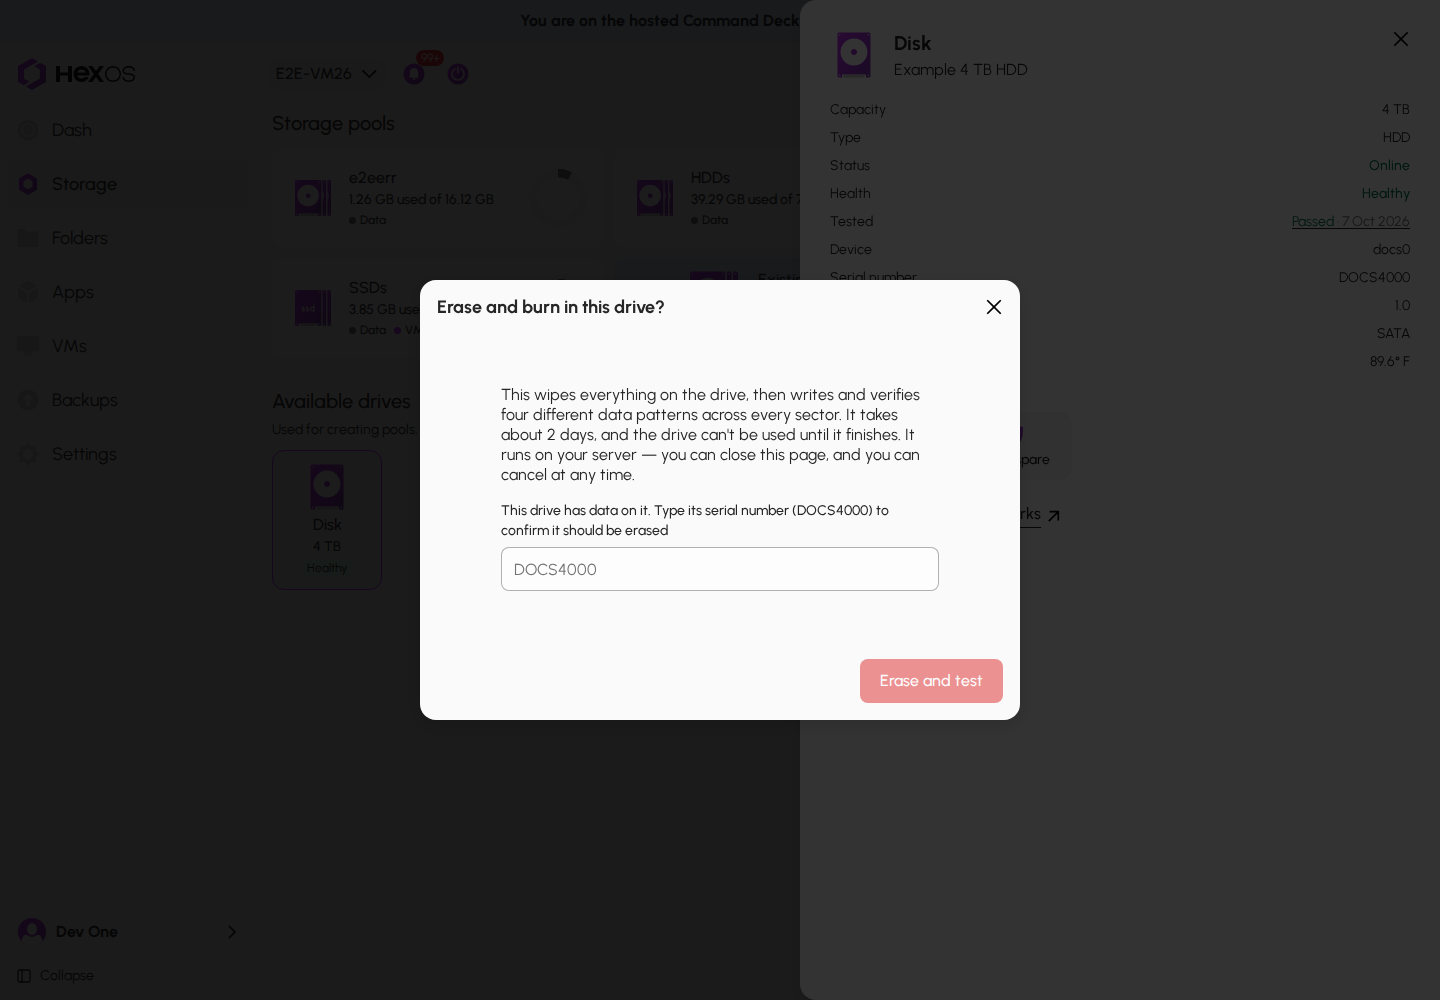
For a hard drive with more recorded use, a passing report may offer Run full test instead. A full test attempts an extended self-test, then writes zeros across the drive and reads them back. After a hard drive passes a thorough or full test, Run burn-in is an optional deeper check. It writes and verifies four patterns, ending with zeros. These tests can take hours or days.
Full test and burn-in options
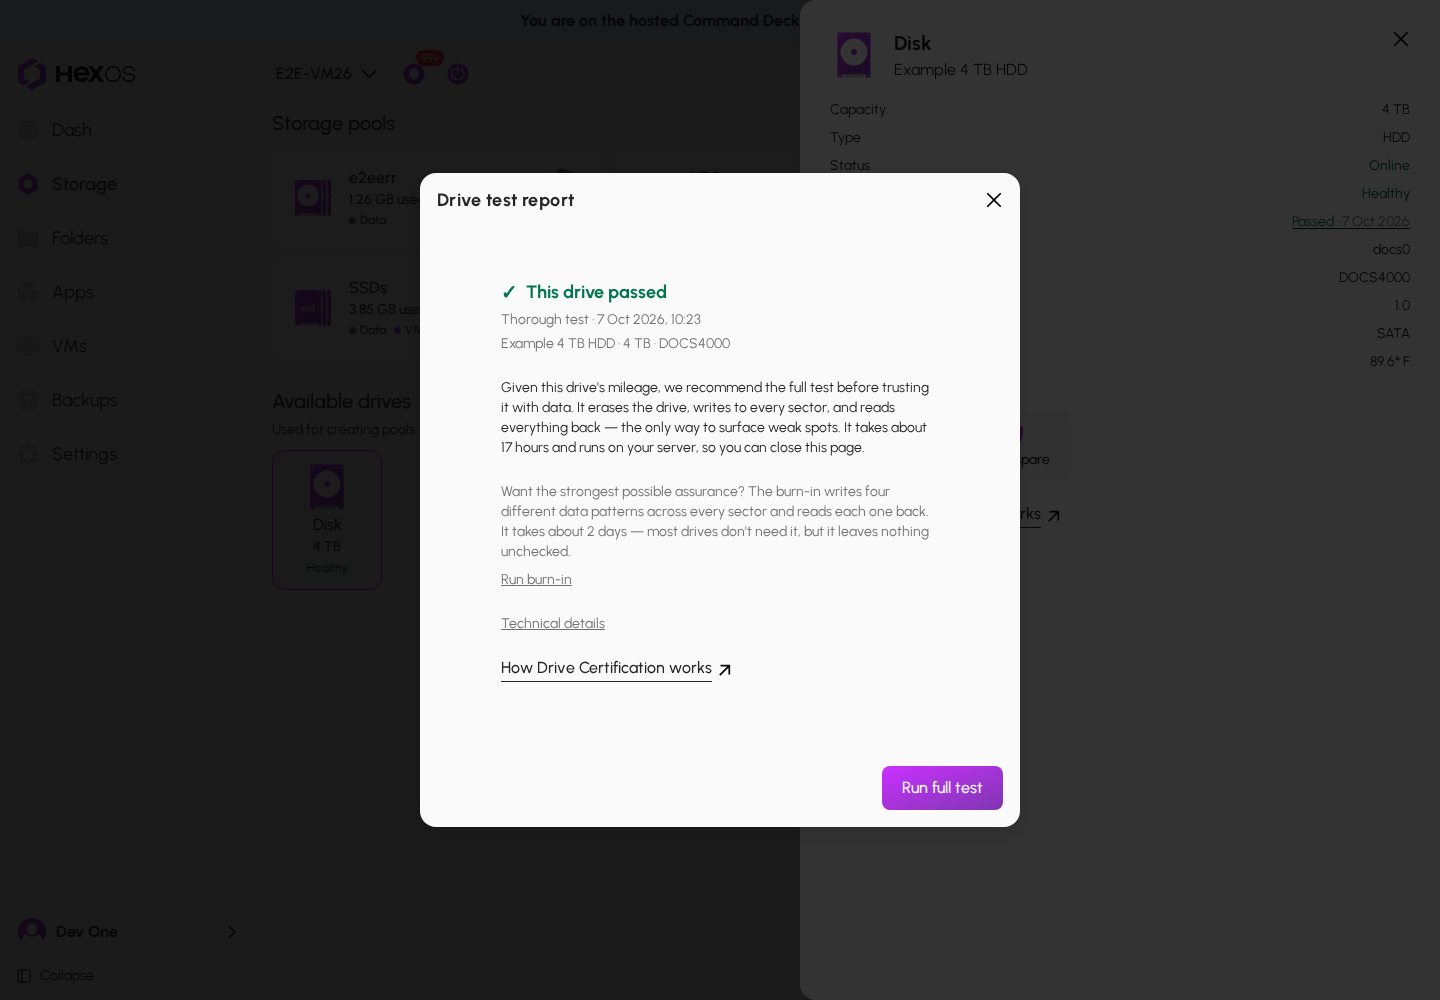
Danger: Full test and burn-in erase everything on the selected drive. Use them only on an unused hard drive whose contents you can lose. Canceling does not restore anything already overwritten.
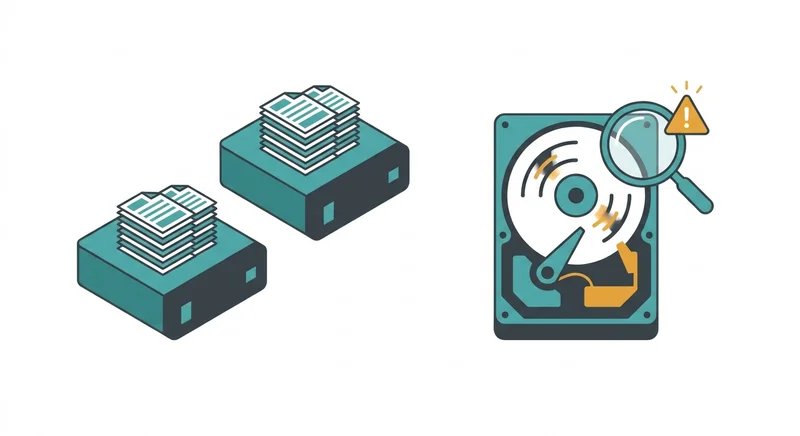
Concept illustration: keep other copies separate from the drive you test.
HexOS refuses these destructive tests on flash drives, boot drives, drives in use by a pool, and members of an exported pool. A full test checks writing as well as reading; it is not a repair for files in an existing pool. For that, see Pool data errors.
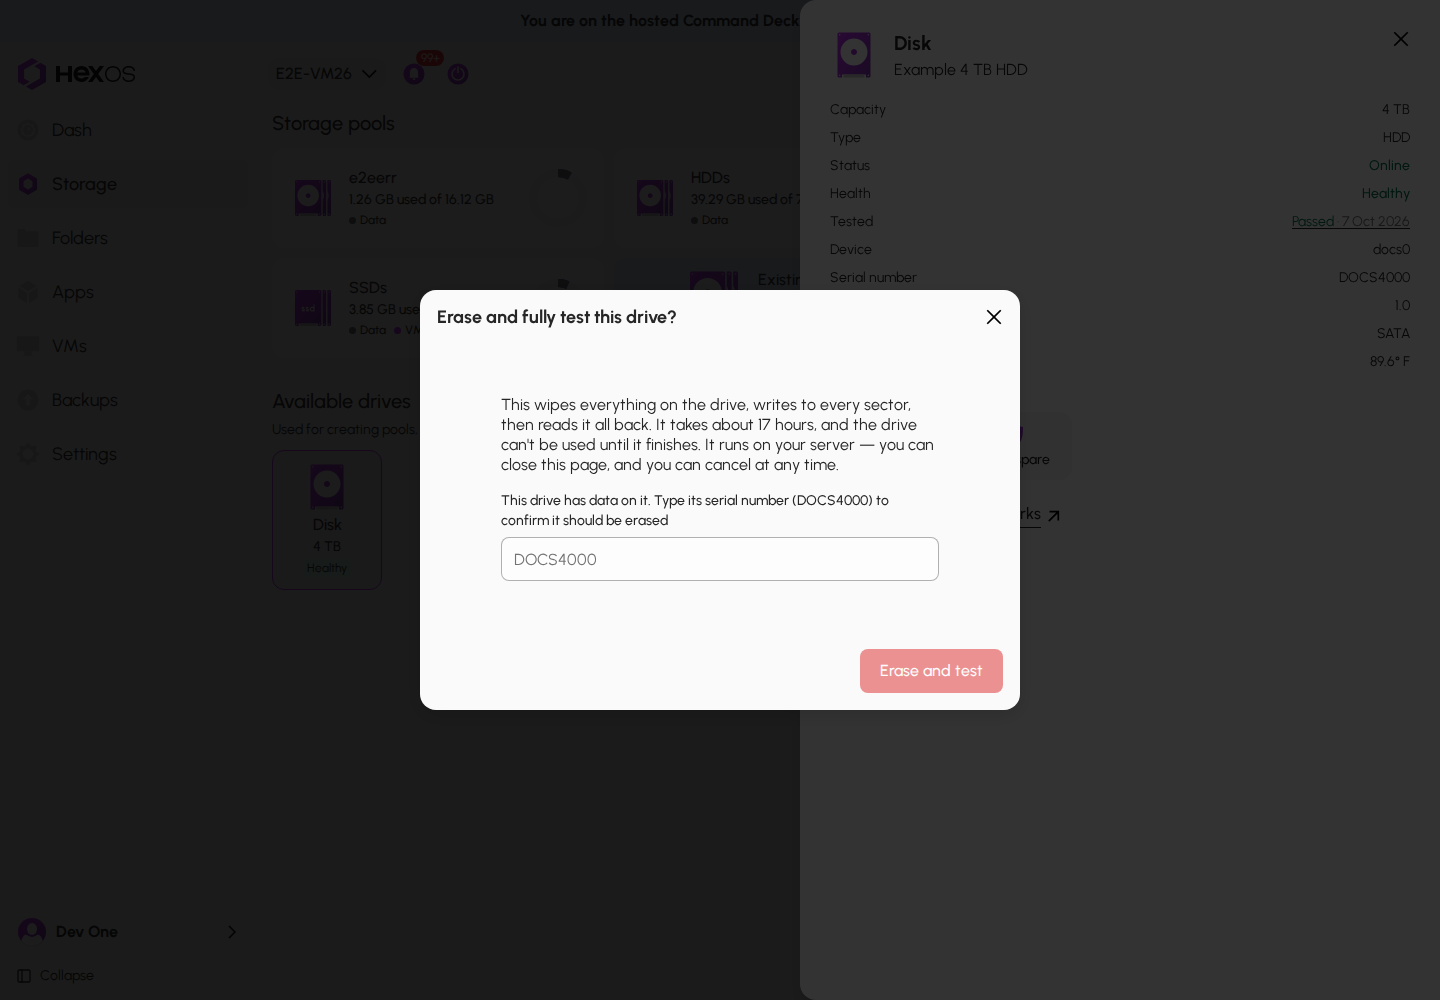
If you decide to erase an eligible drive, click Run full test or Run burn-in. Read the confirmation. If HexOS detects existing data, type the drive's serial number. Click Erase and test only when you are ready to lose its contents. Click the X to leave without starting it.
Full test erase confirmation
Burn-in erase confirmation
¶ Stop a test
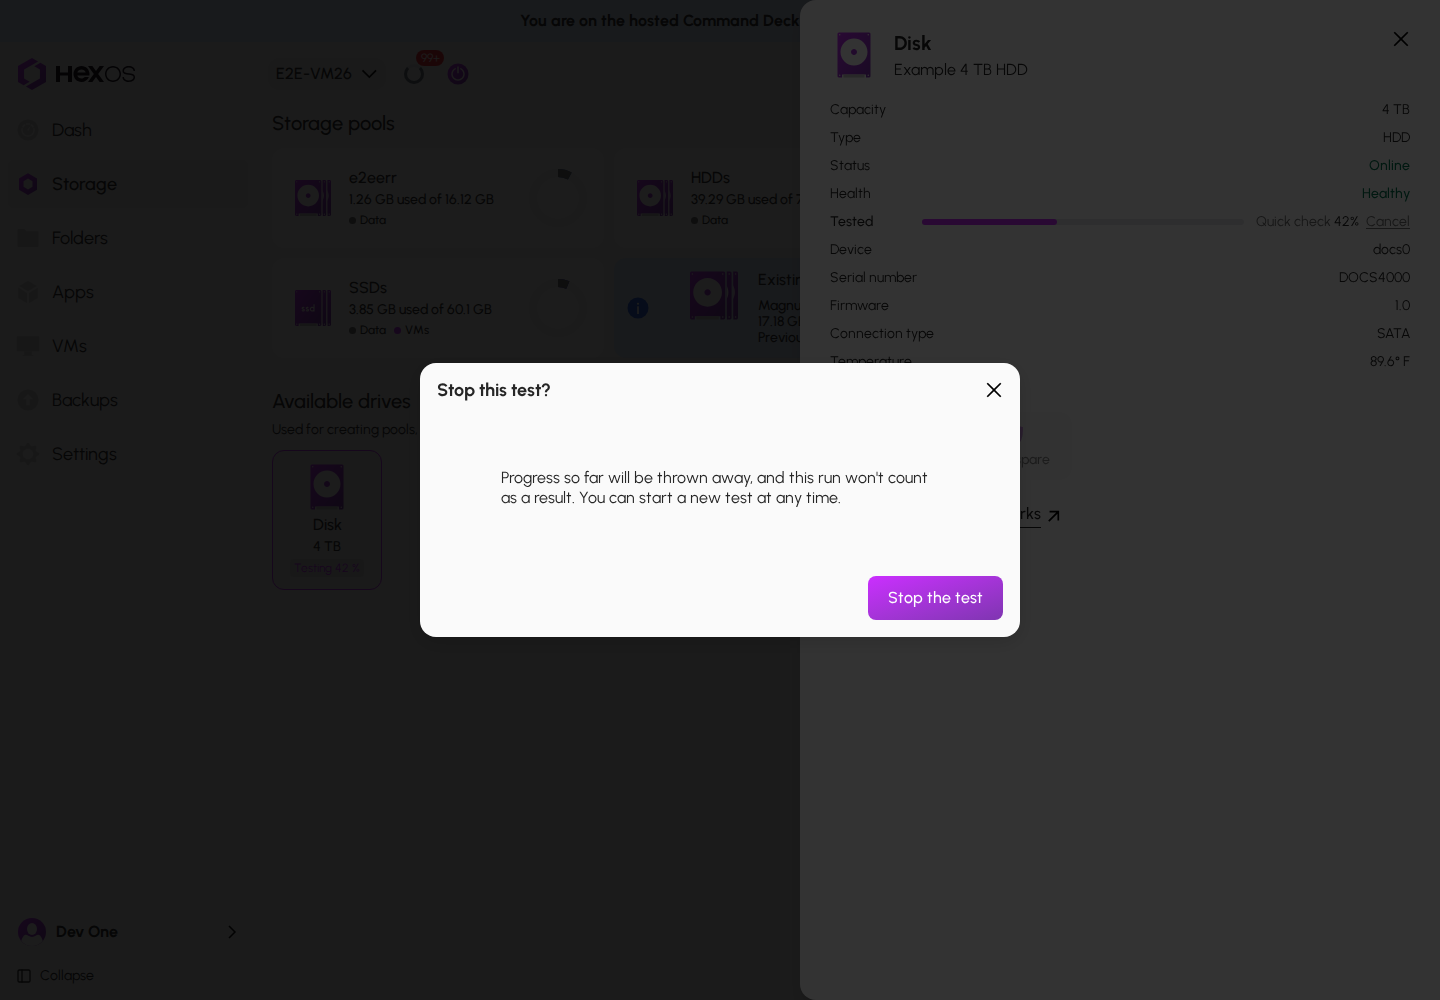
Click Cancel beside the running test, then click Stop the test. The X closes the confirmation and leaves the run going. A stopped run does not count as a completed result. Stopping an erase test cannot undo the writes it has already made.
Stop confirmation
¶ Drive statistics
Settings > Preferences > Advanced settings includes Share drive statistics. Click the switch to change the saved preference for the selected server. It is off unless enabled. Changing it needs the server owner’s HexOS sign-in and a connection to HexOS.
Drive statistics preference
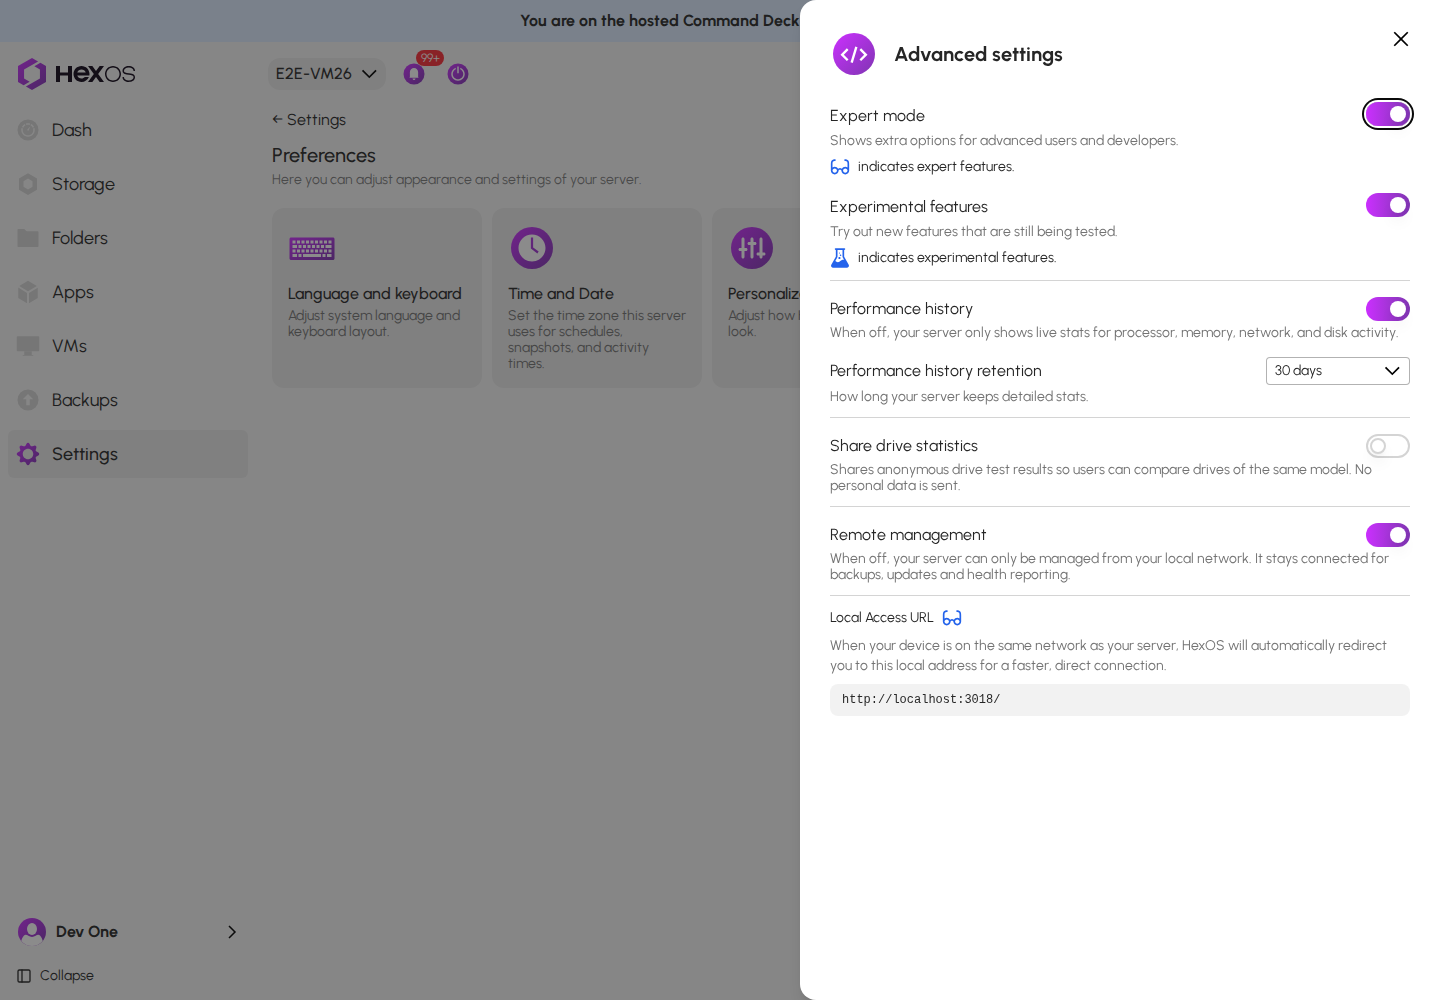
Fleet comparisons are not populated in this release. This switch records your preference for future comparisons; it does not add a comparison section to today's reports.
Separately, if a full test or burn-in detects a sharp sustained write-speed drop, HexOS can send the drive model, capacity, and speed measurements to its hardware catalog while connected to HexOS. That catalog update is independent of this switch. It does not include the drive's serial number or your files; the service records the reporting server to distinguish independent observations.
¶ If a test cannot start or finish
Read the error or report first. A drive may not support the requested self-test, may be disconnected, or may already be in use. Destructive tests can also be refused while three other full tests or burn-ins are running, or while a memory-test reboot is active. Do not remove a pool or erase a drive just to clear a refusal.
A lost browser or cloud connection does not itself stop a running test on the server. Power loss or a server restart can interrupt the drive's own self-test. Reopen the drive when the server returns and read the result. Some enterprise drives need a format before a destructive test; that preparation needs a connection to HexOS.
For pool-wide checking, use Deep check. For help interpreting a storage warning, see Drive errors.