¶ Complete server setup
Now that HexOS is installed, it is time to set up your server. Setup takes a few short steps: you find your server, give it a name, check its hardware, and choose how to use your drives. Nothing on your drives changes until the last screen, after you tick a box and click Finish setup.
¶ Before you start
You need:
- Your HexOS email and password.
- The admin password you chose when you installed HexOS.
- Your server connected to your router with a network cable.
- A computer on the same network as your server.
¶ Log in to HexOS
Go to deck.hexos.com. Enter your email and password, and click Sign In. If you do not have an account yet, sign up on the HexOS hub.
The sign in page
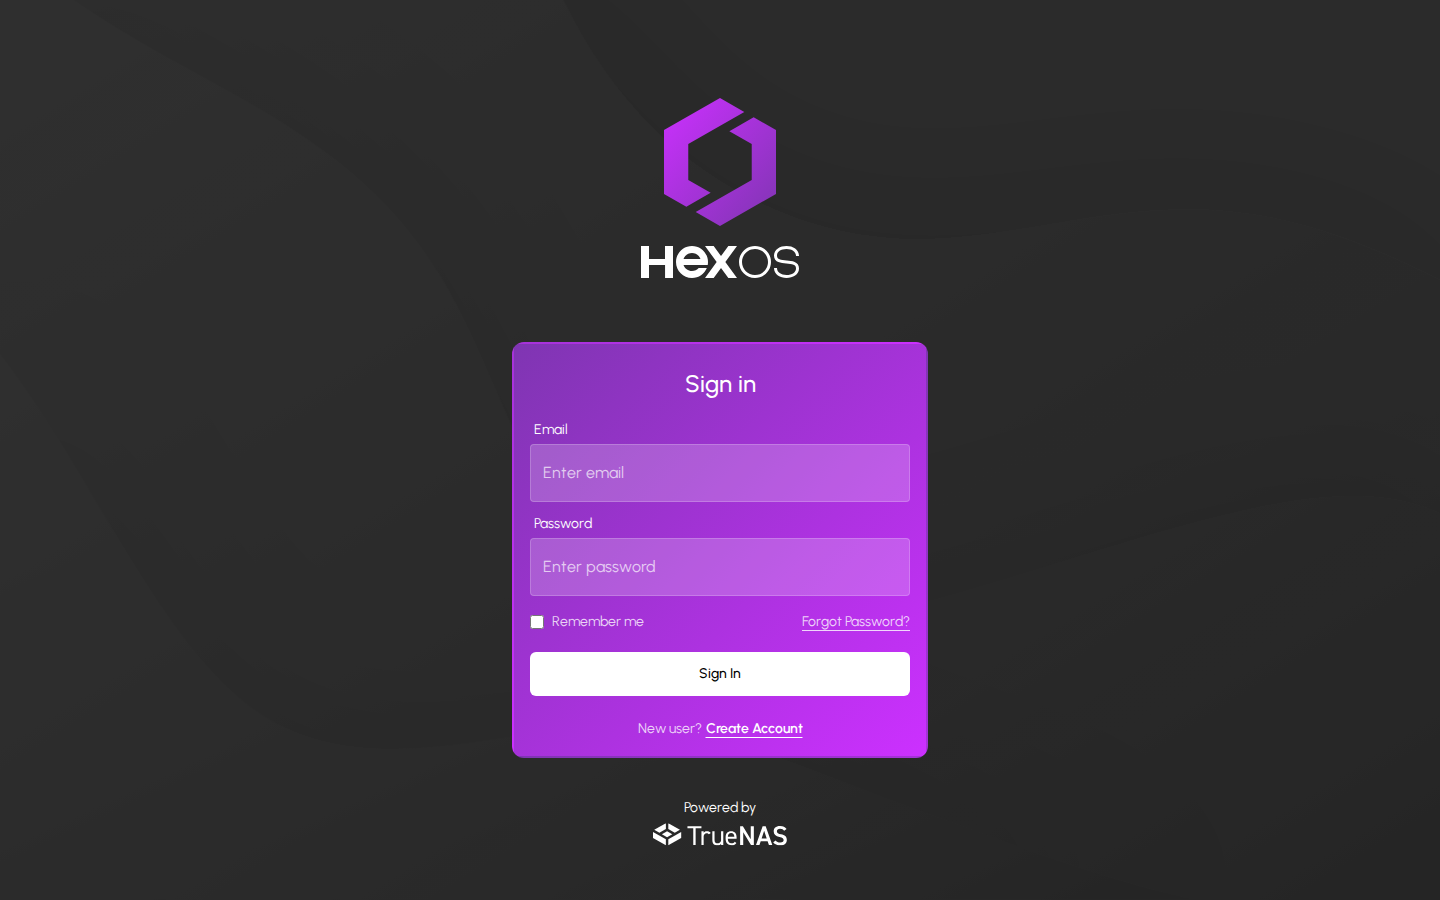
Info: This is the email and password you used when you bought HexOS. It is not the admin password you chose when you installed HexOS.
¶ What every screen looks like
- The top of the screen shows Server setup and a bar that fills as you go. Exit takes you back to the dashboard.
- On a wide screen, the title, explanation and Continue button are on the left, with cards on the right. On a narrower screen, they stack in one column.
- A card with an arrow opens an info panel with more details.
¶ Find your server
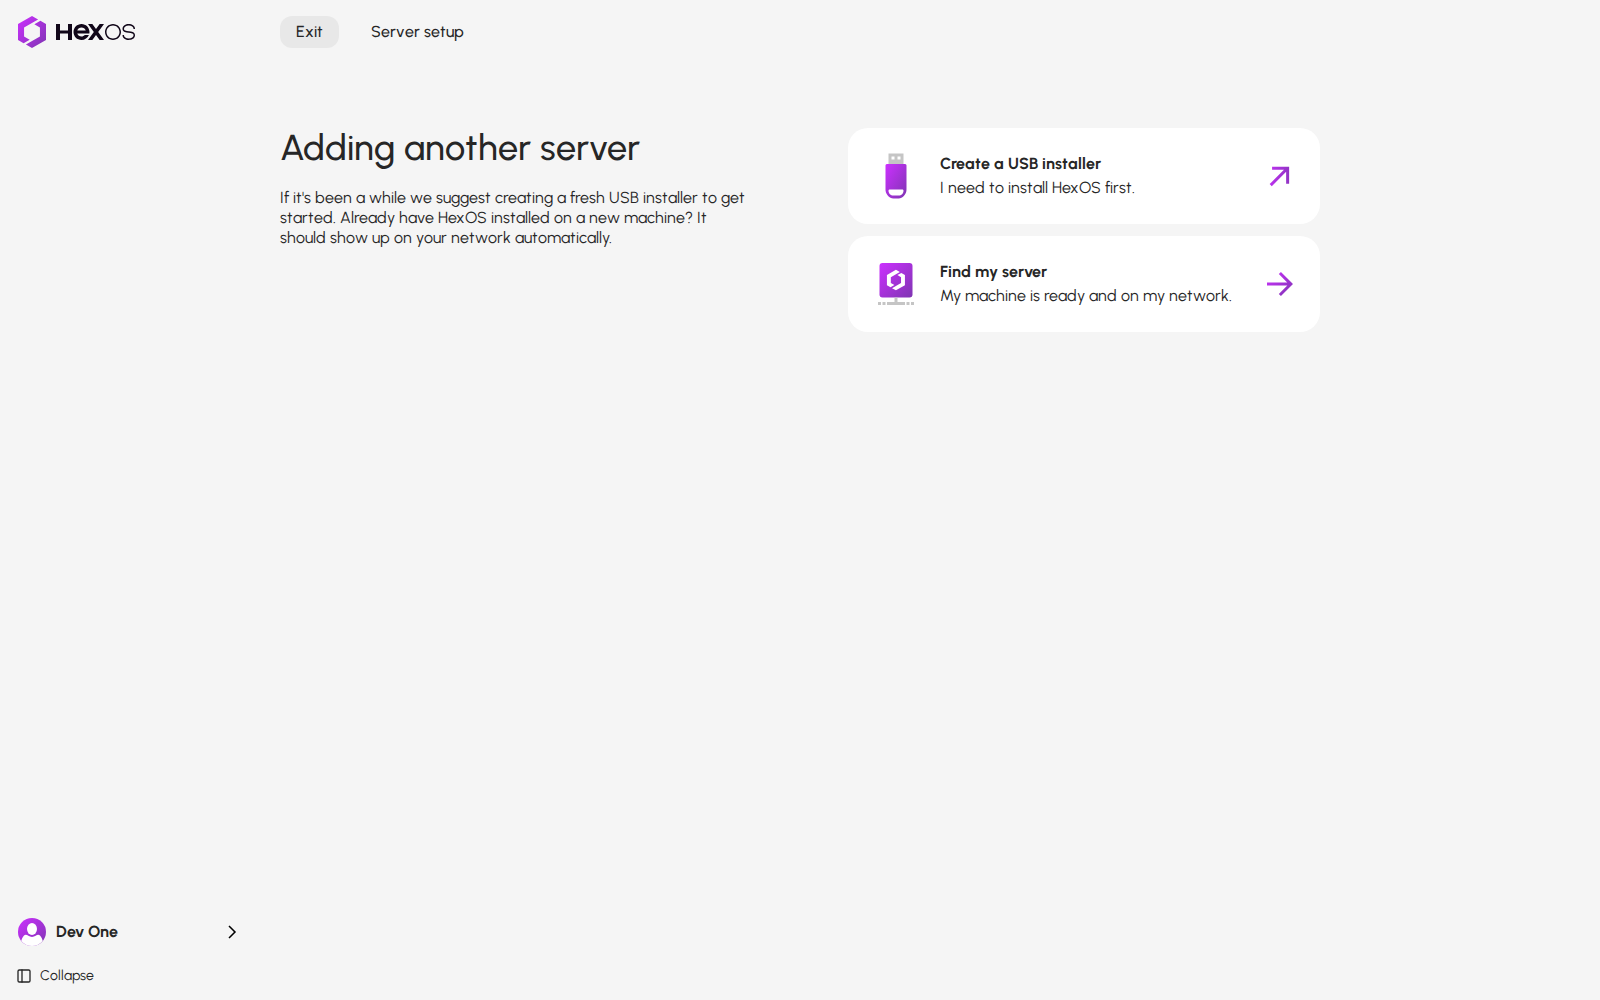
On the first screen, click Find my server. HexOS looks for servers on your network. If you still need to install HexOS, click Create a USB installer instead.
The first setup screen
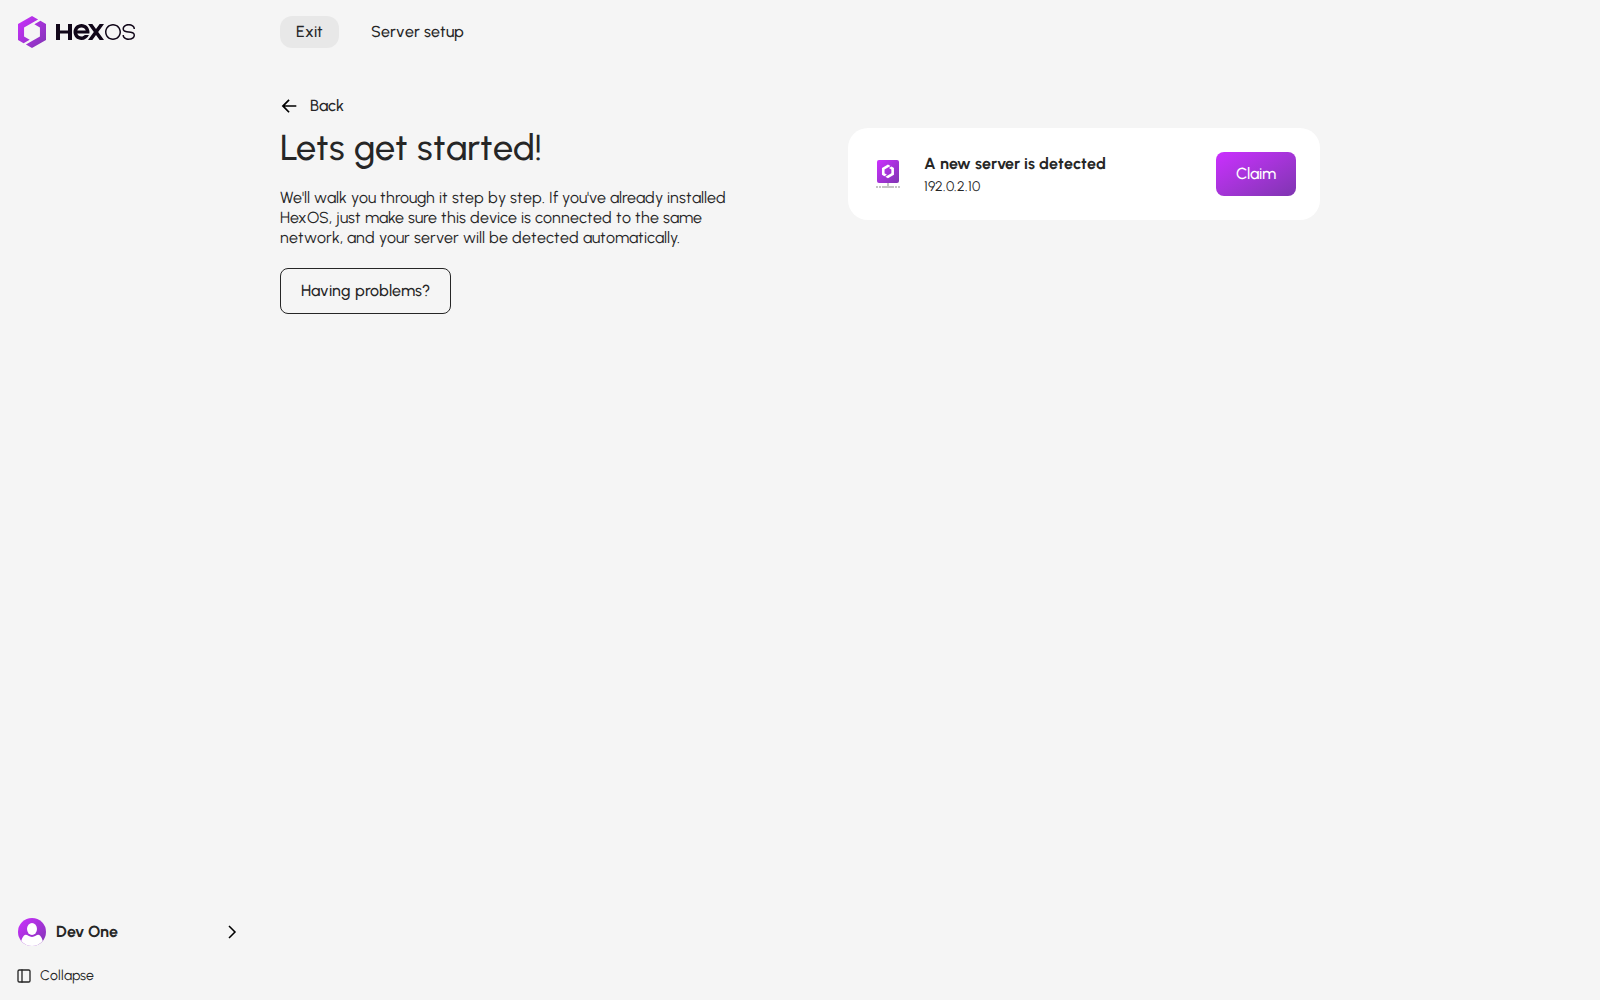
Each server that HexOS finds is one row:
- A new server has a Claim button. Click it to add the server to your account.
- A server you started to set up before shows Continue setup.
A server found on the network
¶ If your server does not show up
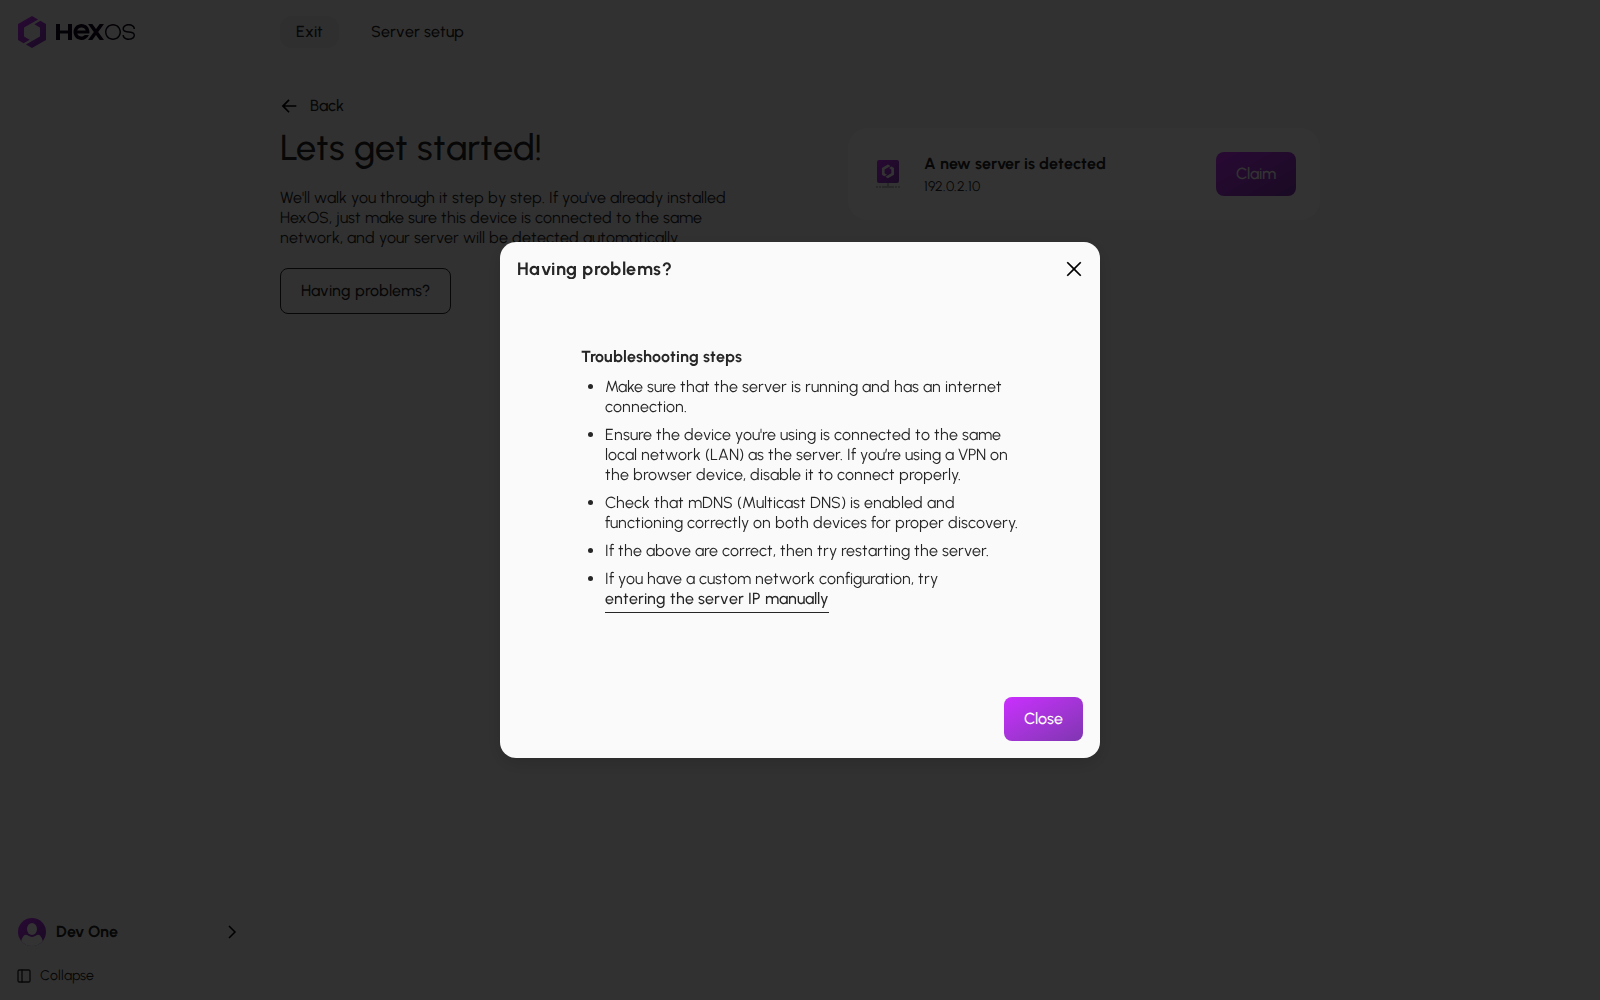
Click Having problems?. It lists the things to check first. If your network is set up in a custom way, click entering the server IP manually and type your network's public IP address.
Having problems
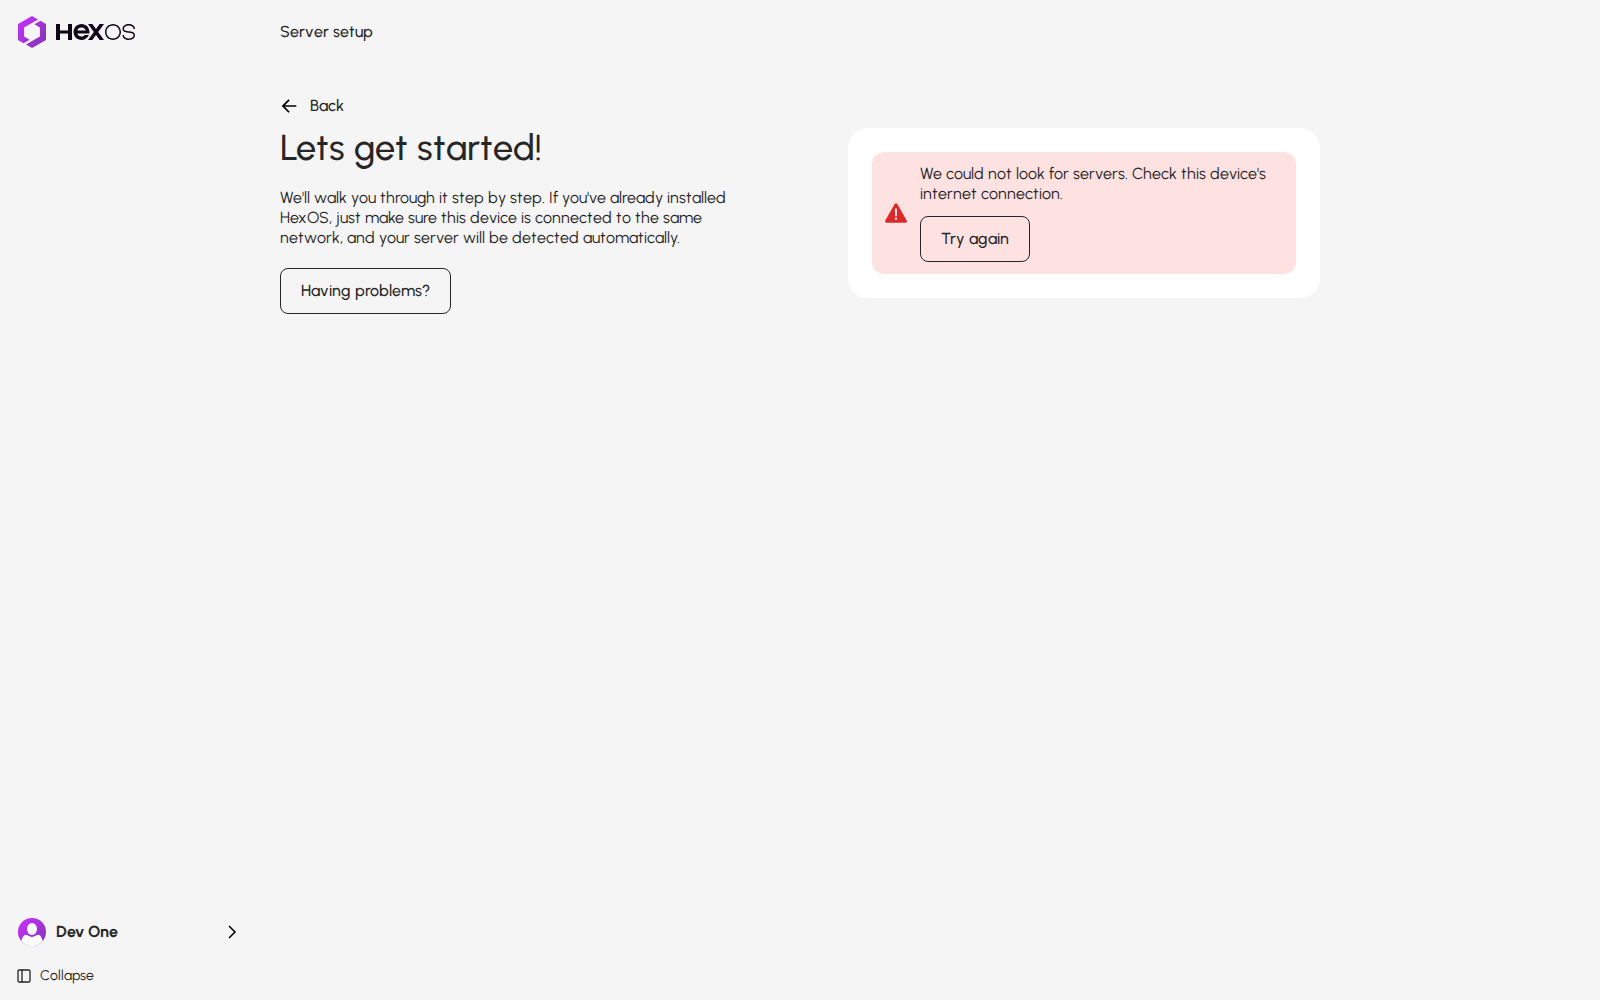
If HexOS cannot look for servers at all, the card says We could not look for servers. Check this device's internet connection. Check the internet connection of the computer you are using, then click Try again. While this message shows, the buttons on the server rows, such as Claim, cannot be clicked.
The search failed
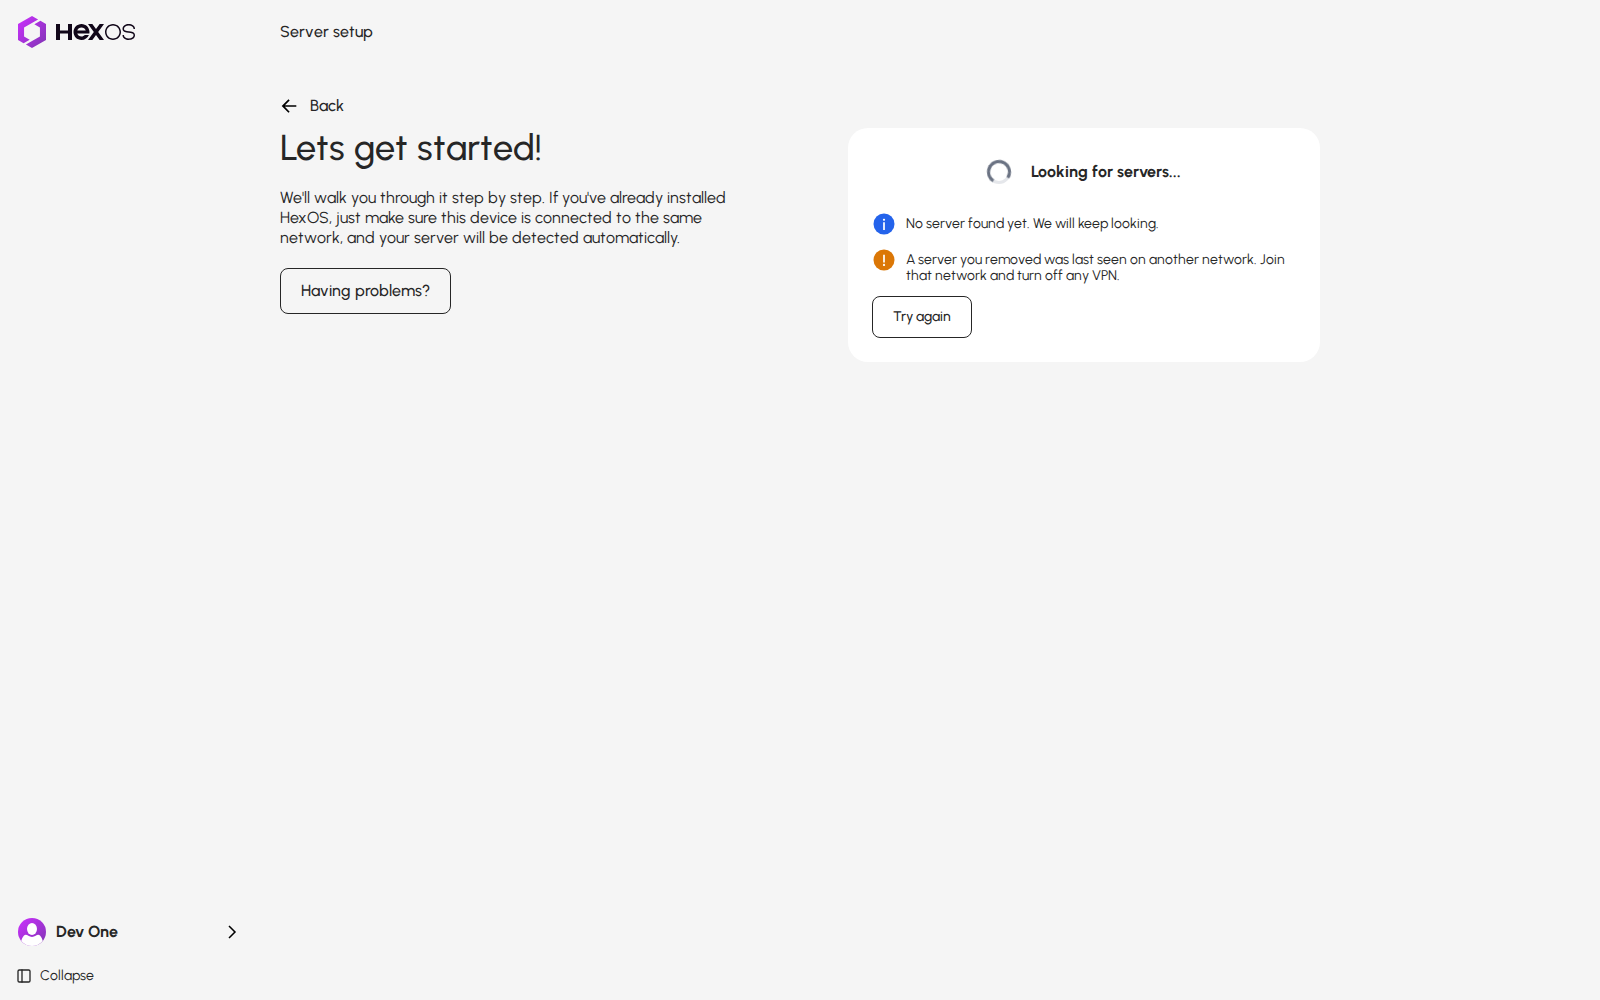
If nothing is found for about 15 seconds, the card says No server found yet. We will keep looking. HexOS keeps looking. If it knows something about a server you removed from your account, a line tells you what to do, for example A server you removed was last seen on another network. Join that network and turn off any VPN. Click Try again to look again right away.
No server found yet
¶ Already set up
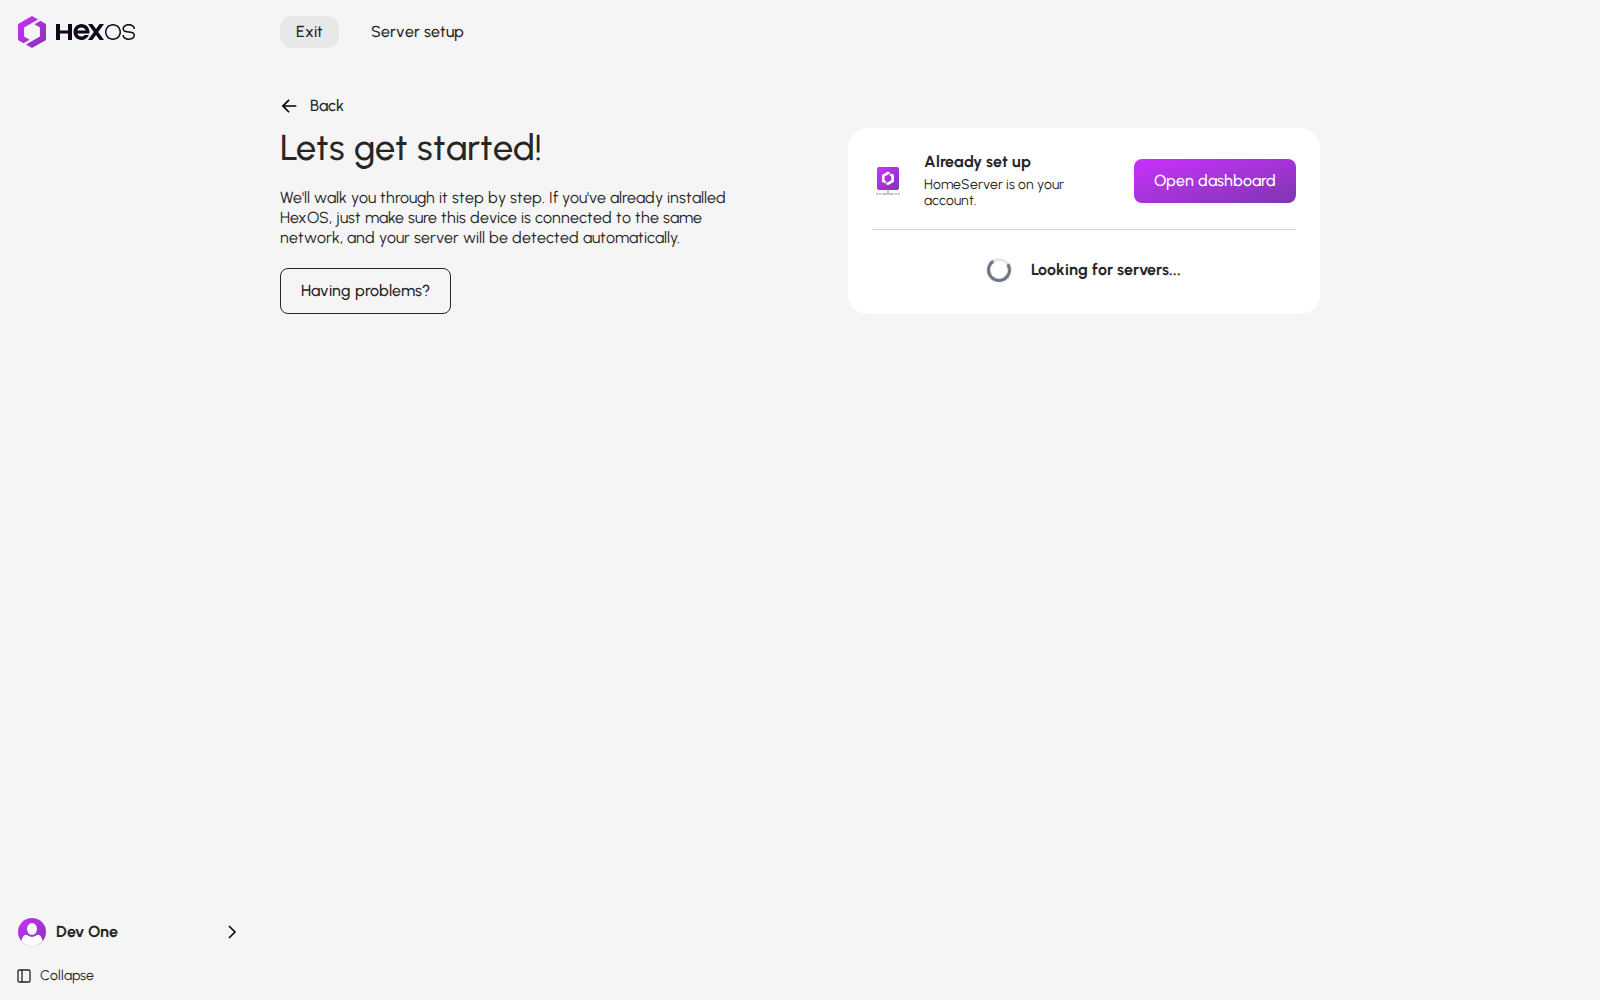
If a server finishes its setup somewhere else while you are on this screen, for example in another browser tab, it is listed as Already set up. Click Open dashboard to go to it.
Already set up
¶ Server basics
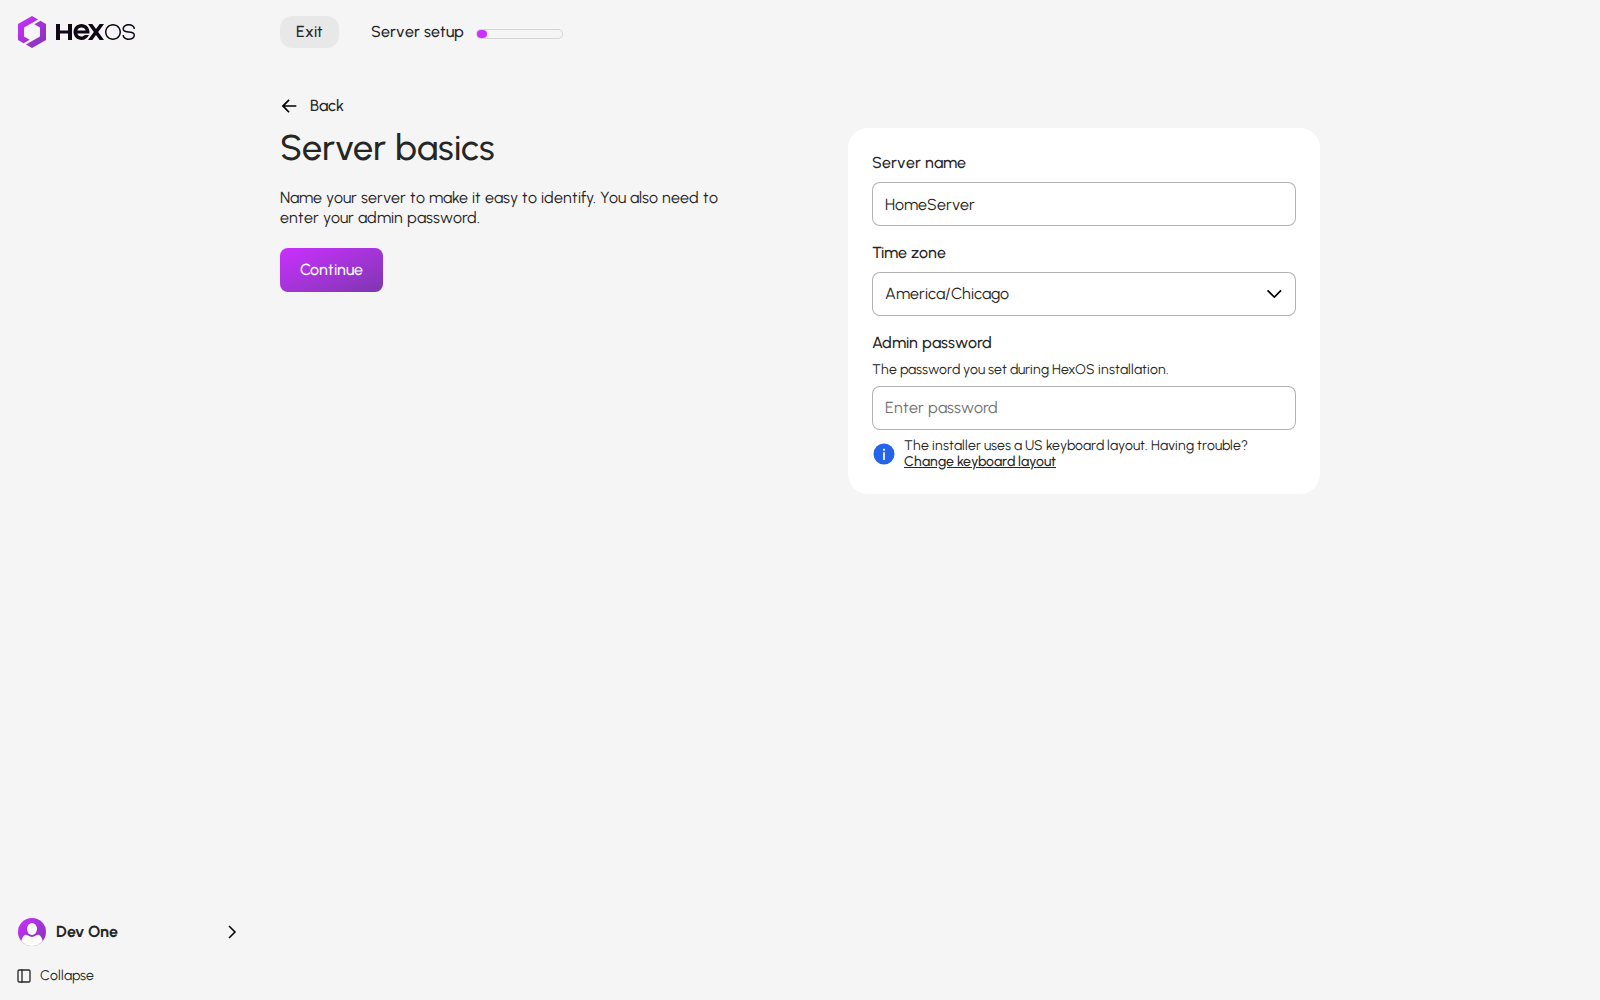
Enter a name for your server, pick your time zone, and type the admin password you chose when you installed HexOS.
Server basics
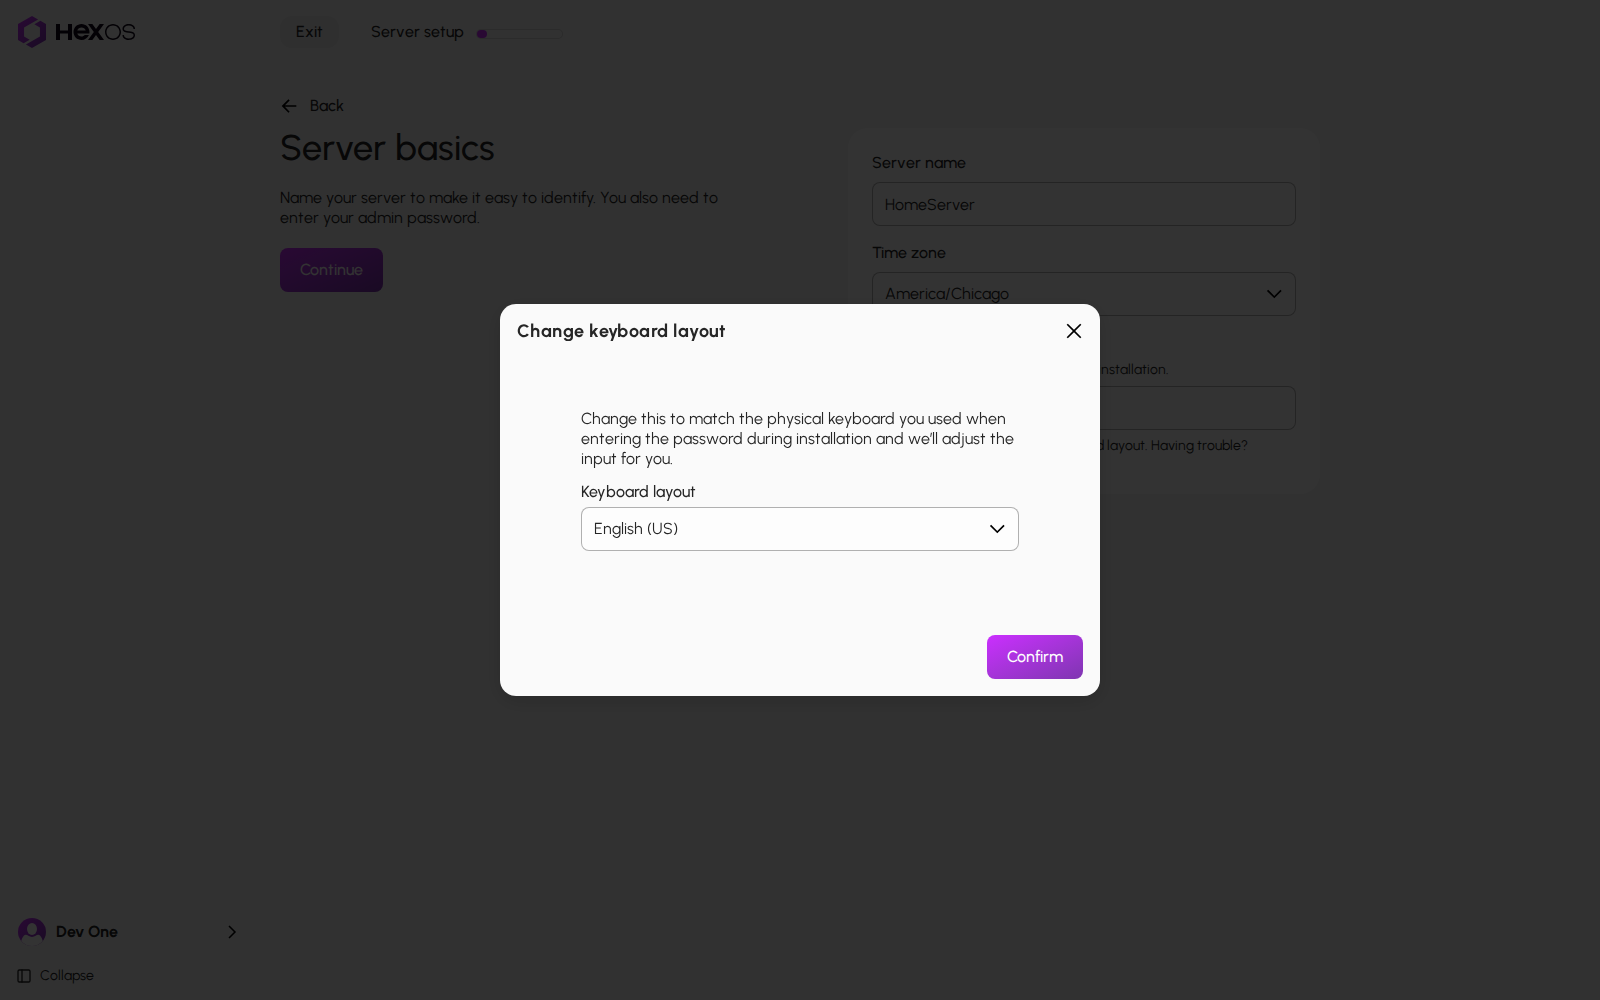
If the password is refused, click Change keyboard layout, choose the keyboard you typed the password on when you installed HexOS, and click Confirm.
Change keyboard layout
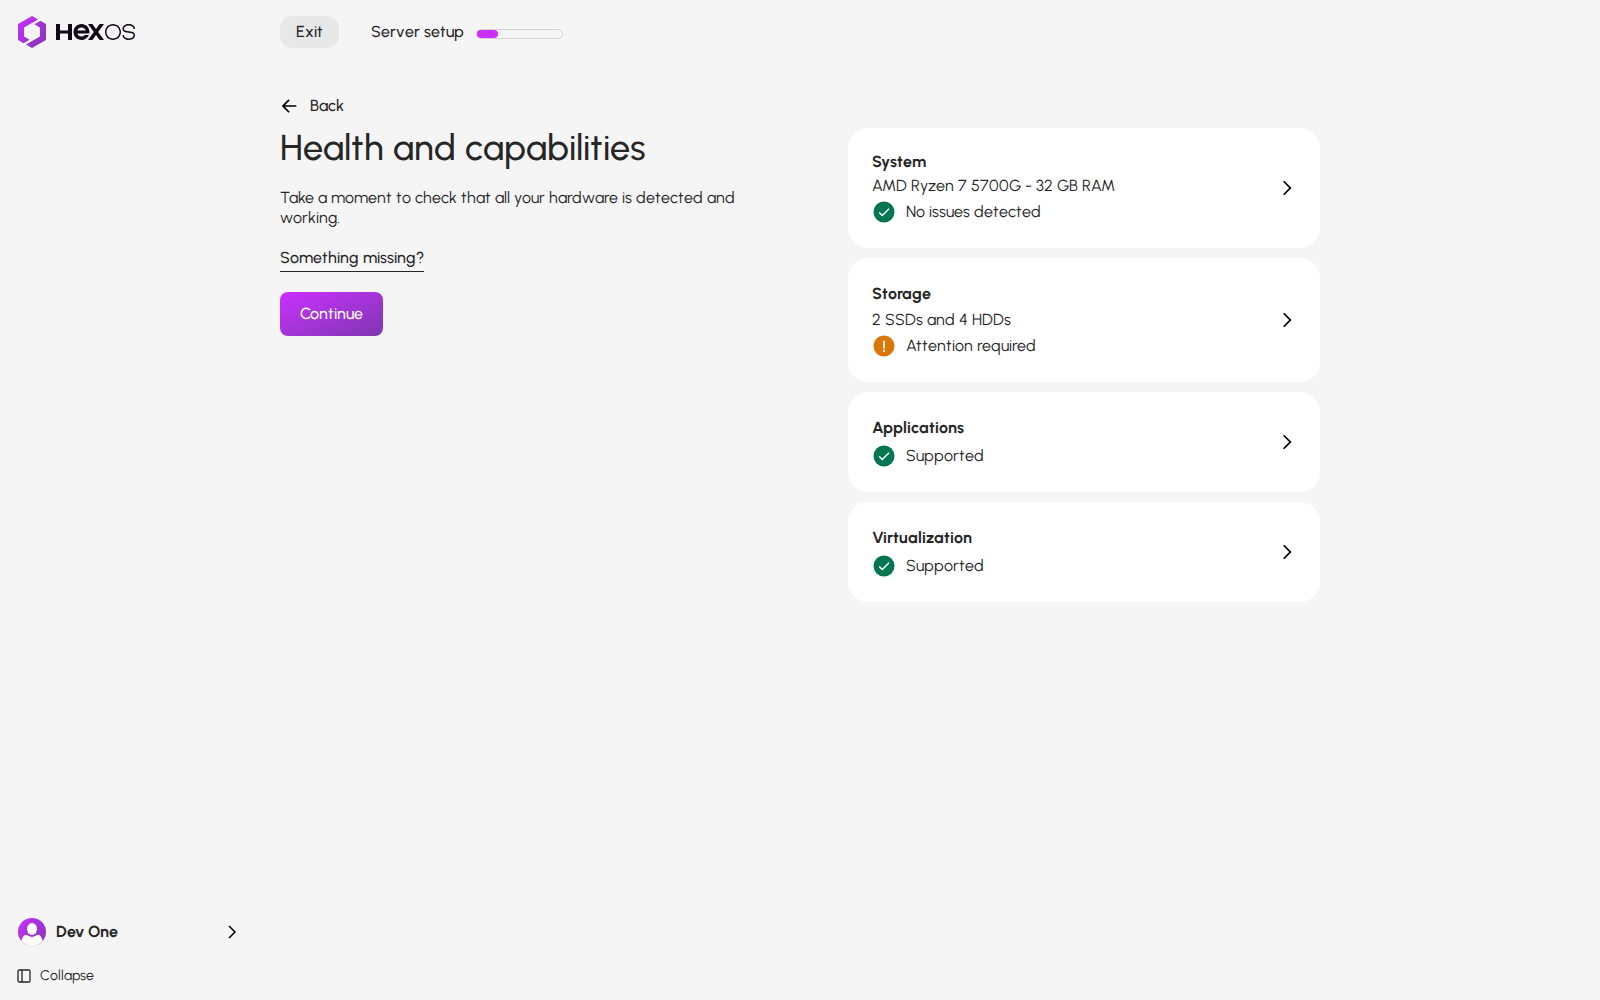
¶ Health and capabilities
HexOS checks your hardware and shows four cards: System, Storage, Applications and Virtualization. Each card has one status line. Click a card to see the details.
Health and capabilities
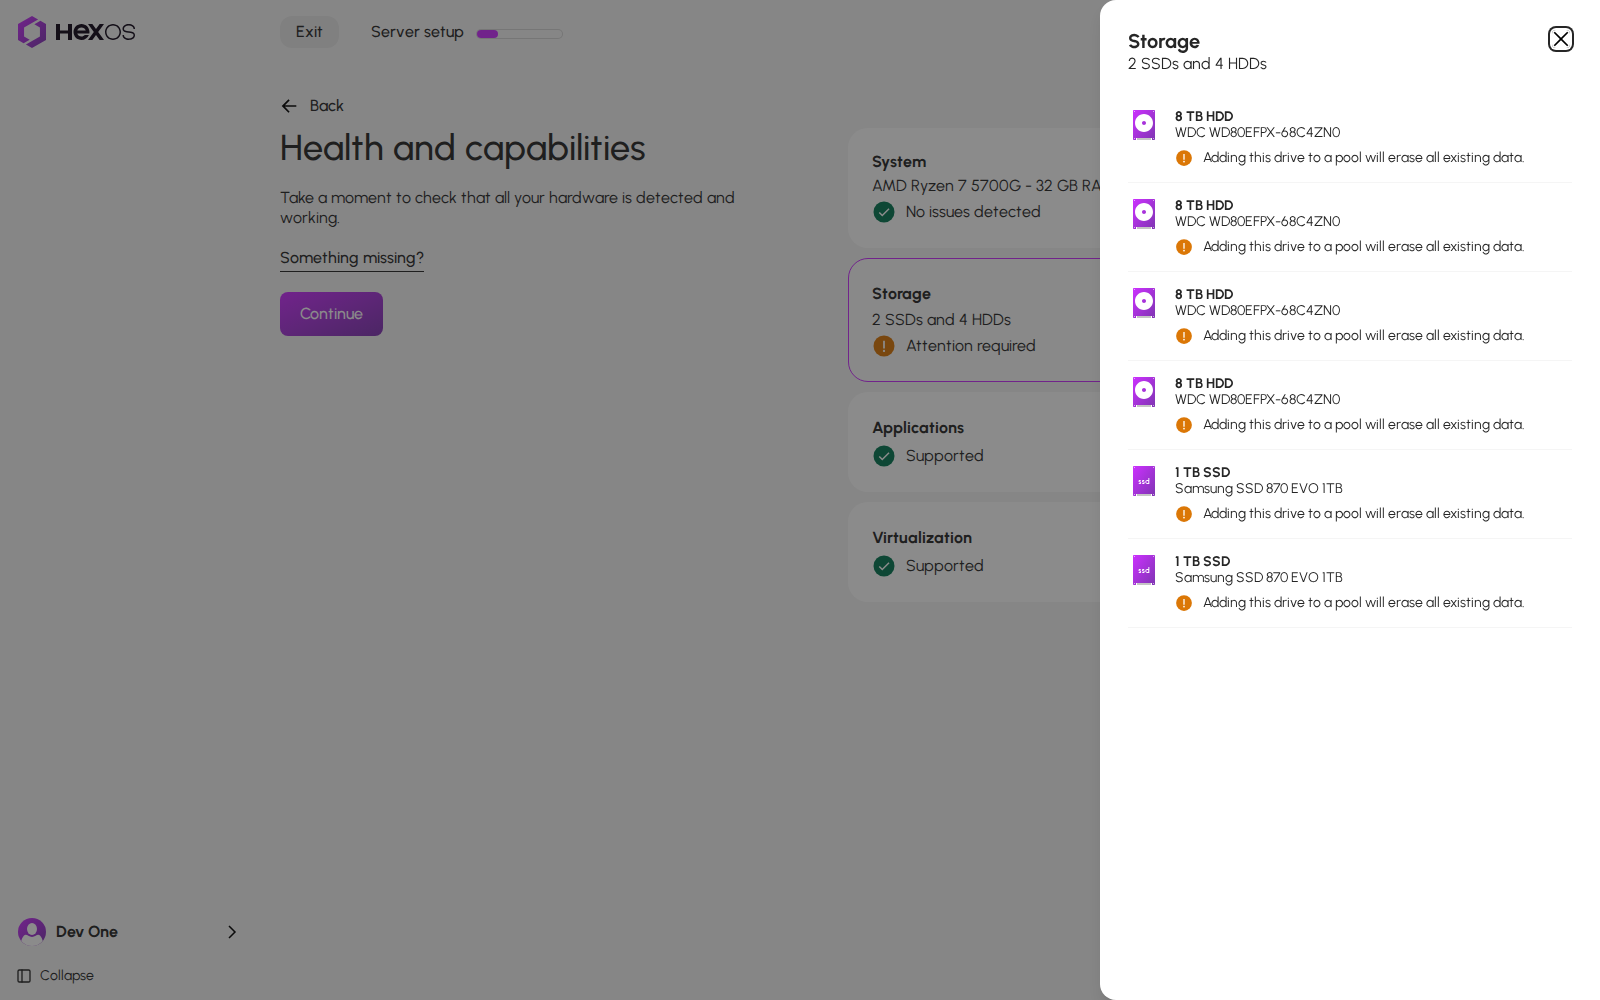
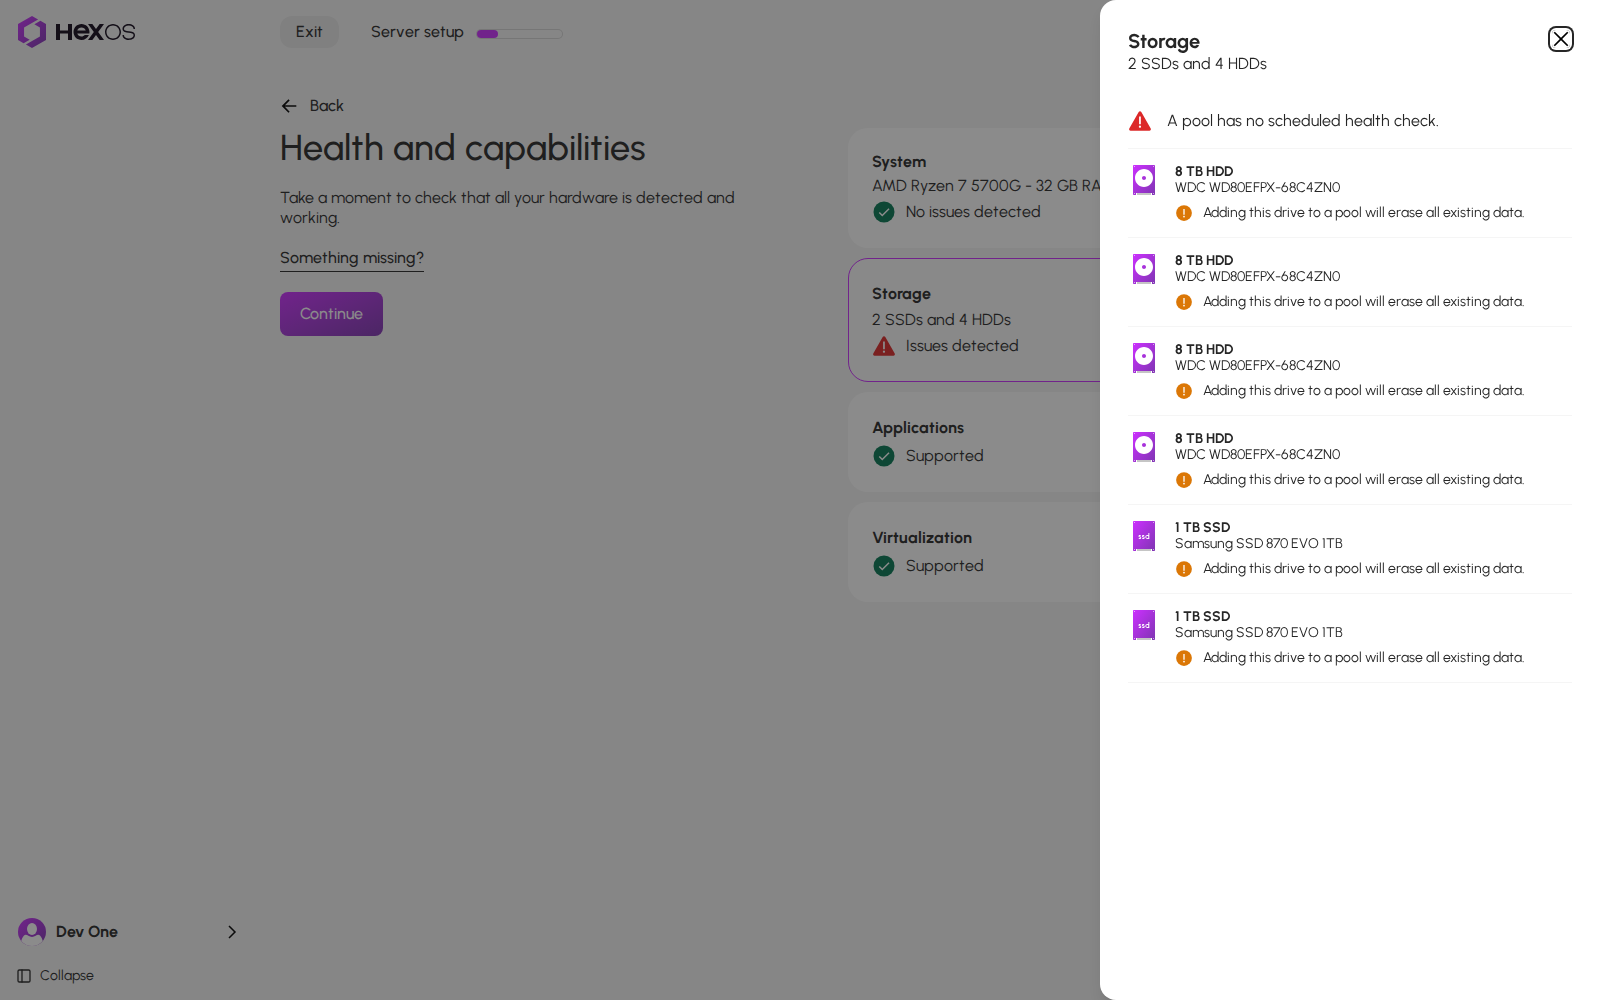
- The Storage panel lists every drive. A drive that already holds data says so. Reading this changes nothing.
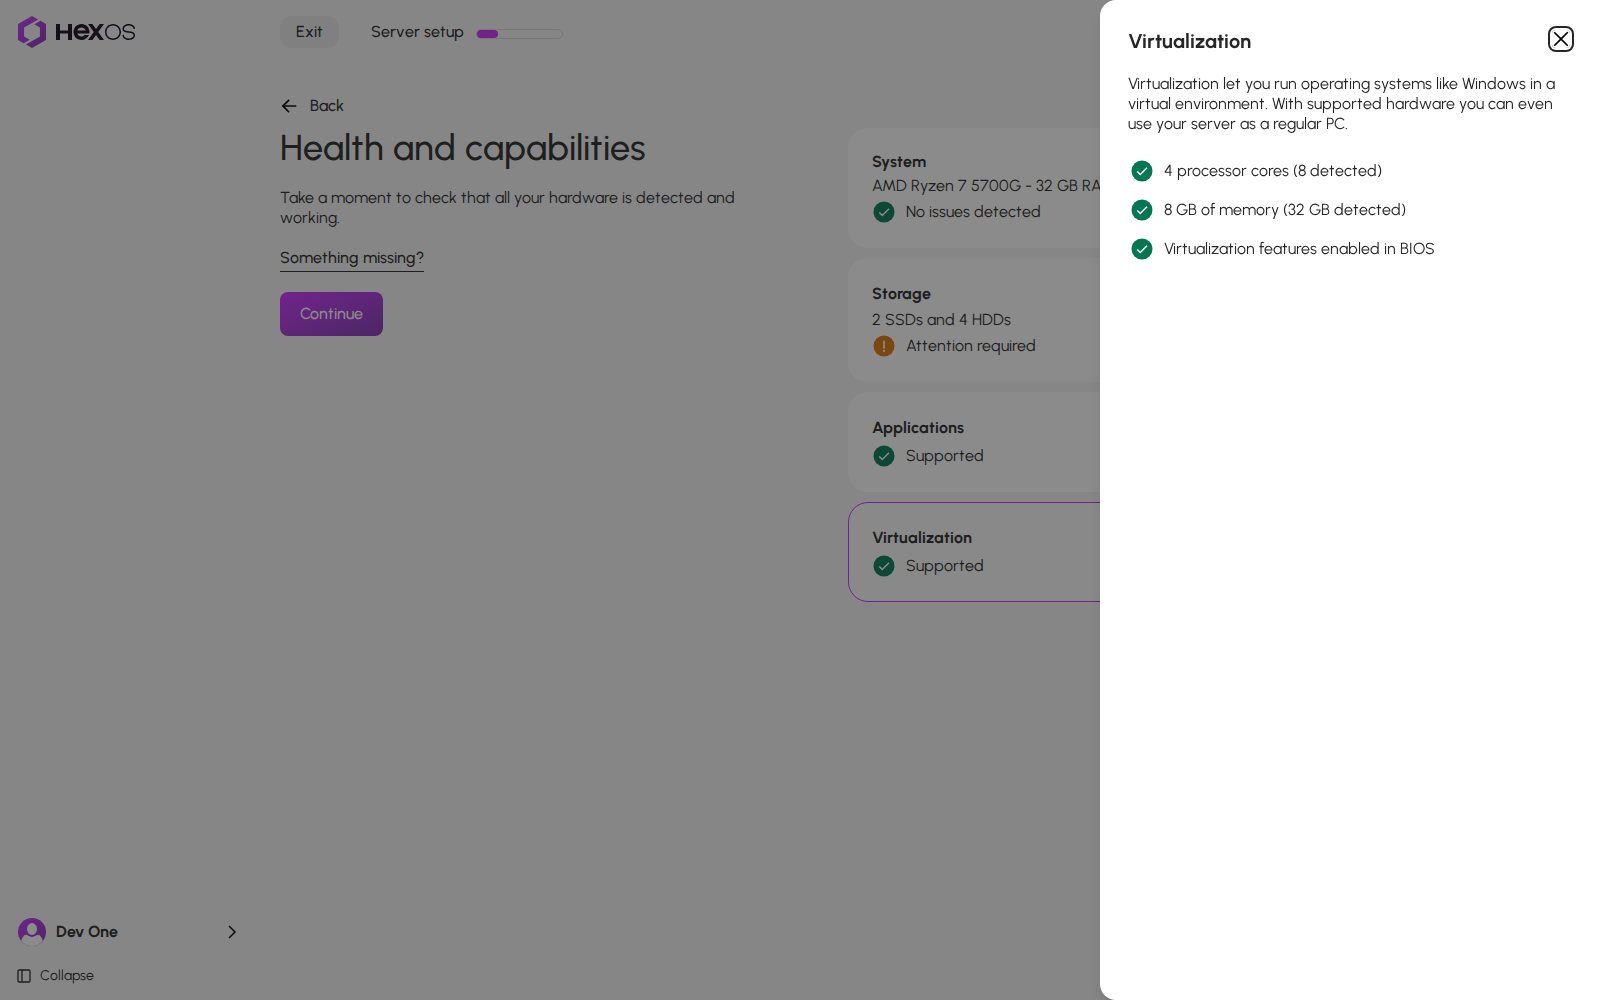
- The Virtualization info panel shows what your server needs to run virtual machines: 4 processor cores, 8 GB of memory, and Virtualization features enabled in BIOS.
The storage panel
The virtualization panel
¶ When a card needs a look
The System and Storage cards say No issues detected when nothing is wrong. Otherwise they say Attention required or Issues detected, and the card's panel always says why. Click the card to read the reason.
Problems with your pools and drives are listed first in the Storage panel, for example A pool has no scheduled health check. or One or more of your storage pools is being reported as unhealthy. They are never listed on System.
A pool problem in the storage panel
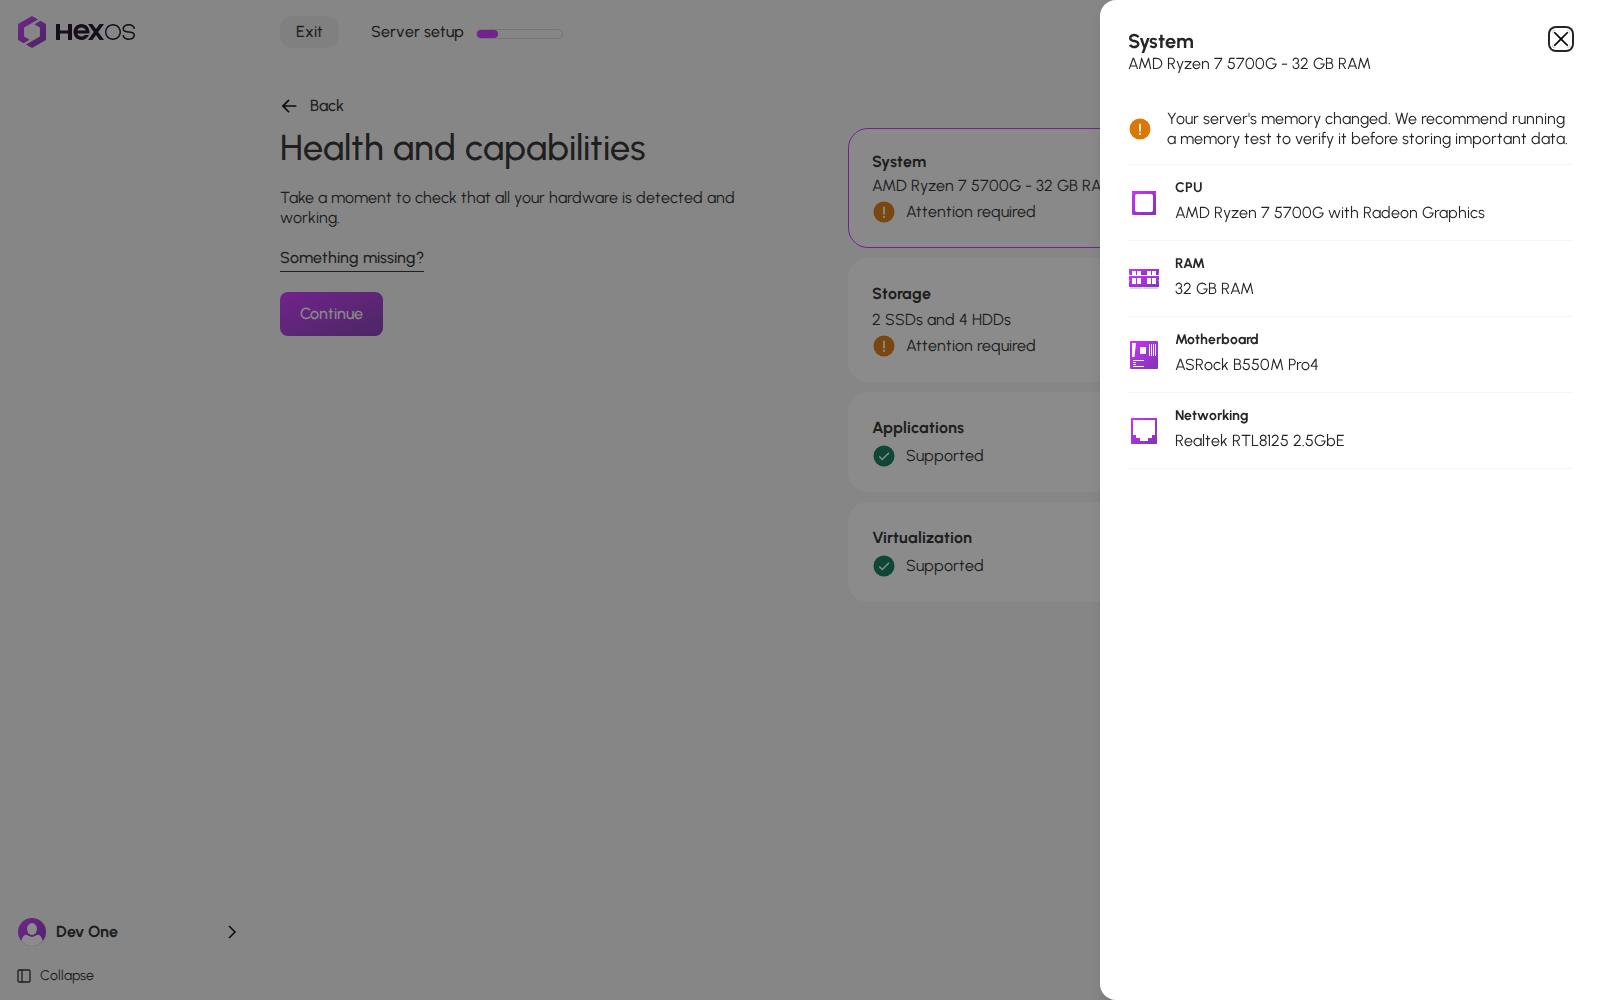
Problems with the whole server are listed first in the System panel, for example a TrueNAS version that is too old, temperatures out of range, or Your server's memory changed. We recommend running a memory test to verify it before storing important data.
A server problem in the system panel
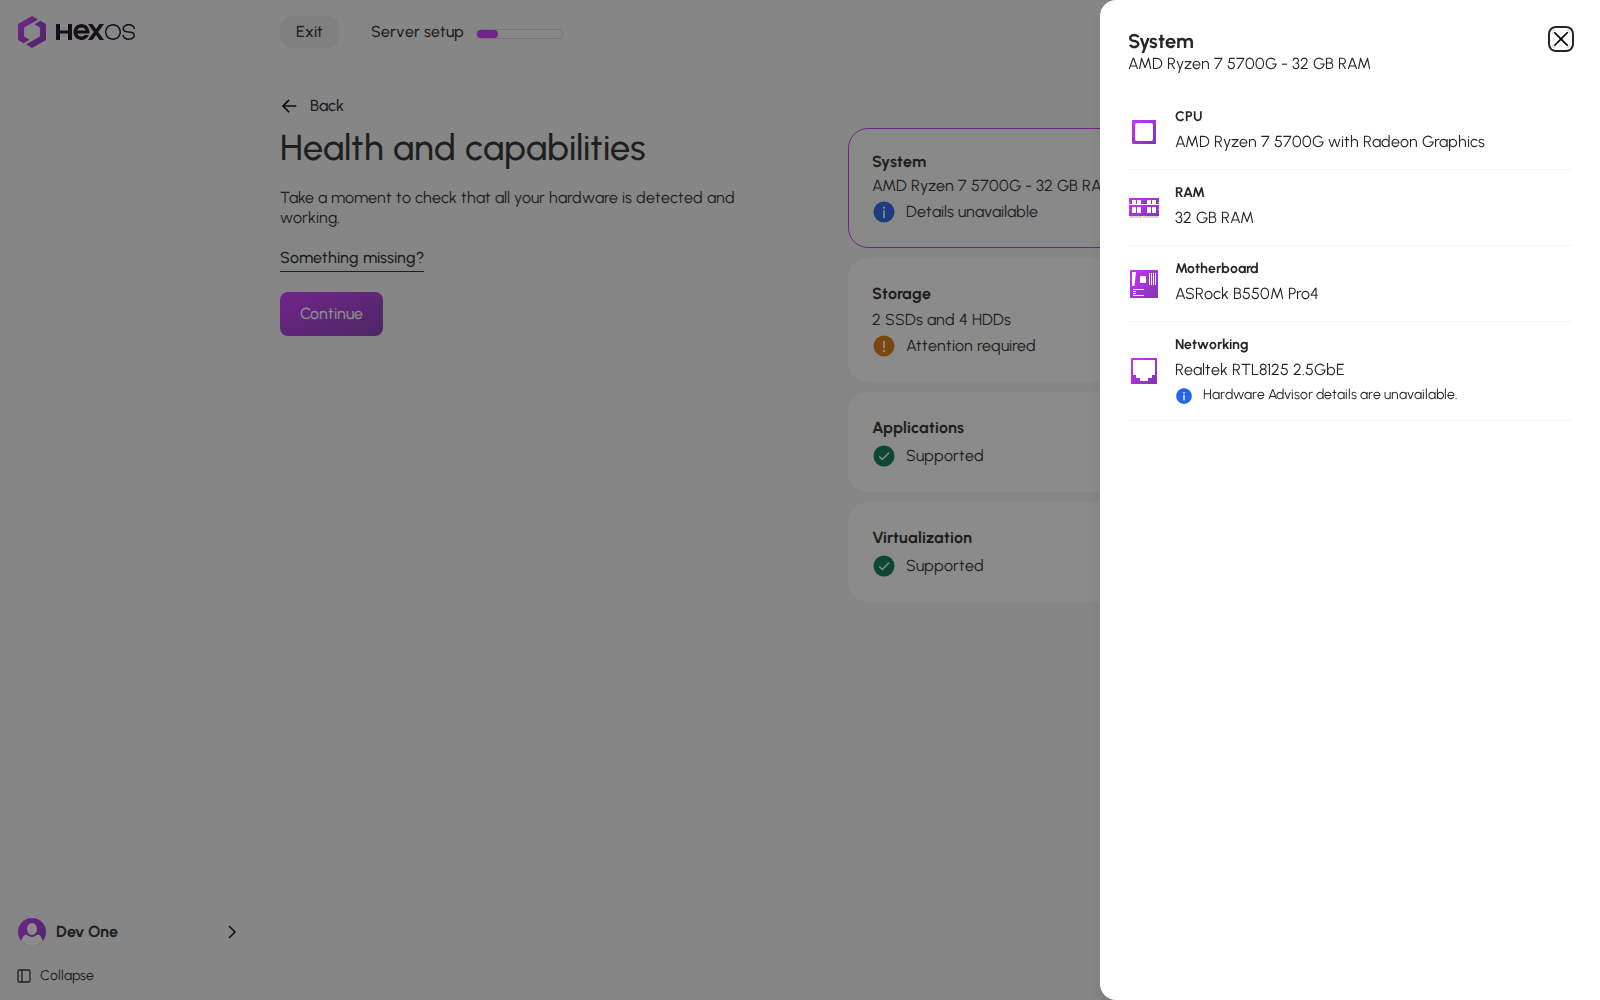
When Hardware Advisor is available for your server and the server shares hardware data with HexOS, the panels also show Hardware Advisor warnings about parts with known problems. When a part is marked but its details did not arrive, the part says Hardware Advisor details are unavailable. and its card says Details unavailable instead of No issues detected. Nothing is wrong that HexOS can show you. See Health & Capabilities for hardware data sharing.
Details unavailable
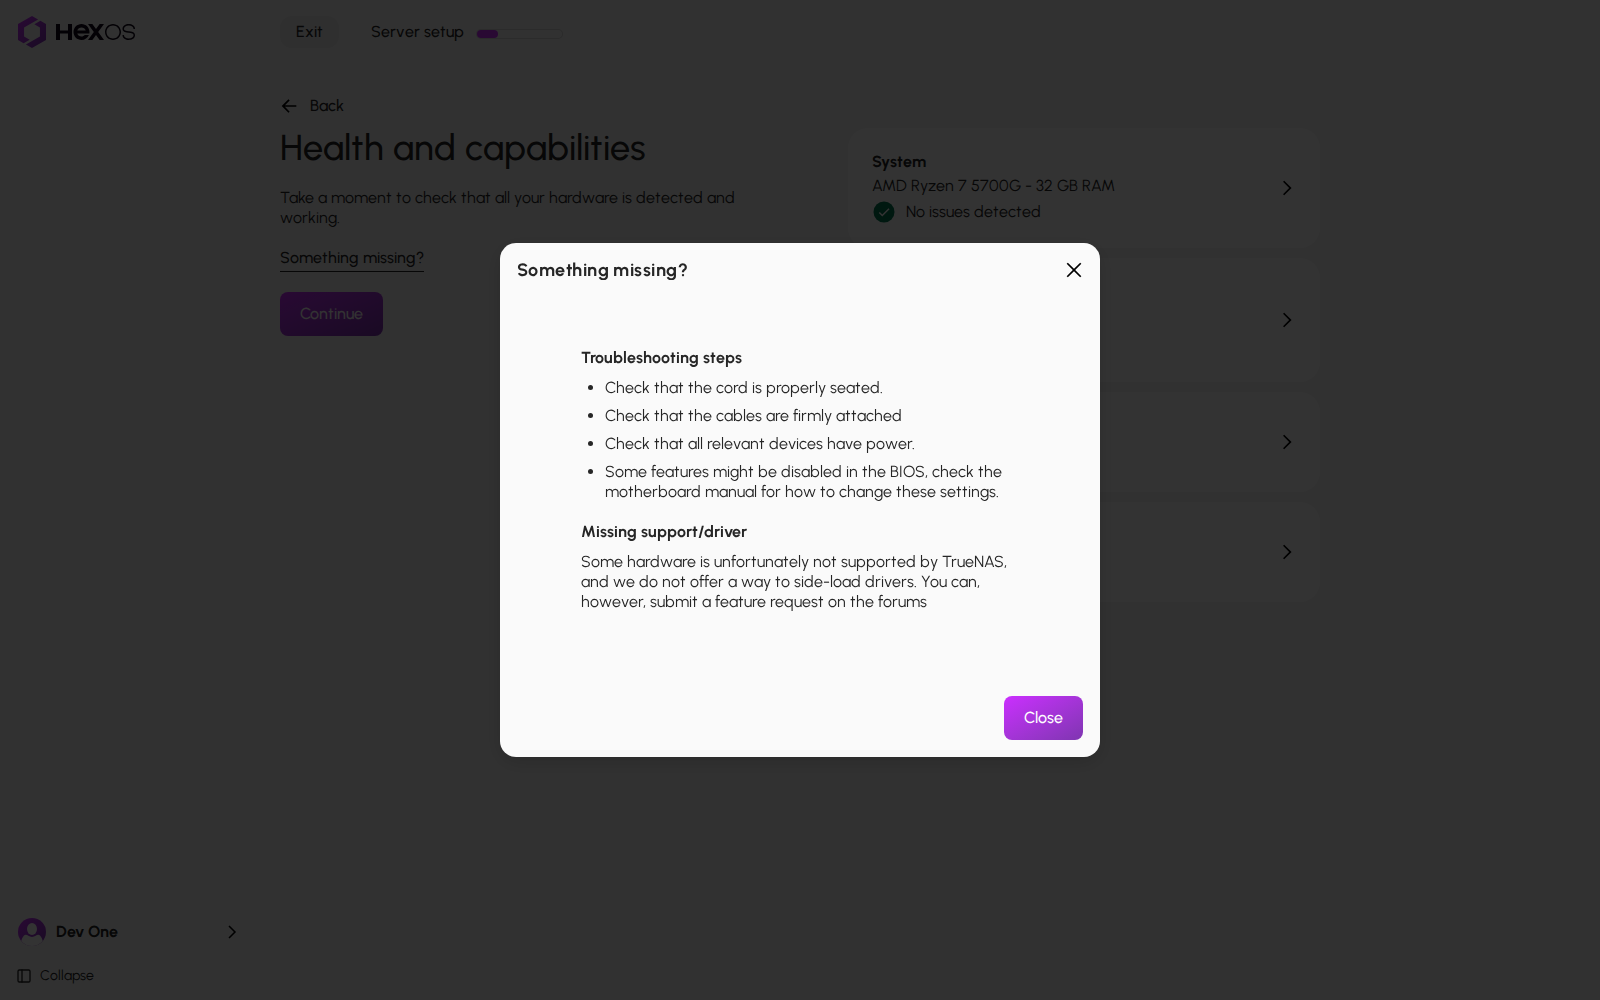
If a drive or part is missing from the list, click Something missing?. It lists what to check.
Something missing
¶ Import existing pools
You only see this screen when your drives already hold storage pools. It lists two kinds of pools:
- Pools from another server, for example drives you moved from an older server. Their cards say Previously used on and the other server's name.
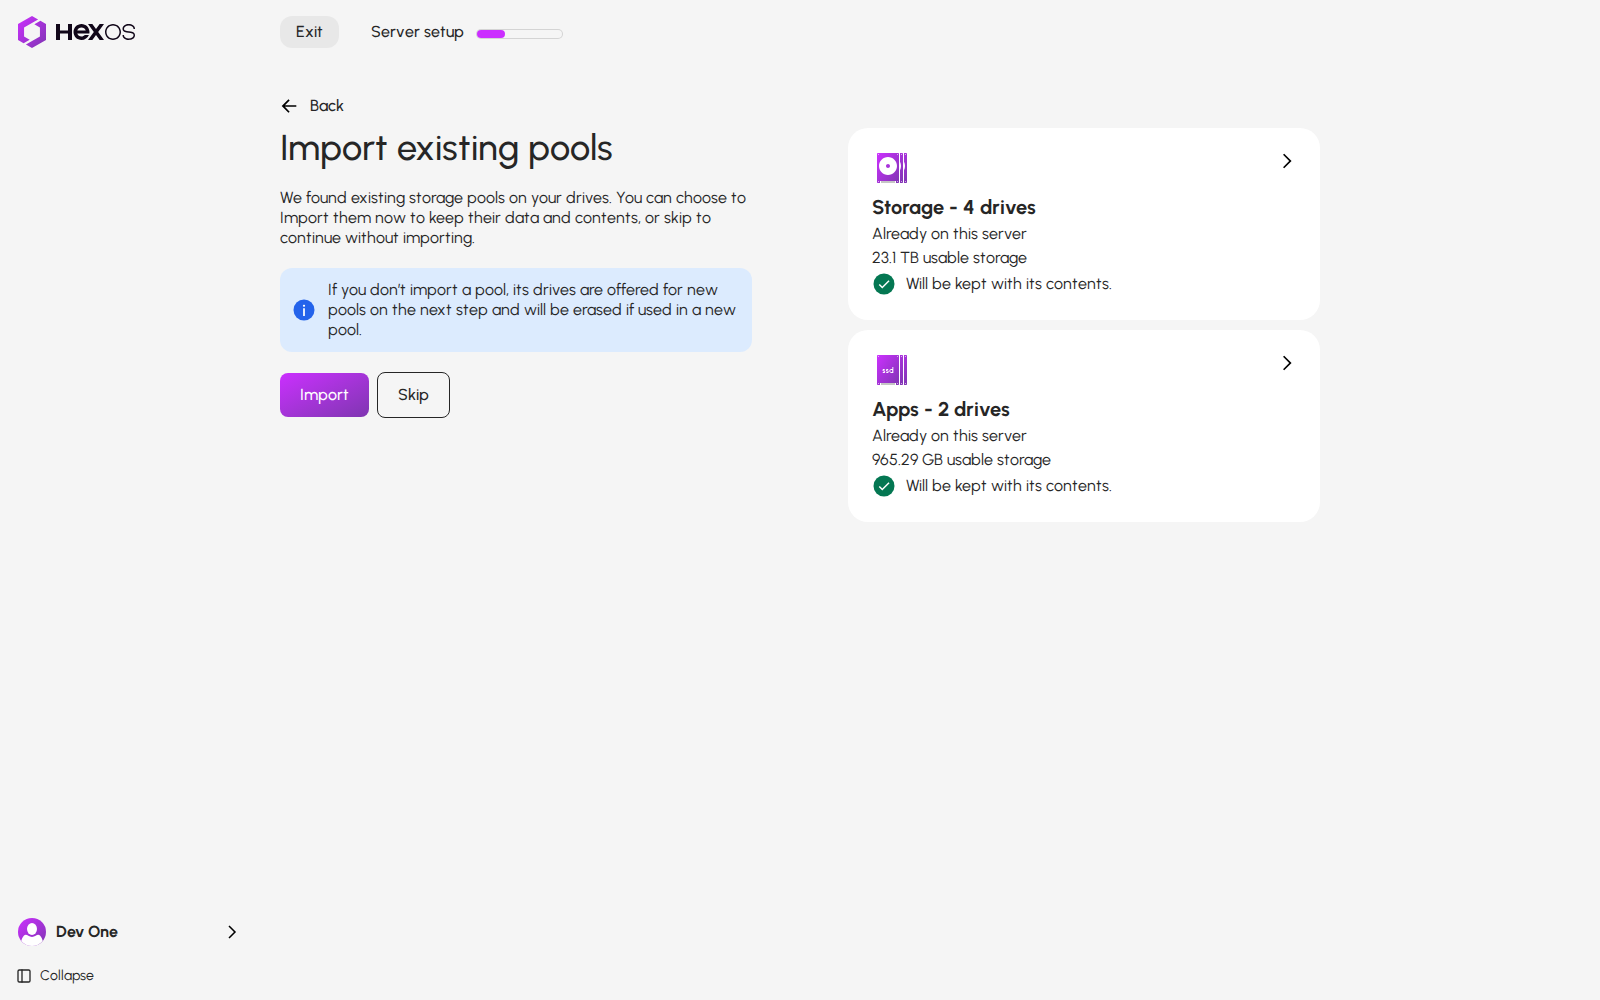
- Pools already on this server, for example after you reset HexOS, or on a server that ran TrueNAS before. Their cards say Already on this server.
¶ Pools from another server
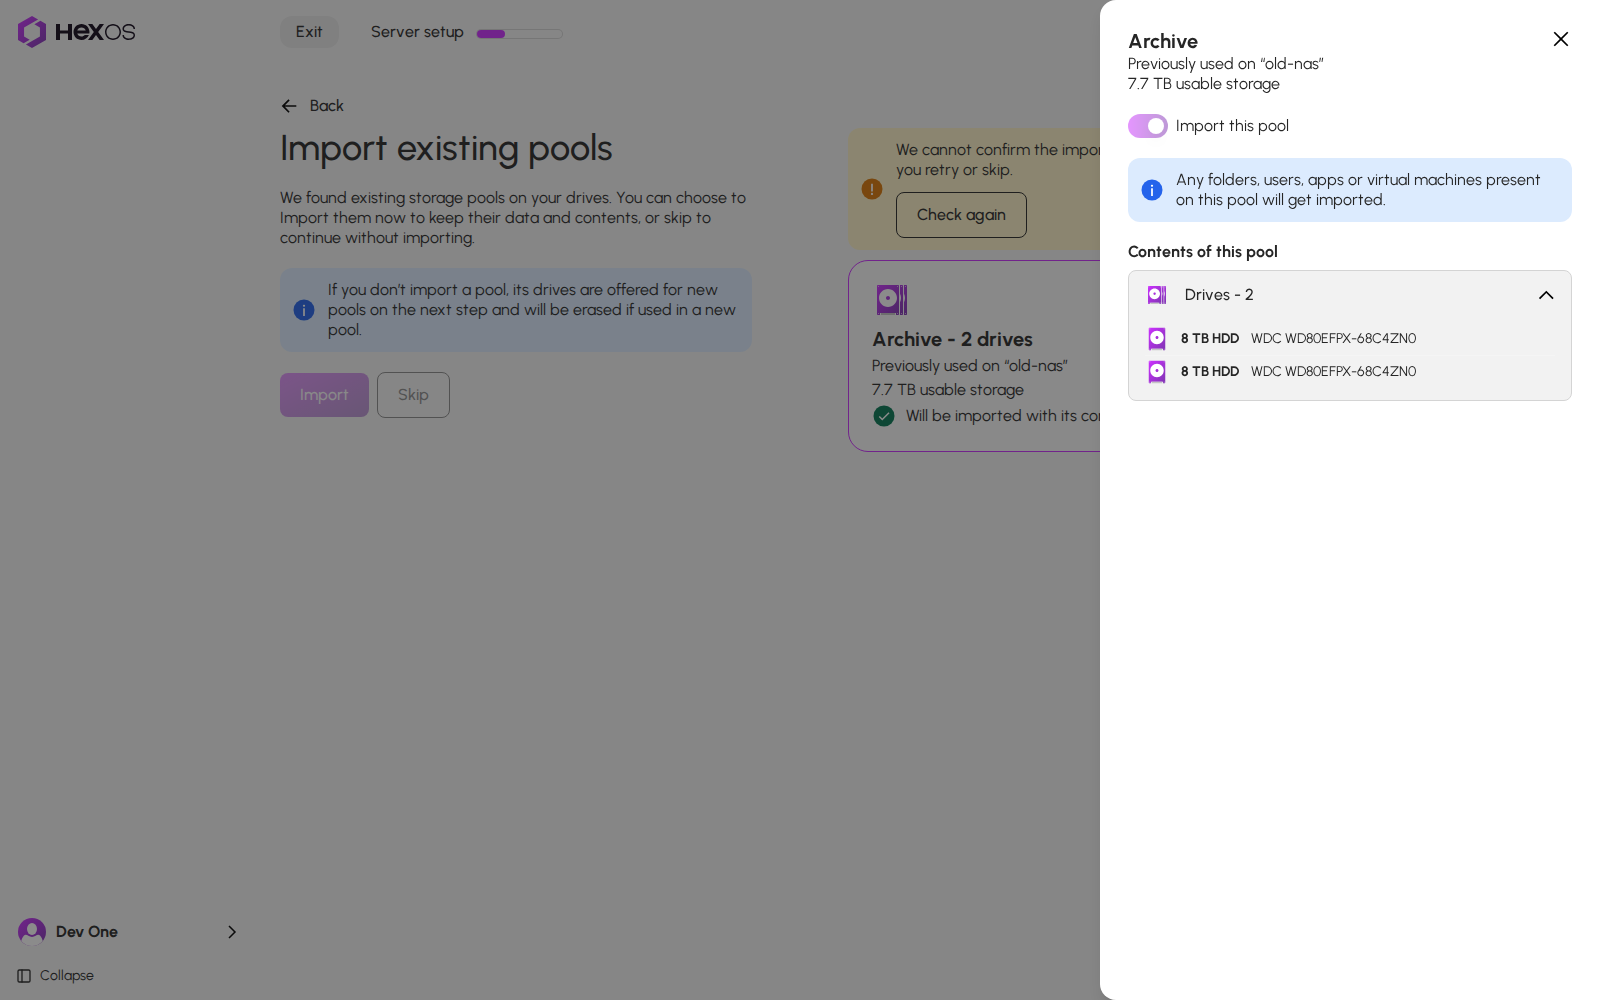
Every pool that can be imported starts switched on. Click a pool to see its drives, or to switch it off. A pool you import keeps everything on it: folders, users, apps and virtual machines.
Import existing pools
A pool and its import switch
¶ Pools already on this server
A pool already on this server starts as Will be kept with its contents. Click its card to see what is on it: its drives, its folders and Time Machine backups, and its apps when your apps run from it. Under On this server, not in this pool, the panel lists the server's users and virtual machines. To let the pool go, click the Keep this pool switch so it is off. Its drives are then offered for new pools.
Pools already on this server
A pool you let go is erased at Finish setup only if a new pool uses one of its drives. Then the whole pool is erased, even if the new pool uses only one of its drives. If no new pool uses its drives, it stays as it is. See How starting fresh works.
¶ Import or skip
Click Import to keep the pools that are switched on. Click Skip to keep none of them, including the pools already on this server. Skipping every pool is how you start fresh. Both buttons wait until the pools already on this server are listed.
Danger: A pool you switch off or skip is not kept. Its drives are offered for new pools. If you put them in a new pool and finish setup, they are erased. For a pool already on this server, the whole pool is erased.
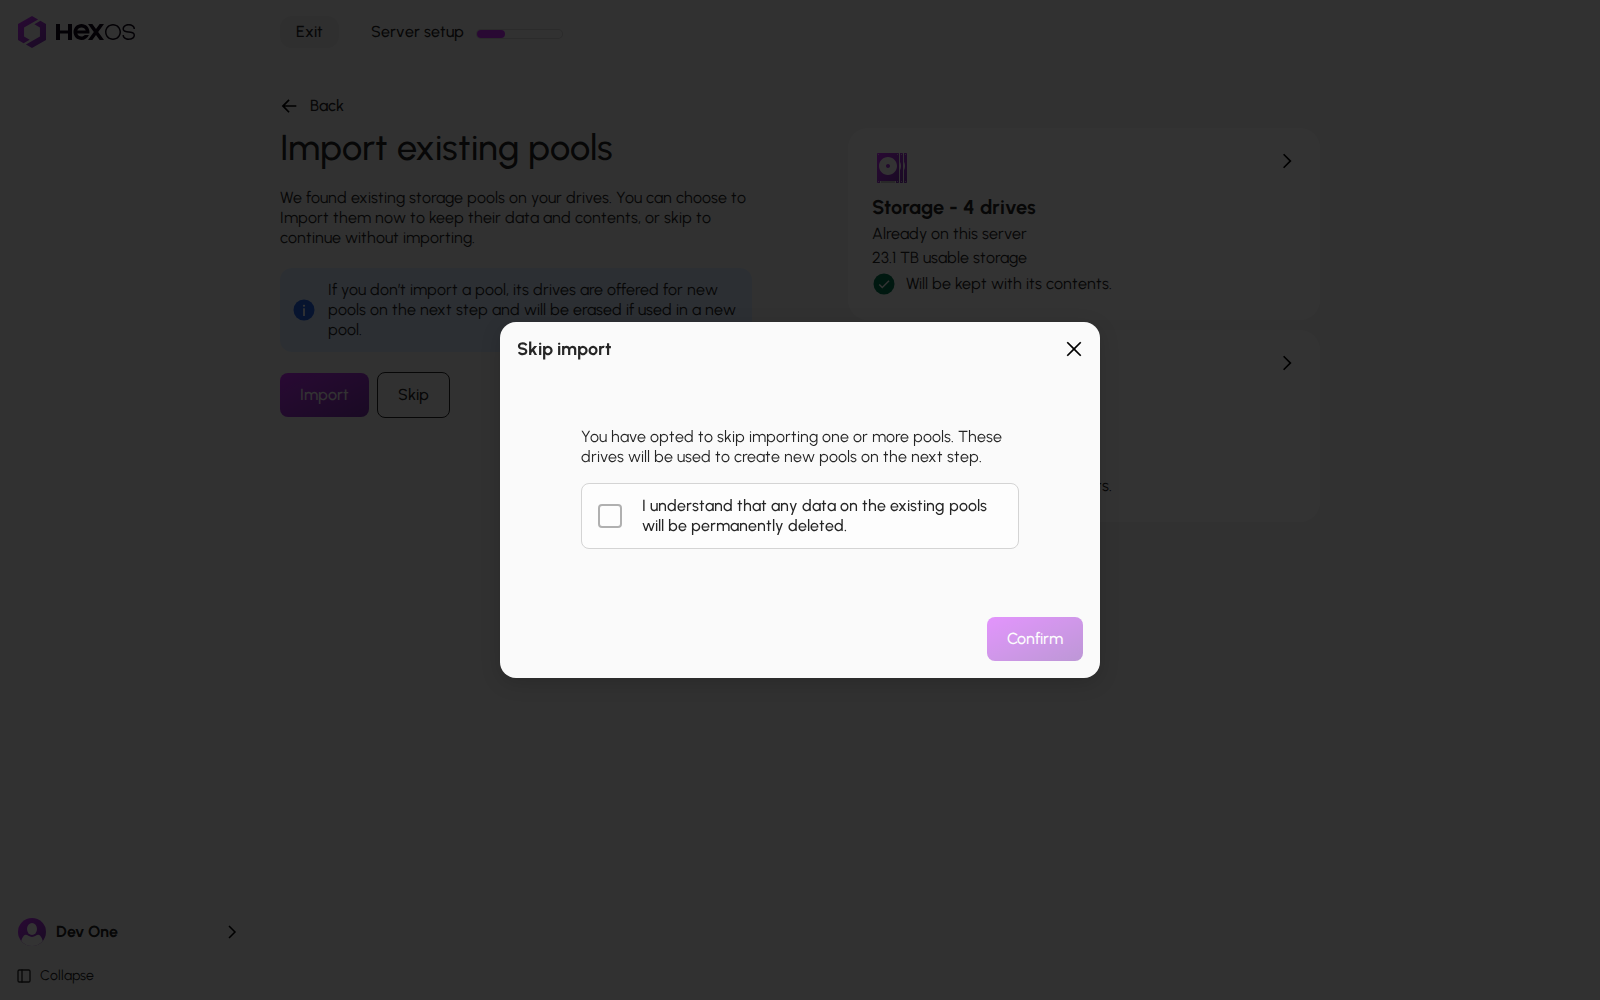
When a pool is left out, HexOS asks you to confirm in the Skip import dialog. Tick the box and click Confirm. Nothing is erased until you click Finish setup.
Skip import
¶ While pools are imported
When you open this screen, setup first asks your server whether an import is already running, for example one you started before you reloaded the page. Import and Skip wait for that answer.
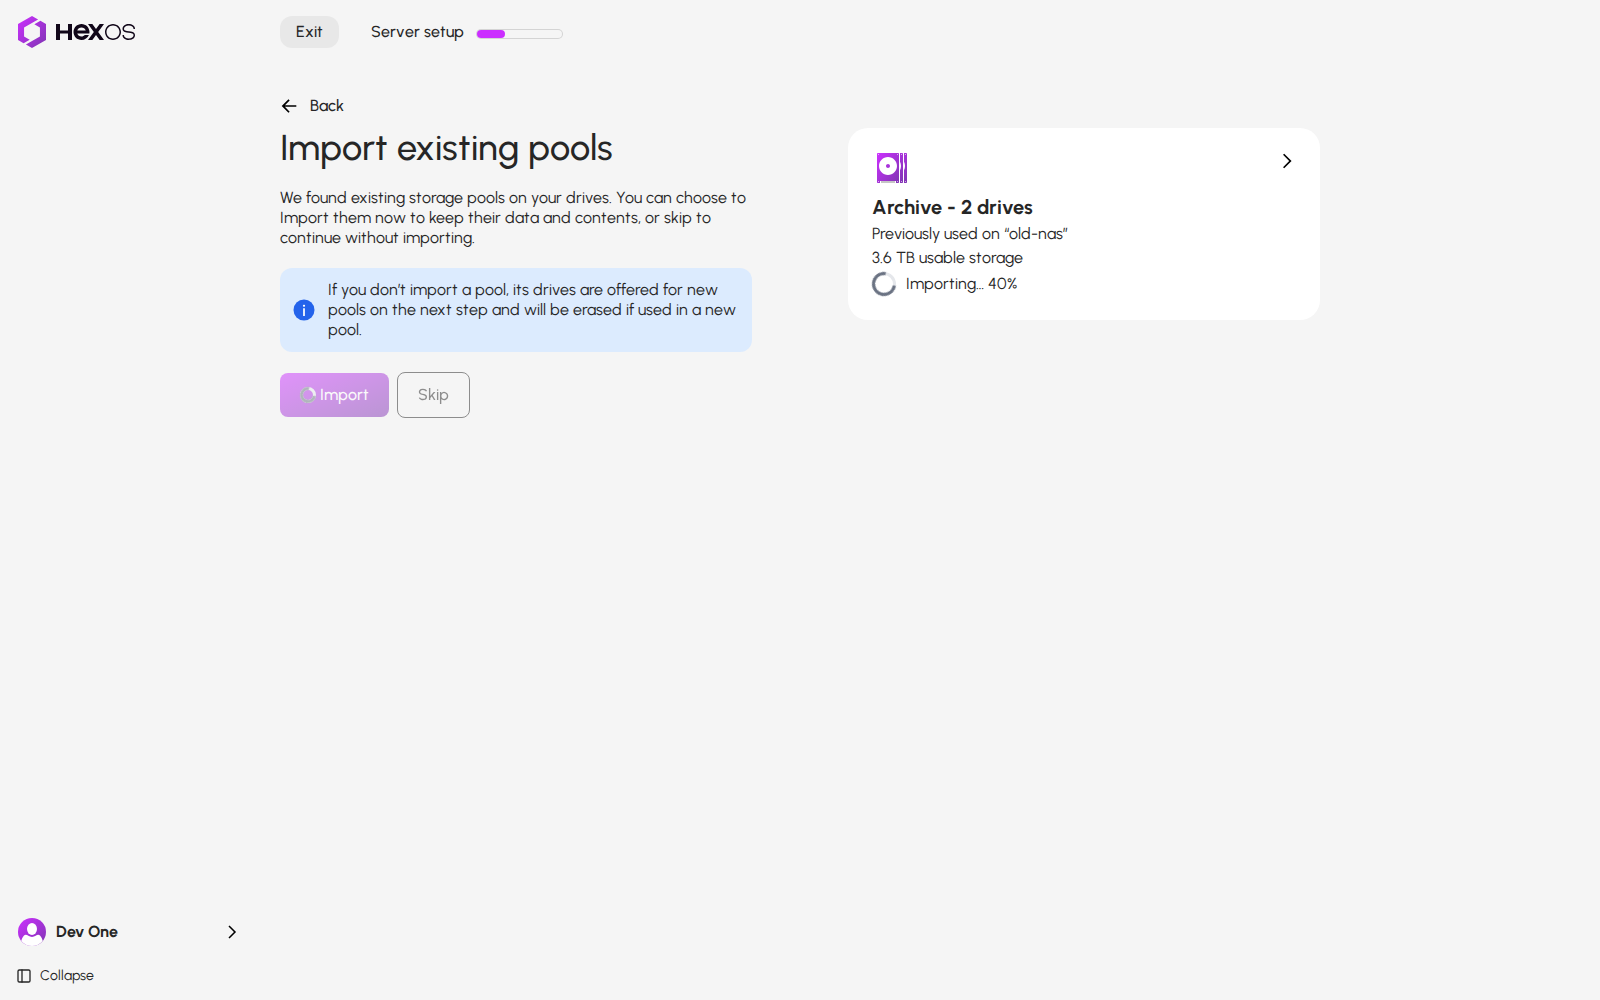
After you click Import, Import and Skip cannot be clicked while the import is running. Each card stays visible and shows how far its import is. Setup waits for the server to say each import is over, however long that takes. When every pool you kept is in, setup moves to the next screen by itself.
A pool being imported
If an import does not work, the card says why:
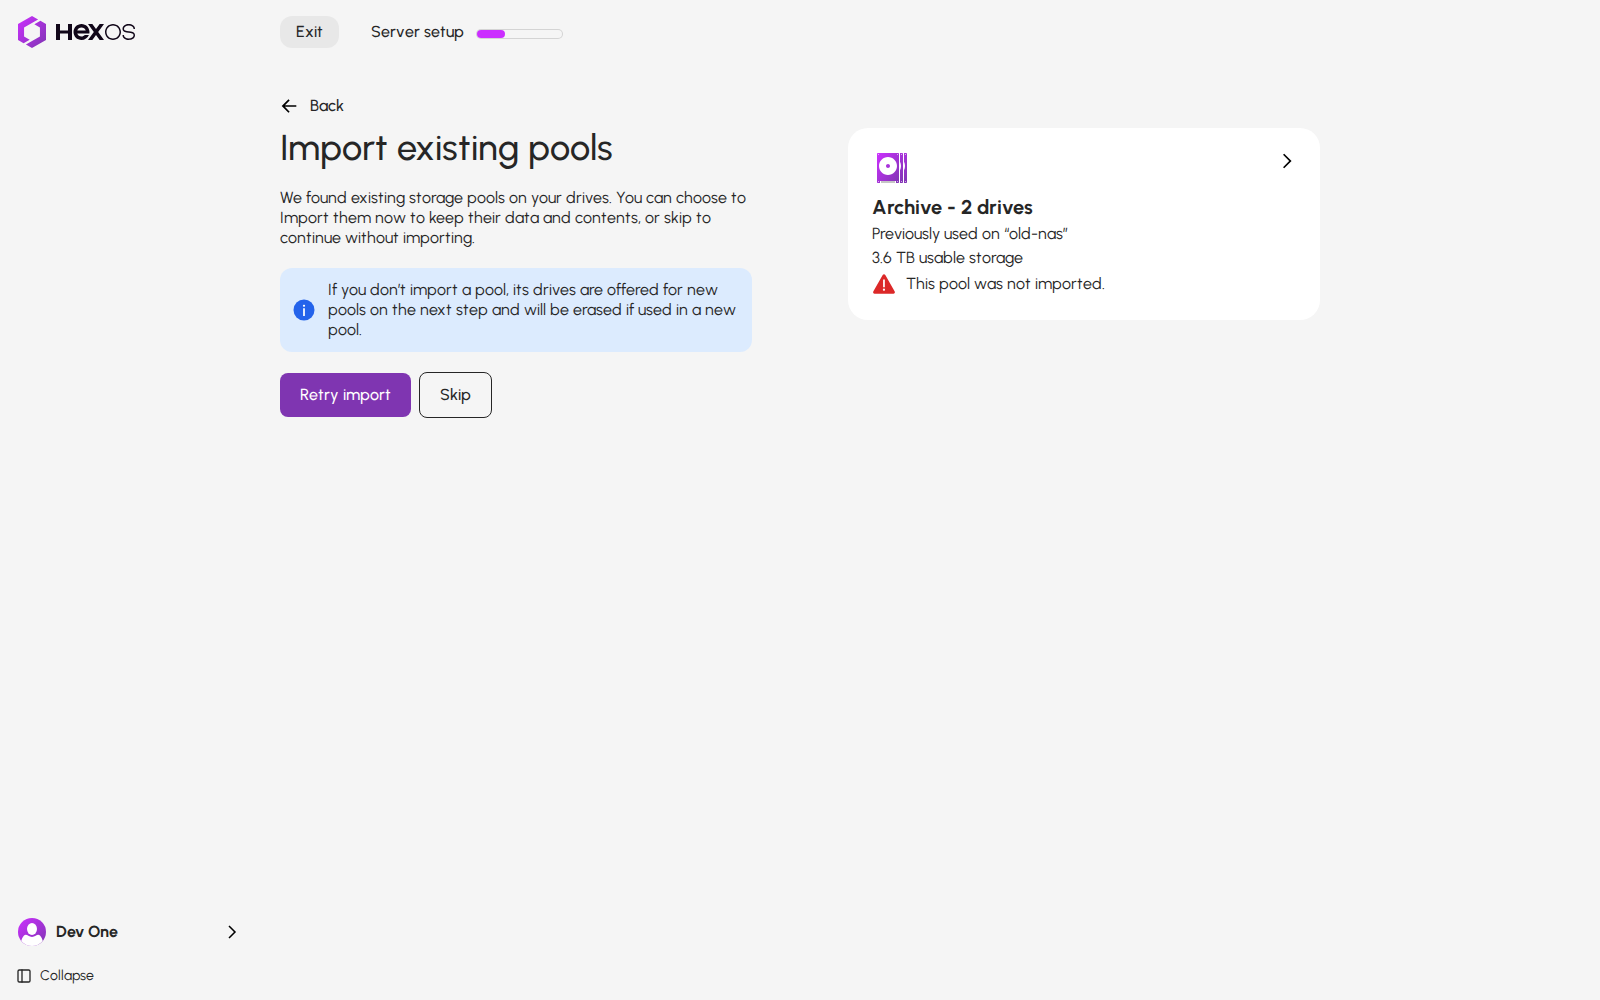
- This pool was not imported. The import is over and the pool is not on the server. Click Retry import to try again, or Skip to leave the pool out.
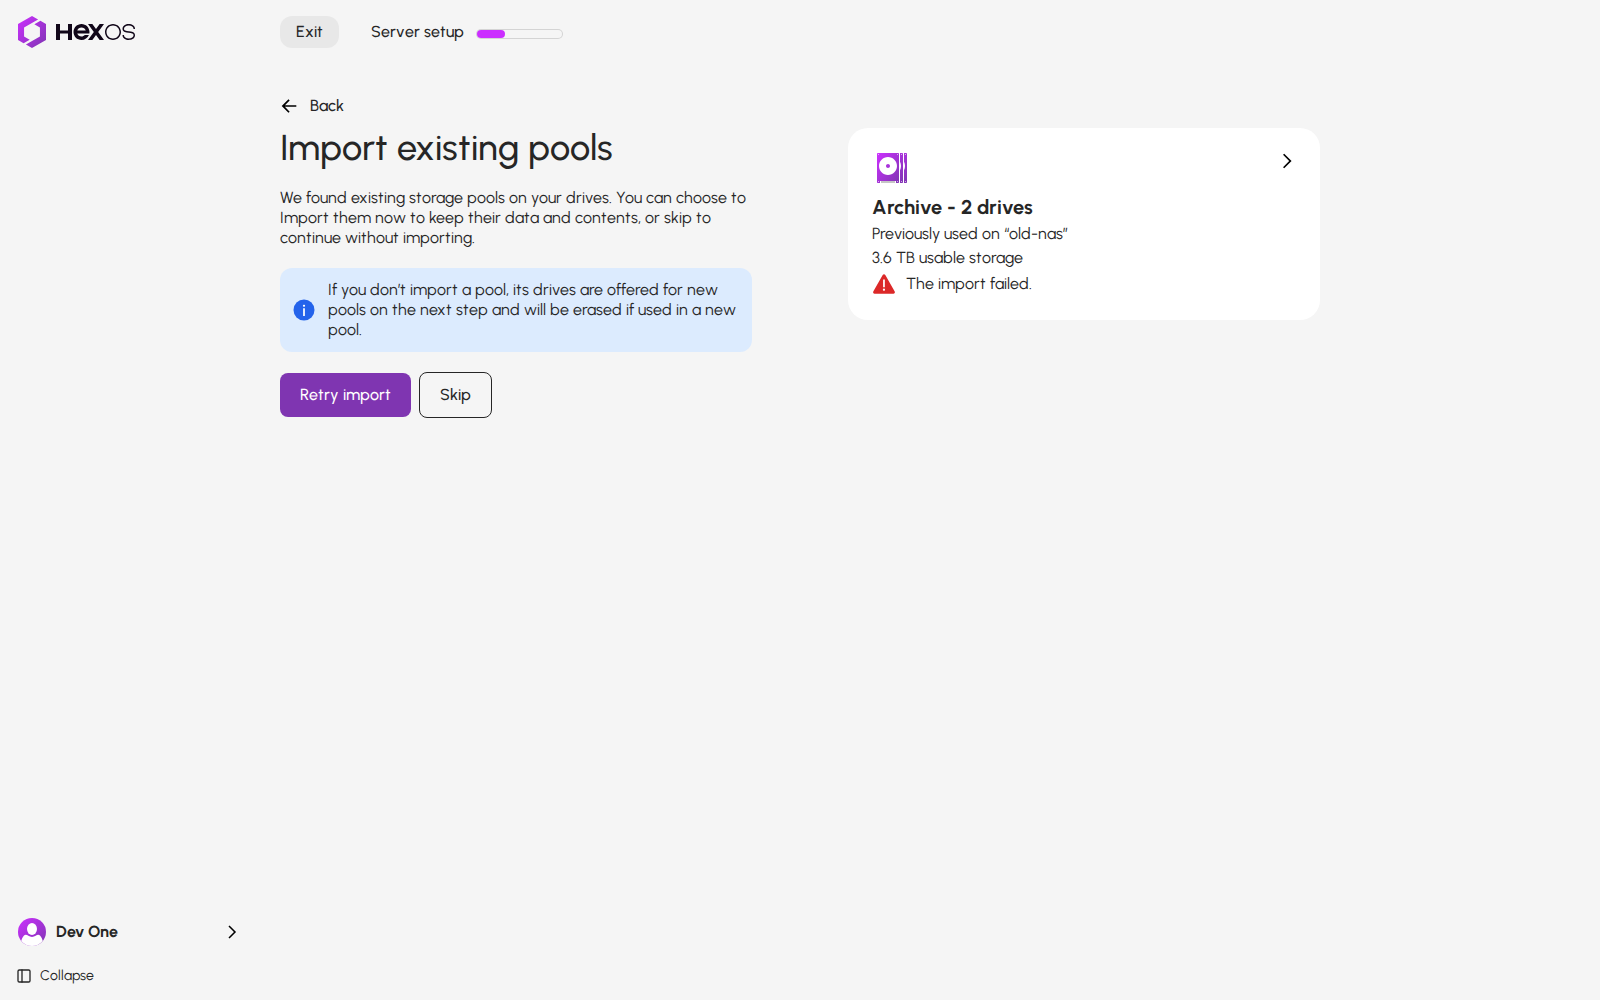
- The import failed. The server reported that the import failed. Click Retry import or Skip.
This pool was not imported
The import failed
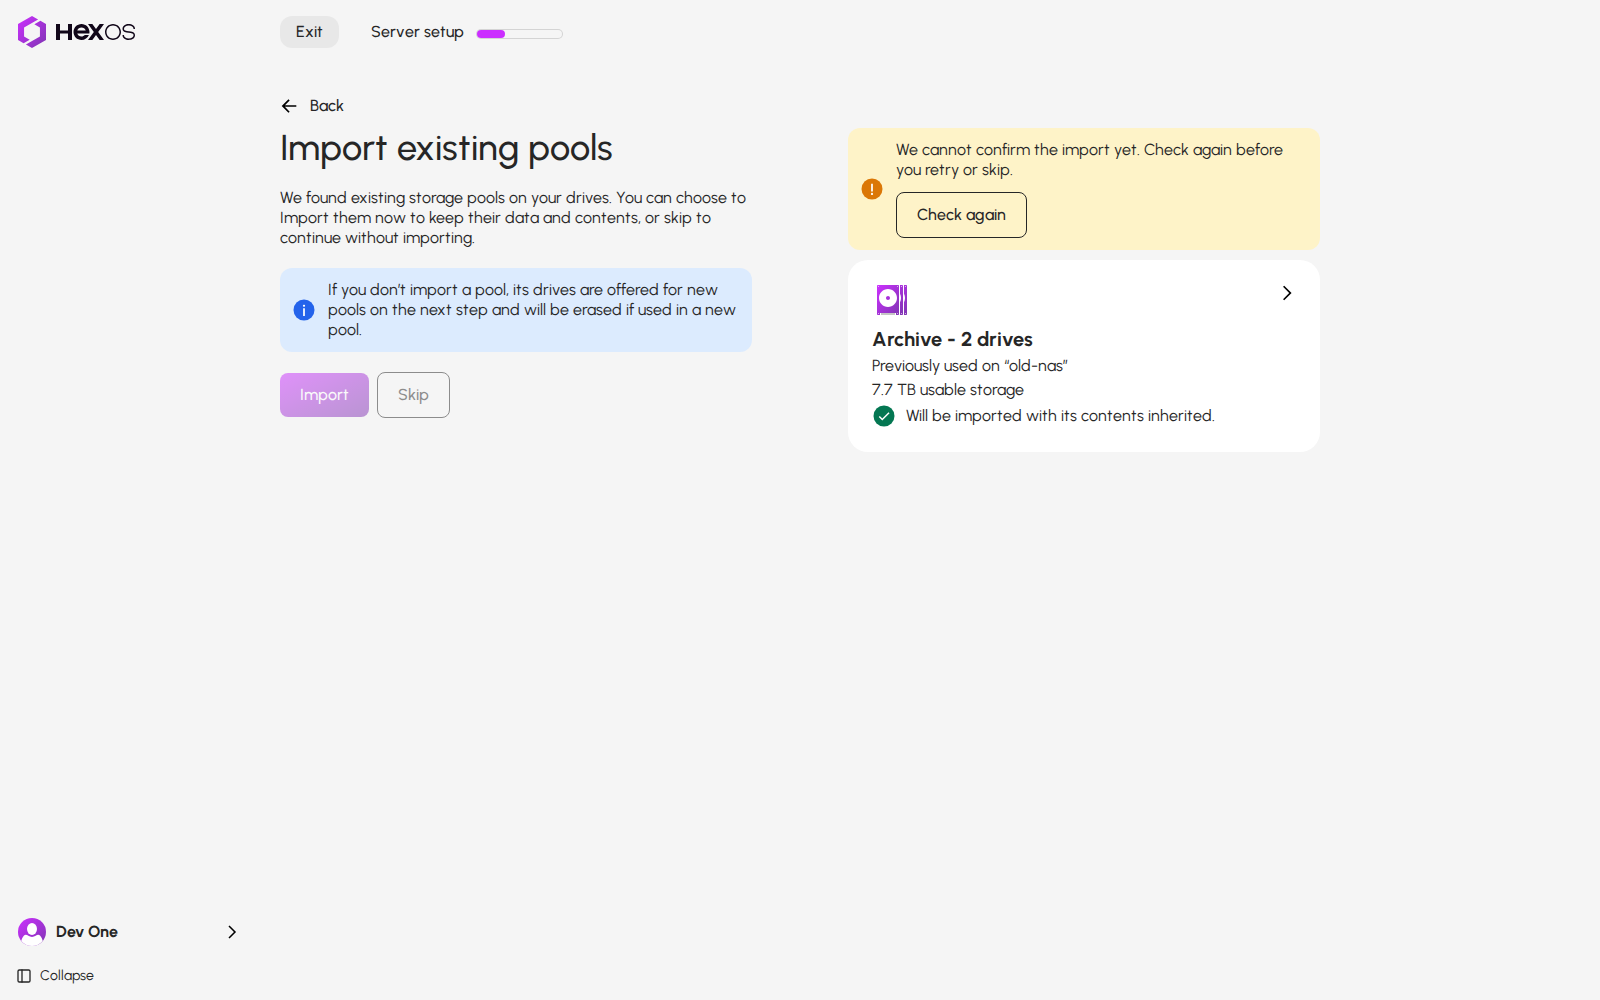
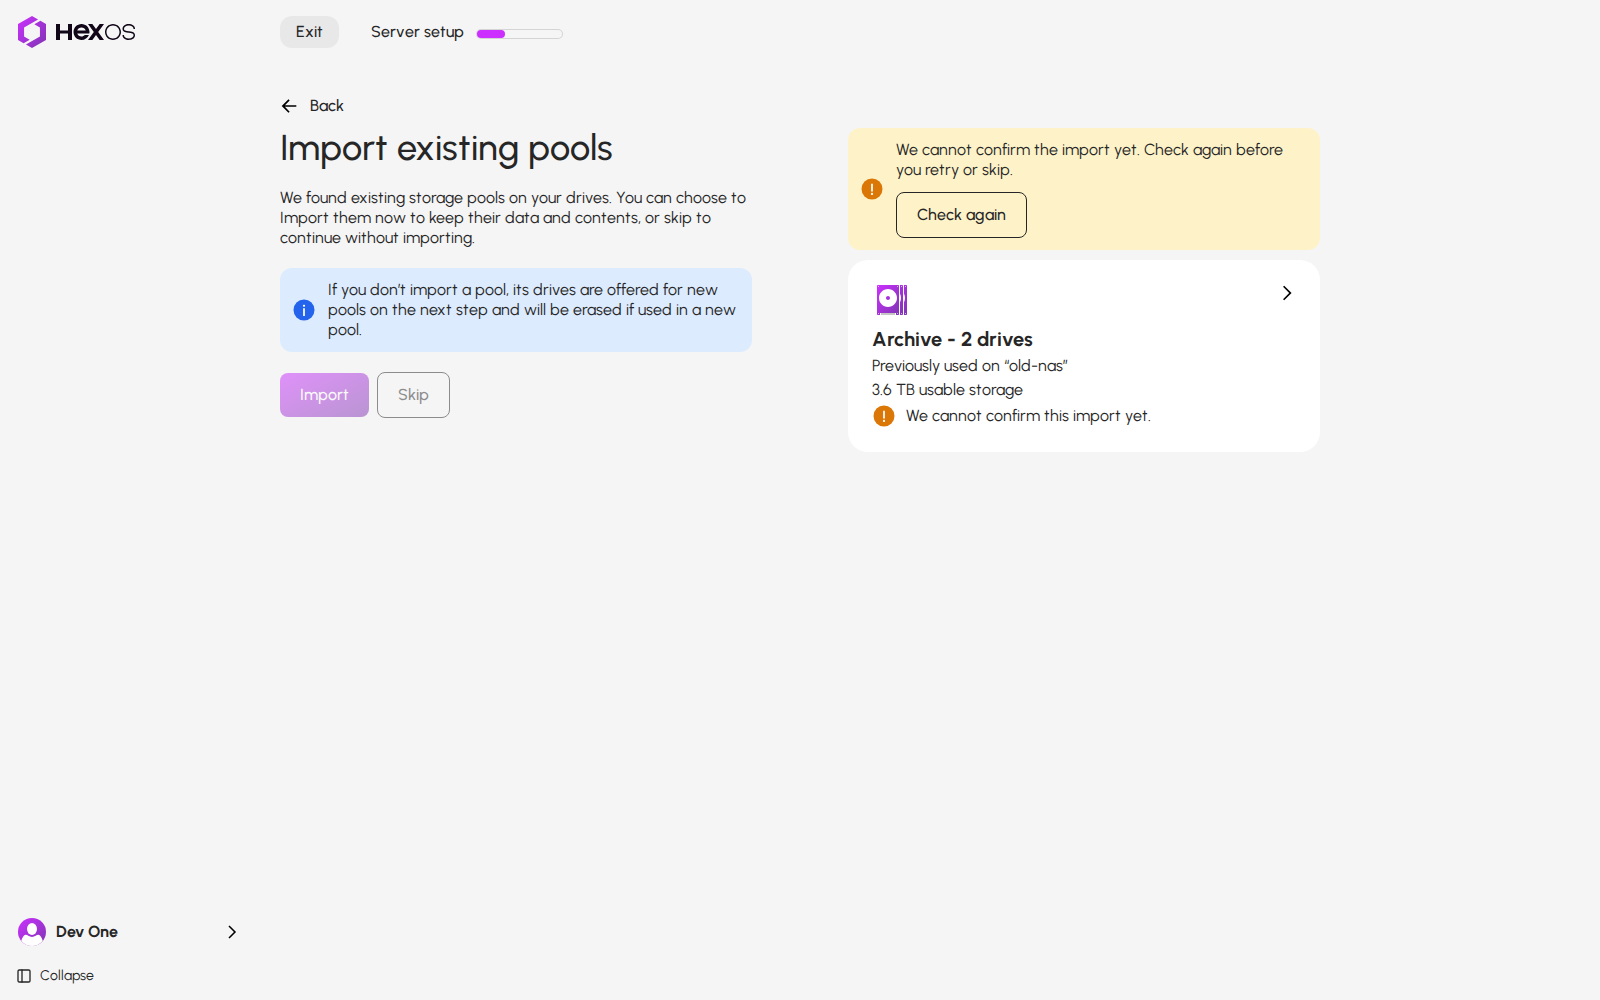
If setup cannot tell yet how an import went, for example because the connection dropped or the server restarted, the card says We cannot confirm this import yet. and the screen says We cannot confirm the import yet. Check again before you retry or skip. Click Check again. Import and Skip wait until setup can tell, so you never act on a guess.
We cannot confirm this import yet
¶ New storage pools
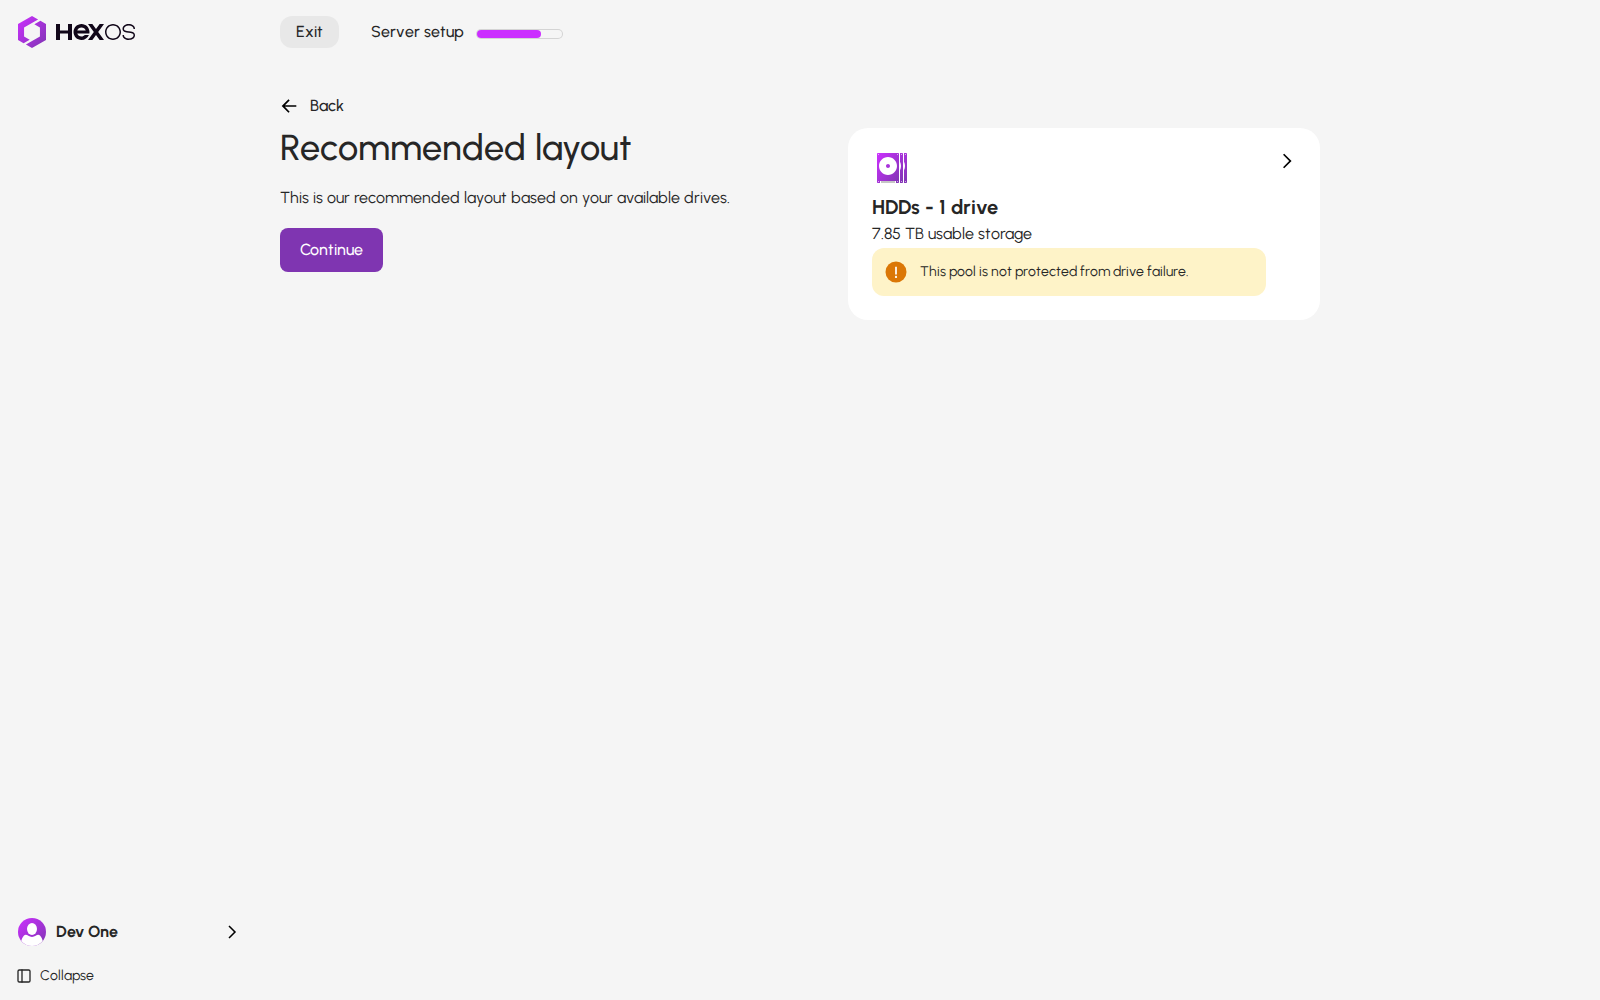
Choose how to use the drives that are free:
- Recommended: HexOS plans the pools for you, asking what matters most when more than one drive is free.
- Custom: choose the drives and the layout yourself.
- Only use imported pools: create nothing new. You only see this when you kept a pool.
New storage pools
¶ If the pools cannot be read
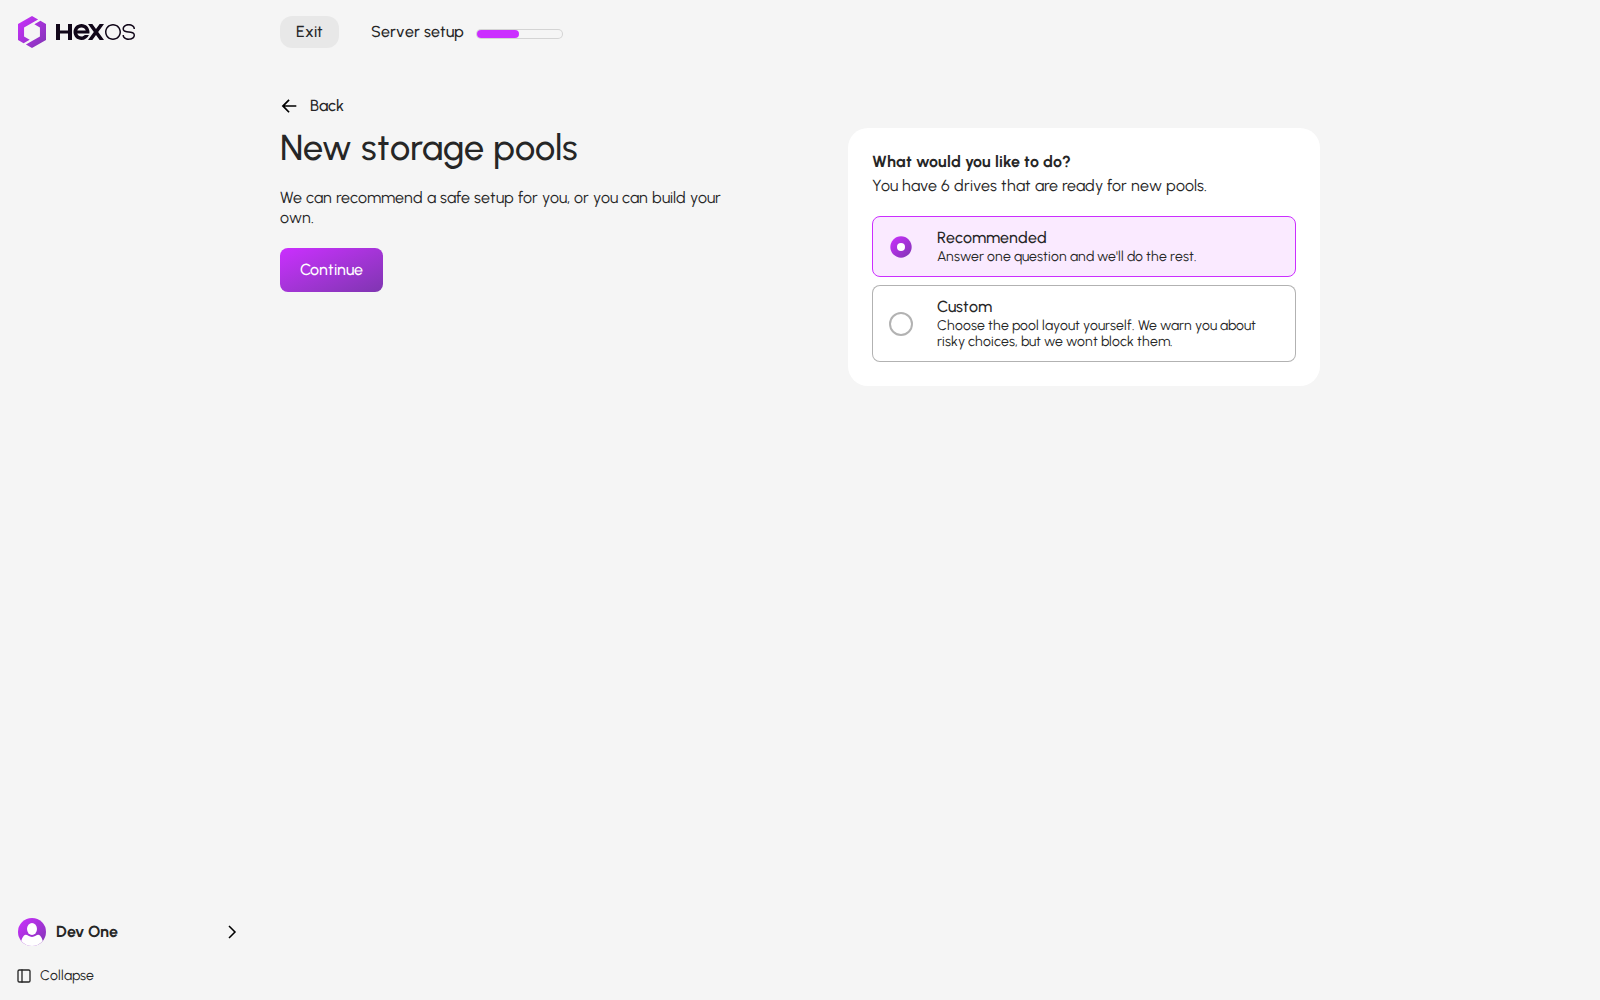
If HexOS cannot read the pools on your server, the screen says We could not read the pools on this server. Click Try again. Continue waits until the pools are read, because setup must know which pools you keep. The same message can show on Import existing pools, Recommended layout, Build your storage and Almost done!.
We could not read the pools on this server
¶ Recommended setup
¶ Choose what matters most
The What matters most? screen changes with the number of drives free for new pools.
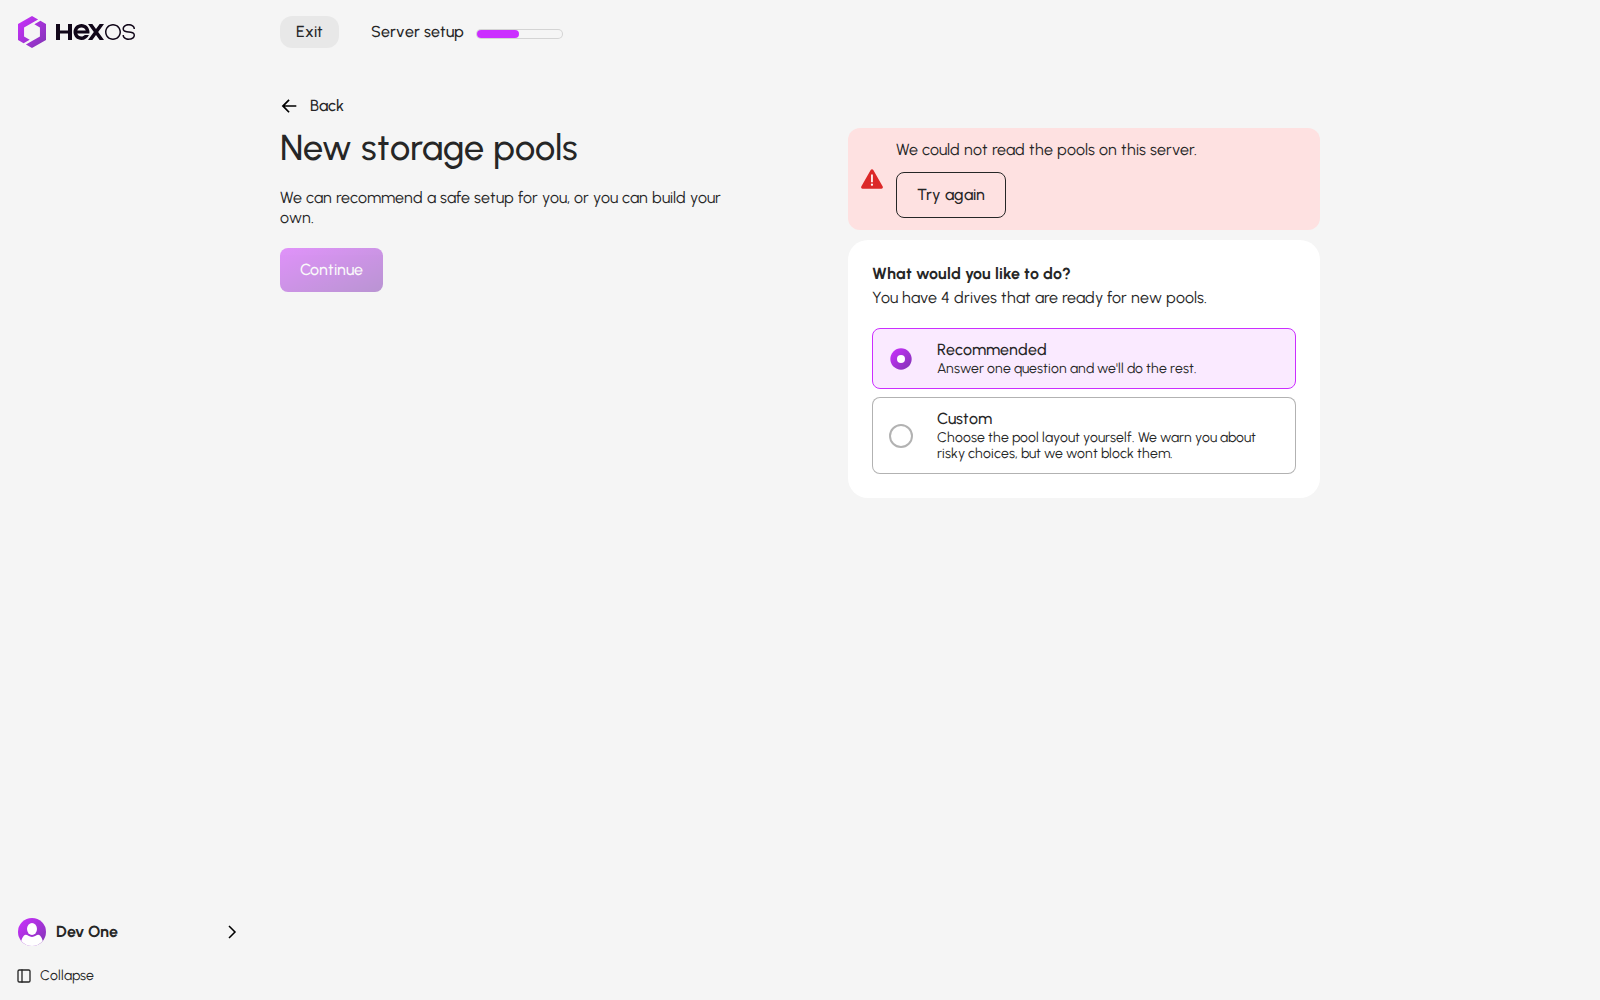
With one free drive, HexOS skips this question and goes straight to Recommended layout. One drive cannot protect its data if it fails.
Recommended layout with one free drive
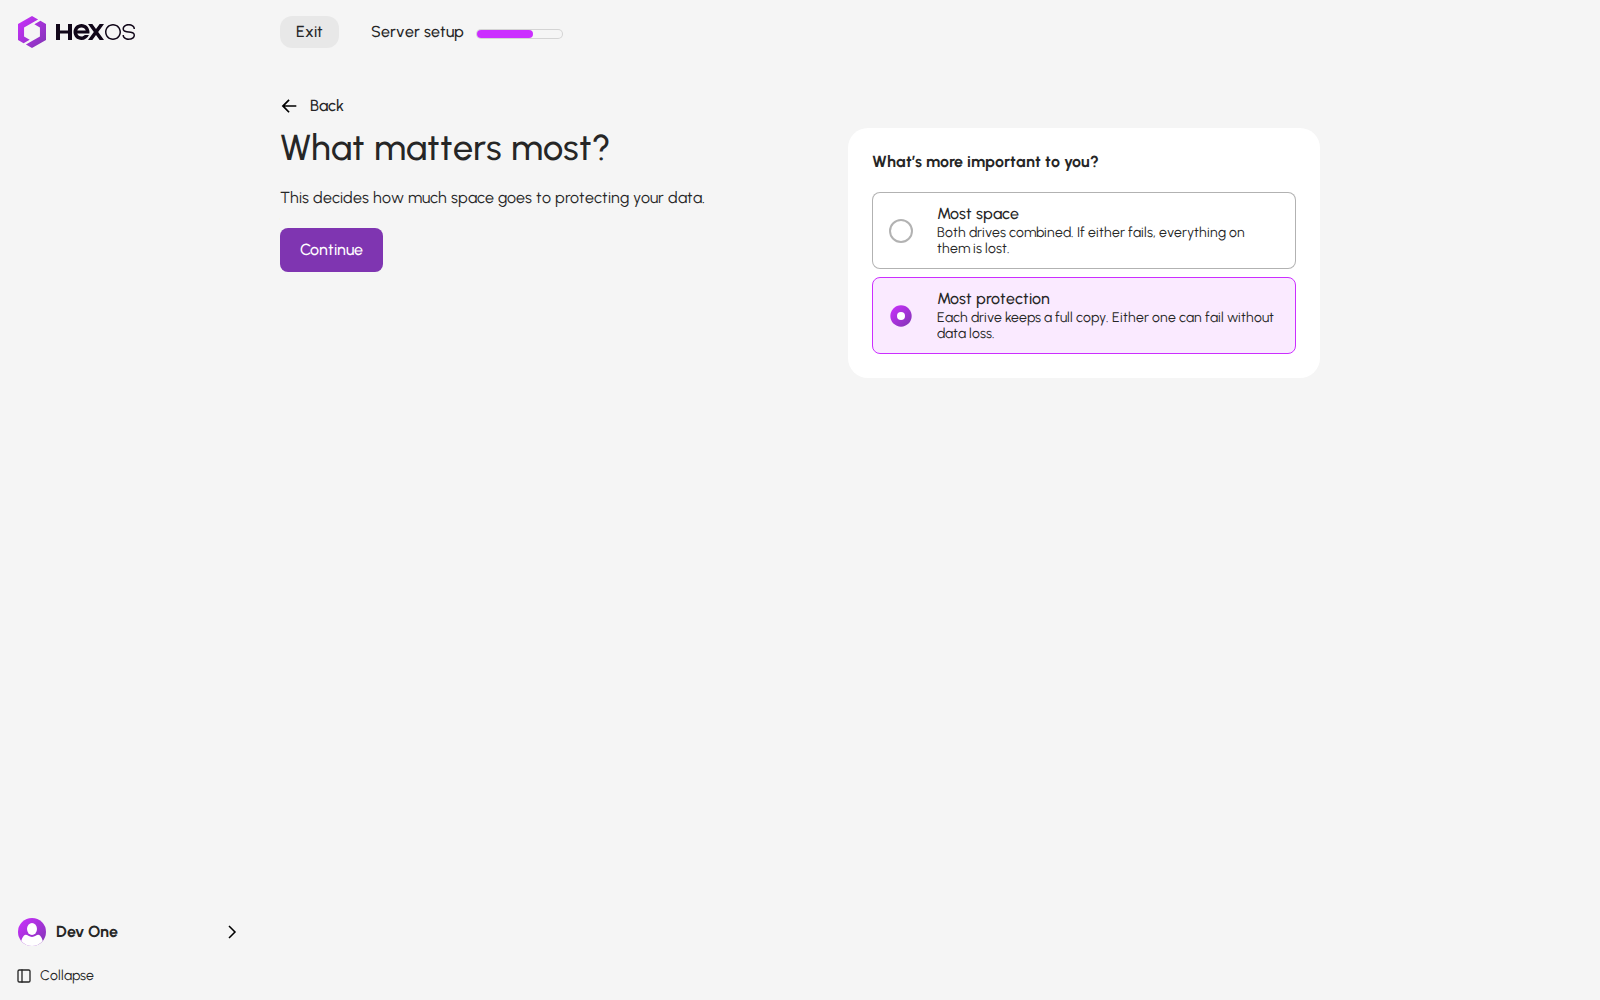
With two free drives, choose Most space or Most protection. Most protection is selected until you choose. For two drives of the same kind and similar size:
- Most space combines them in a stripe. If either drive fails, all data on the pool is lost.
- Most protection uses a mirror: each drive holds a full copy, so one can fail without losing the pool's data.
What matters most with two free drives
Info: Hard drives and SSDs stay in separate pools, and HexOS groups drives of similar sizes. If your two drives cannot share a pool, either choice can leave you with separate, unprotected pools. Check the recommended layout before you finish.
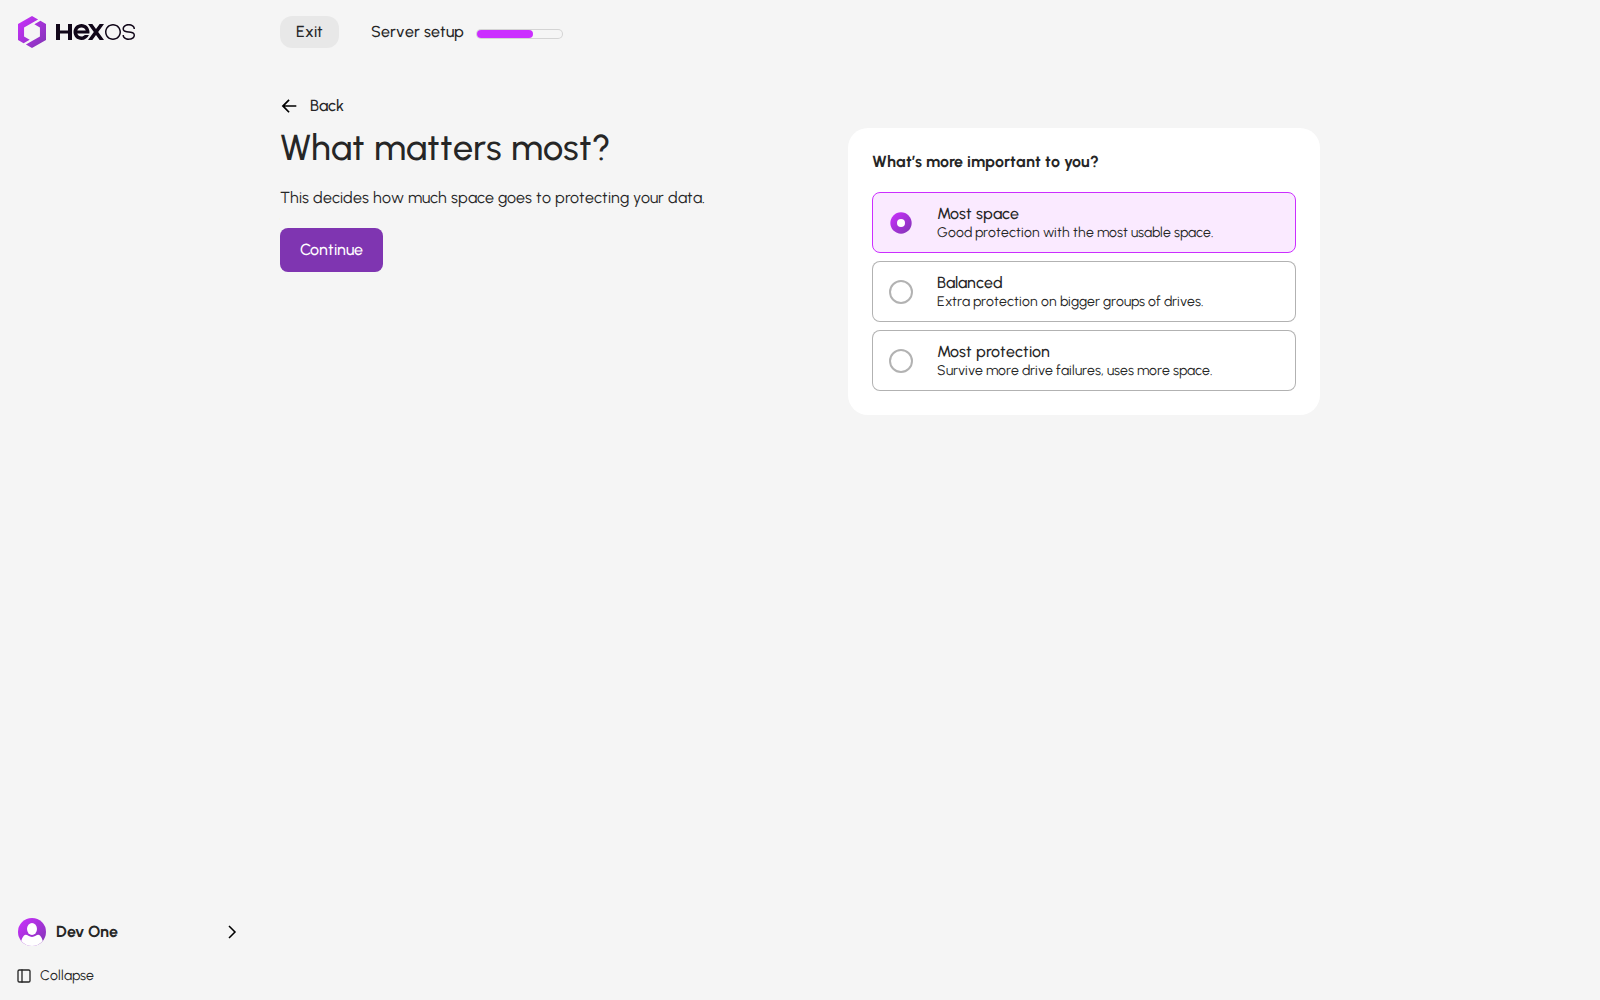
With three or more free drives, choose one:
- Most space prioritizes usable space.
- Balanced adds more protection to bigger groups of drives.
- Most protection prioritizes surviving more drive failures and uses more space for protection.
What matters most
¶ Check the recommended layout
Each card is one pool. It shows the pool's name, its number of drives, its usable space, and how many drives can fail without losing data. Below the pools, you see the pools you kept and any drives that were not used.
Recommended layout
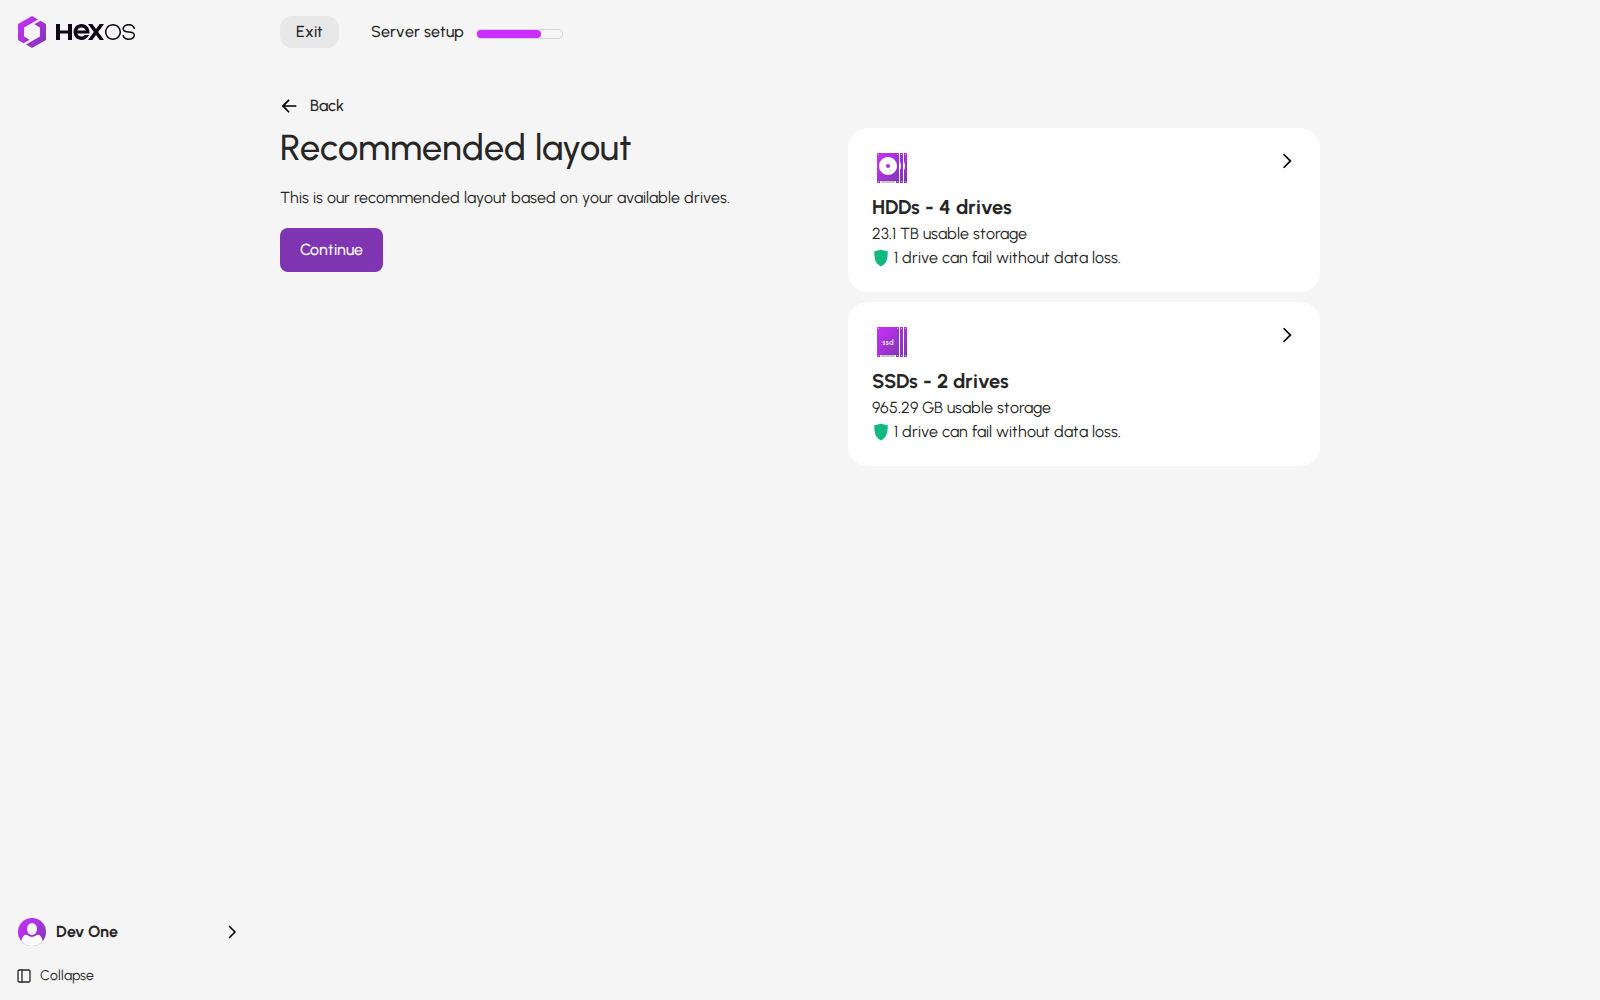
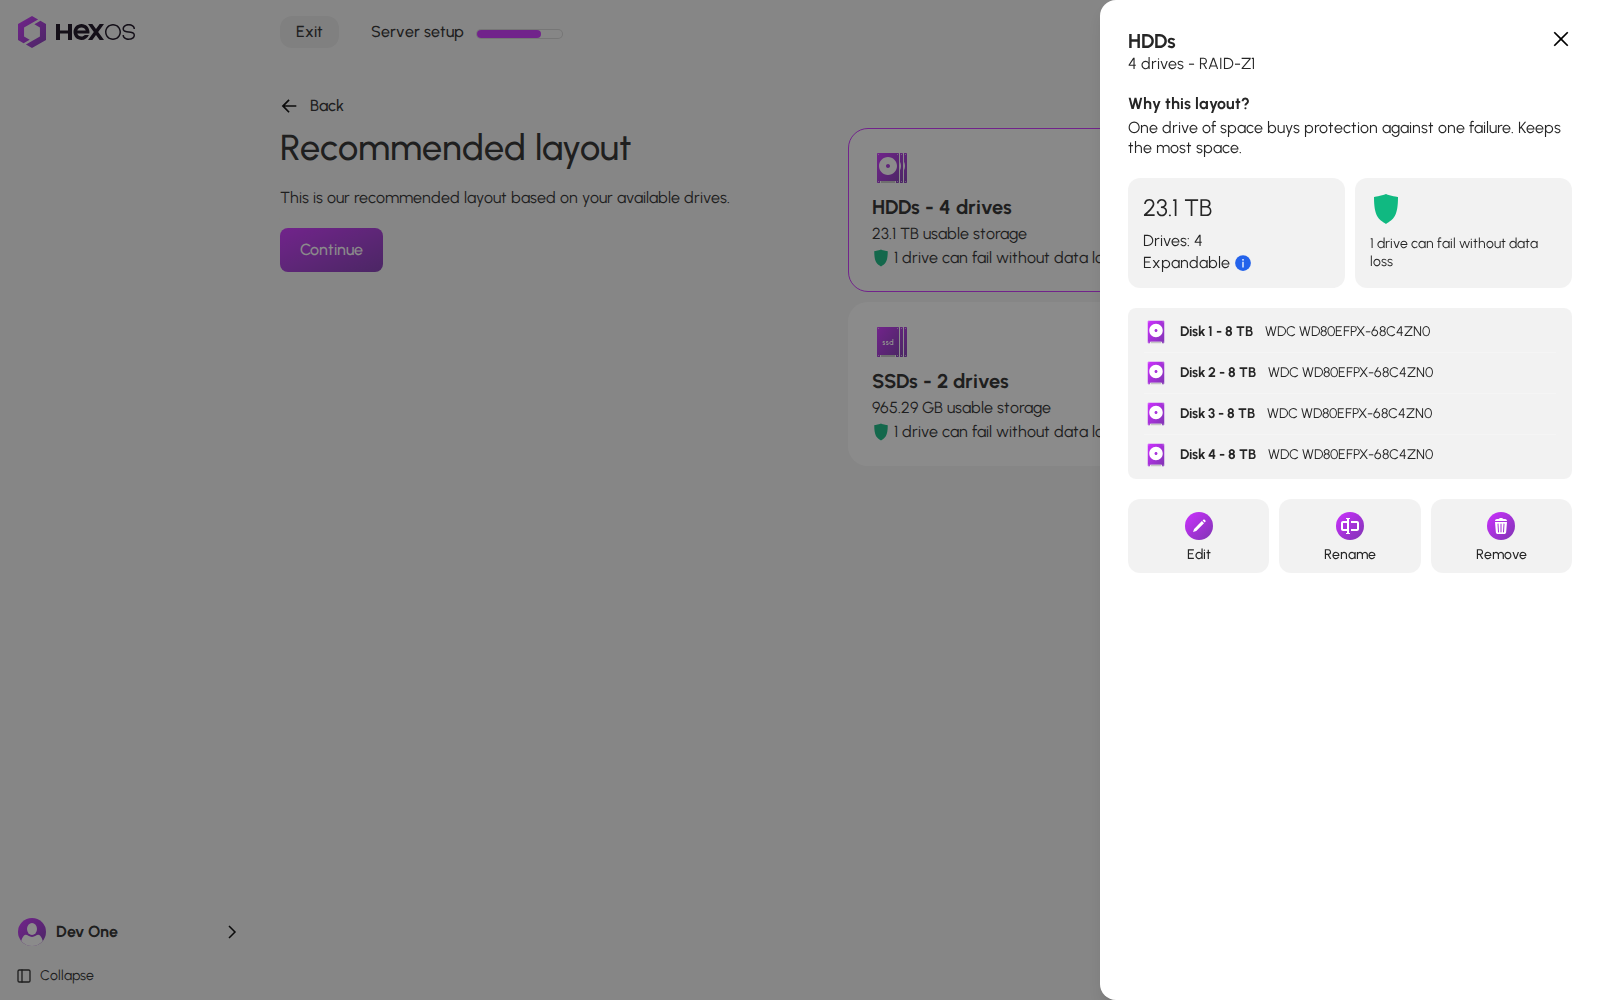
Click a pool to see why HexOS chose this layout and which drives are in it. From there you can:
- Click Edit to change the pool's drives or layout.
- Click Rename to give the pool another name.
- Click Remove to take the pool out of the plan.
A pool in the recommended layout
If you kept pools, click the card below the new pools that counts them, for example 2 imported pools. For each pool you kept, the panel shows how much space is used, how many drives can fail, and a line when the pool is not healthy. Under Also on this server, it lists what is already there and stays: the server's users, its apps when the pool they run from is kept, its virtual machines whose disks are on kept pools, and the folders (shared or not) and Time Machine backups on the pools you kept. Click a group to see what is in it. Anything HexOS could not read says so.
The pools you kept
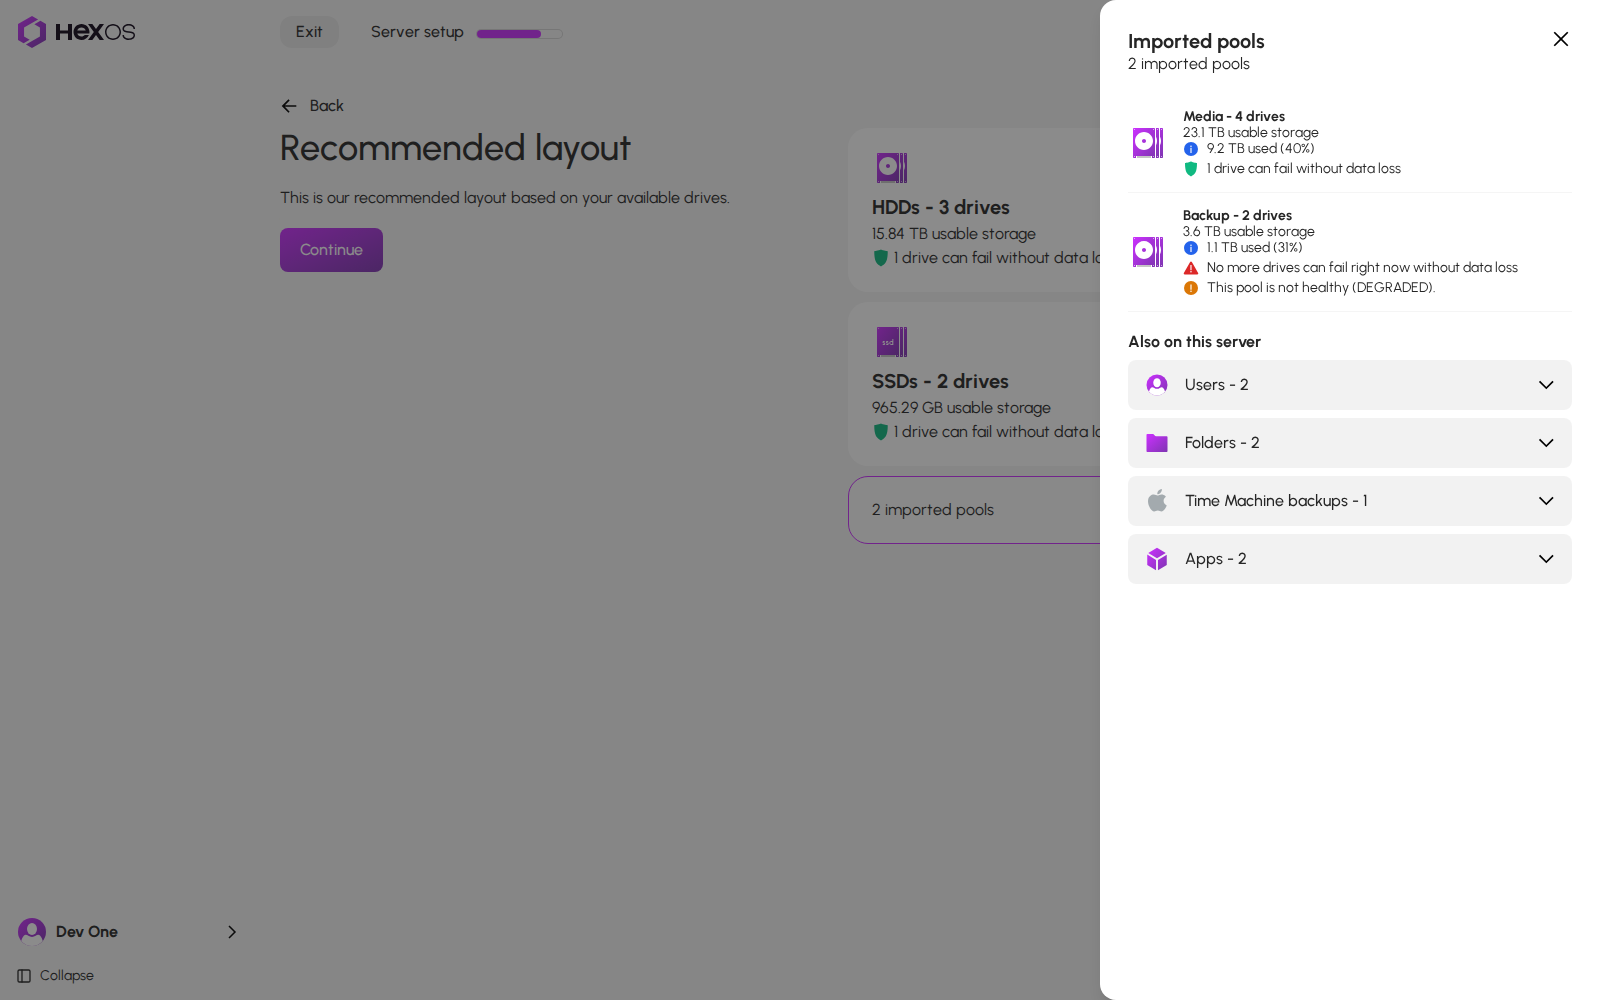
Info: A pool counts every drive as the size of its smallest drive, so HexOS only puts drives of similar sizes together. Hard drives and SSDs never share a pool. A drive that does not fit a pool is listed as not assigned, with the reason.
¶ Custom setup
The Build your storage screen starts with No storage pools. Click Add pool.
Build your storage
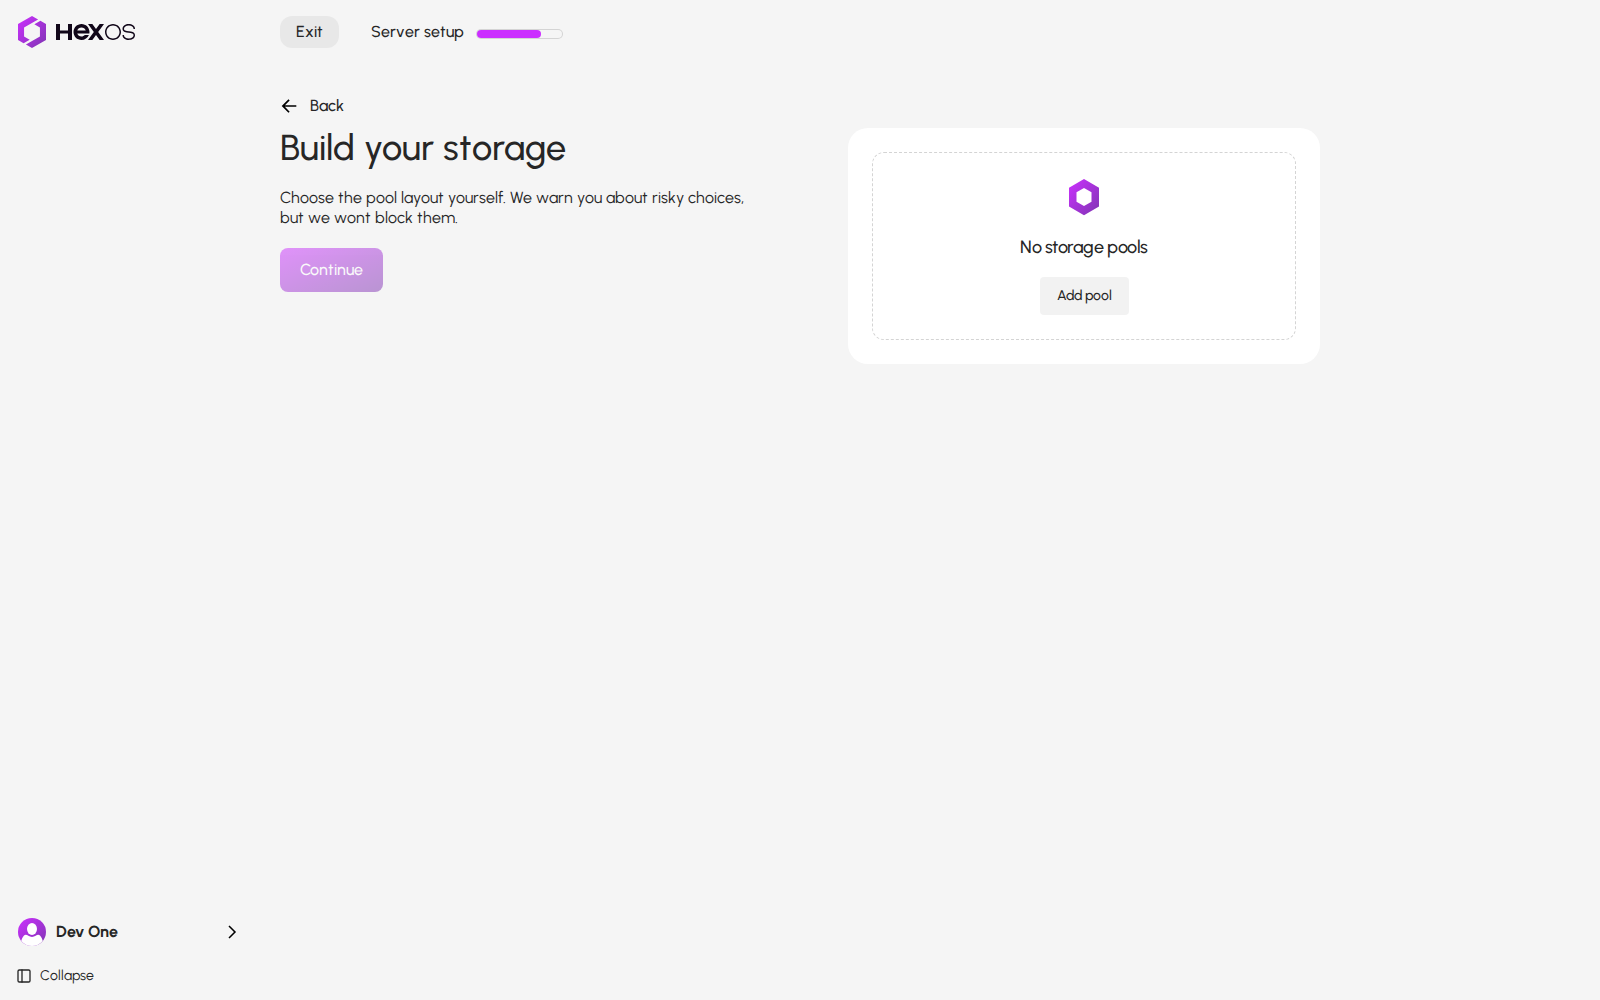
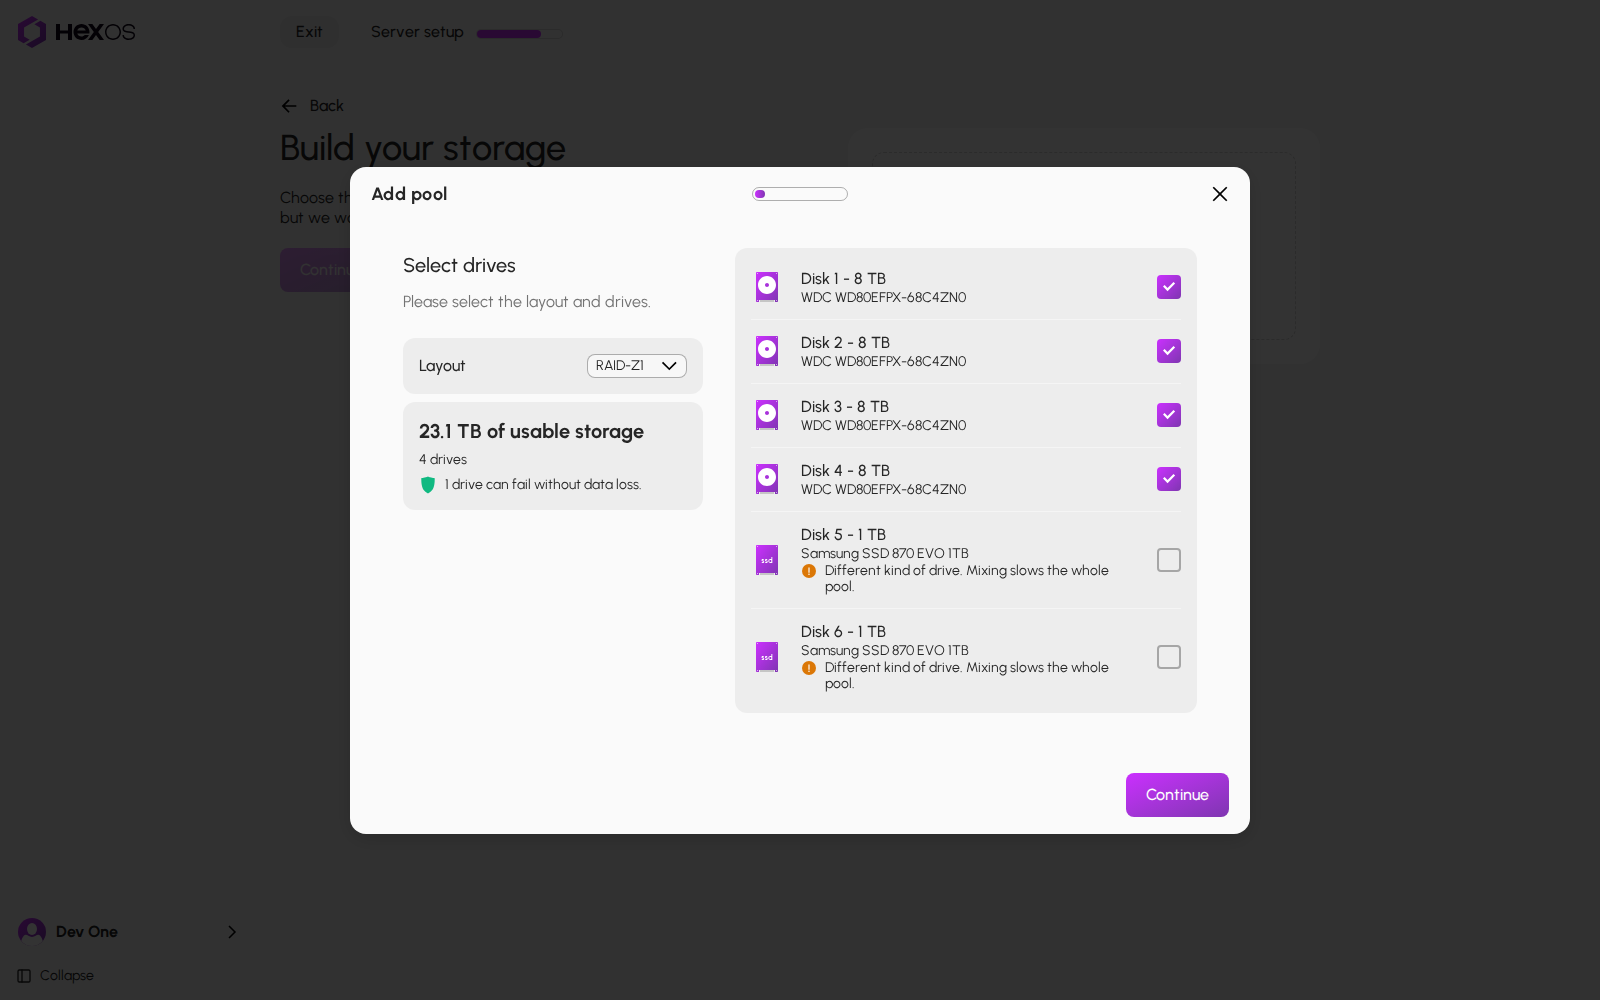
In the Add pool dialog:
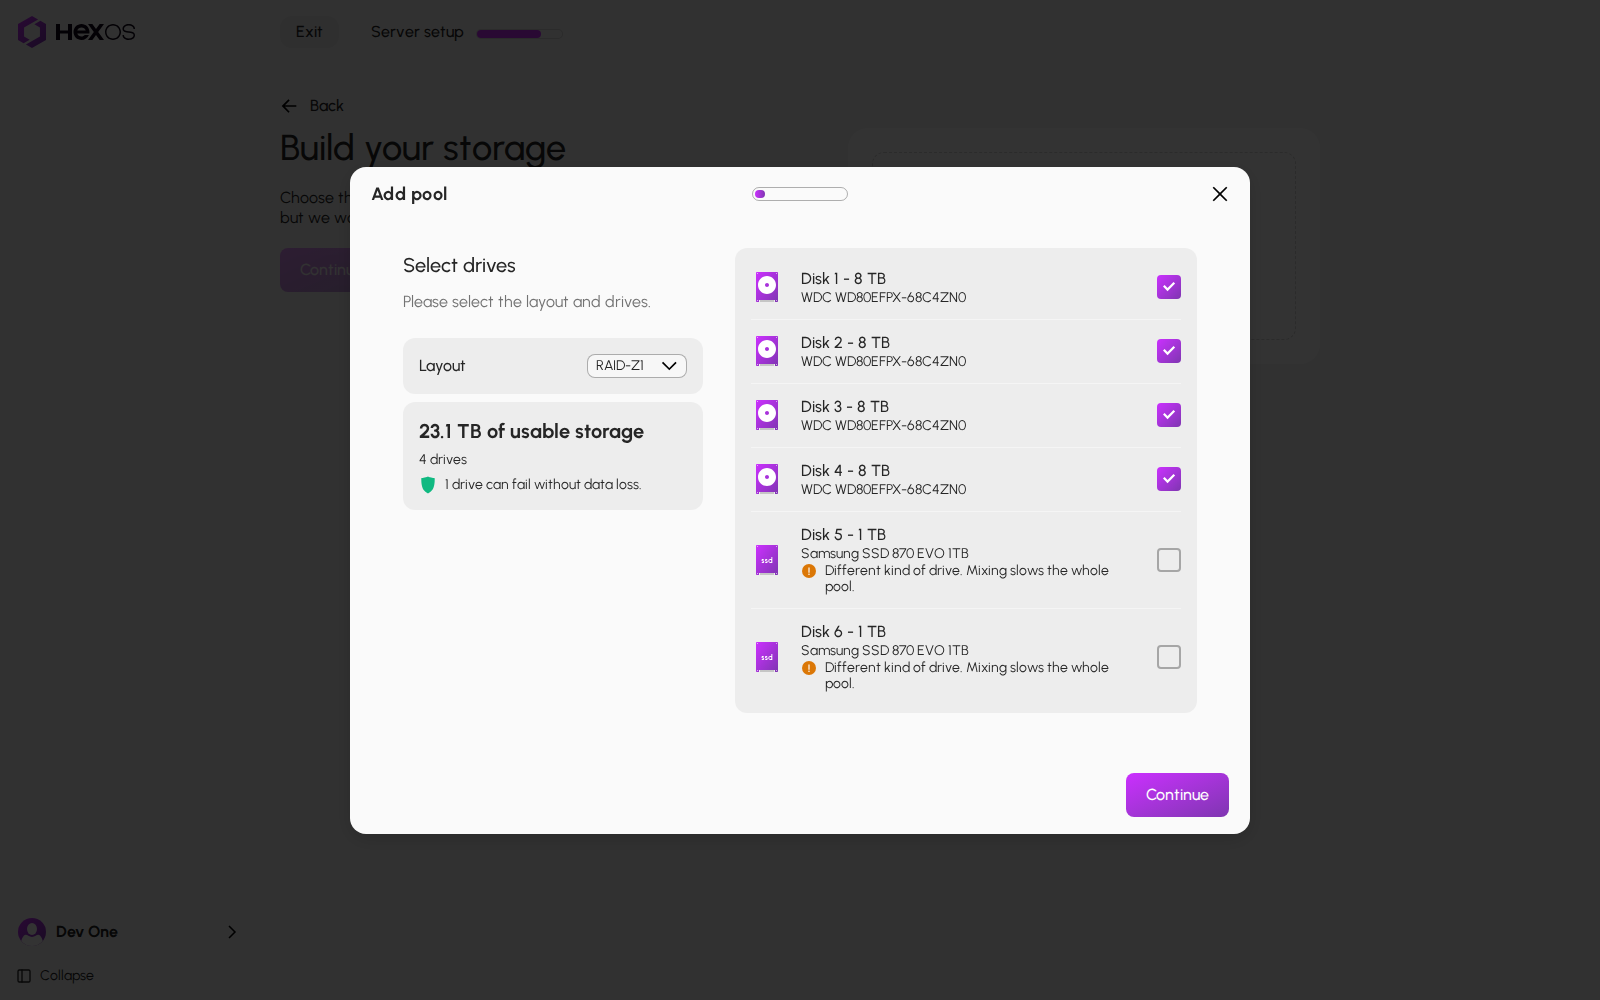
- Tick the drives for the pool.
- Choose a Layout. The list only shows what your number of drives allows.
- Check the usable space and how many drives can fail.
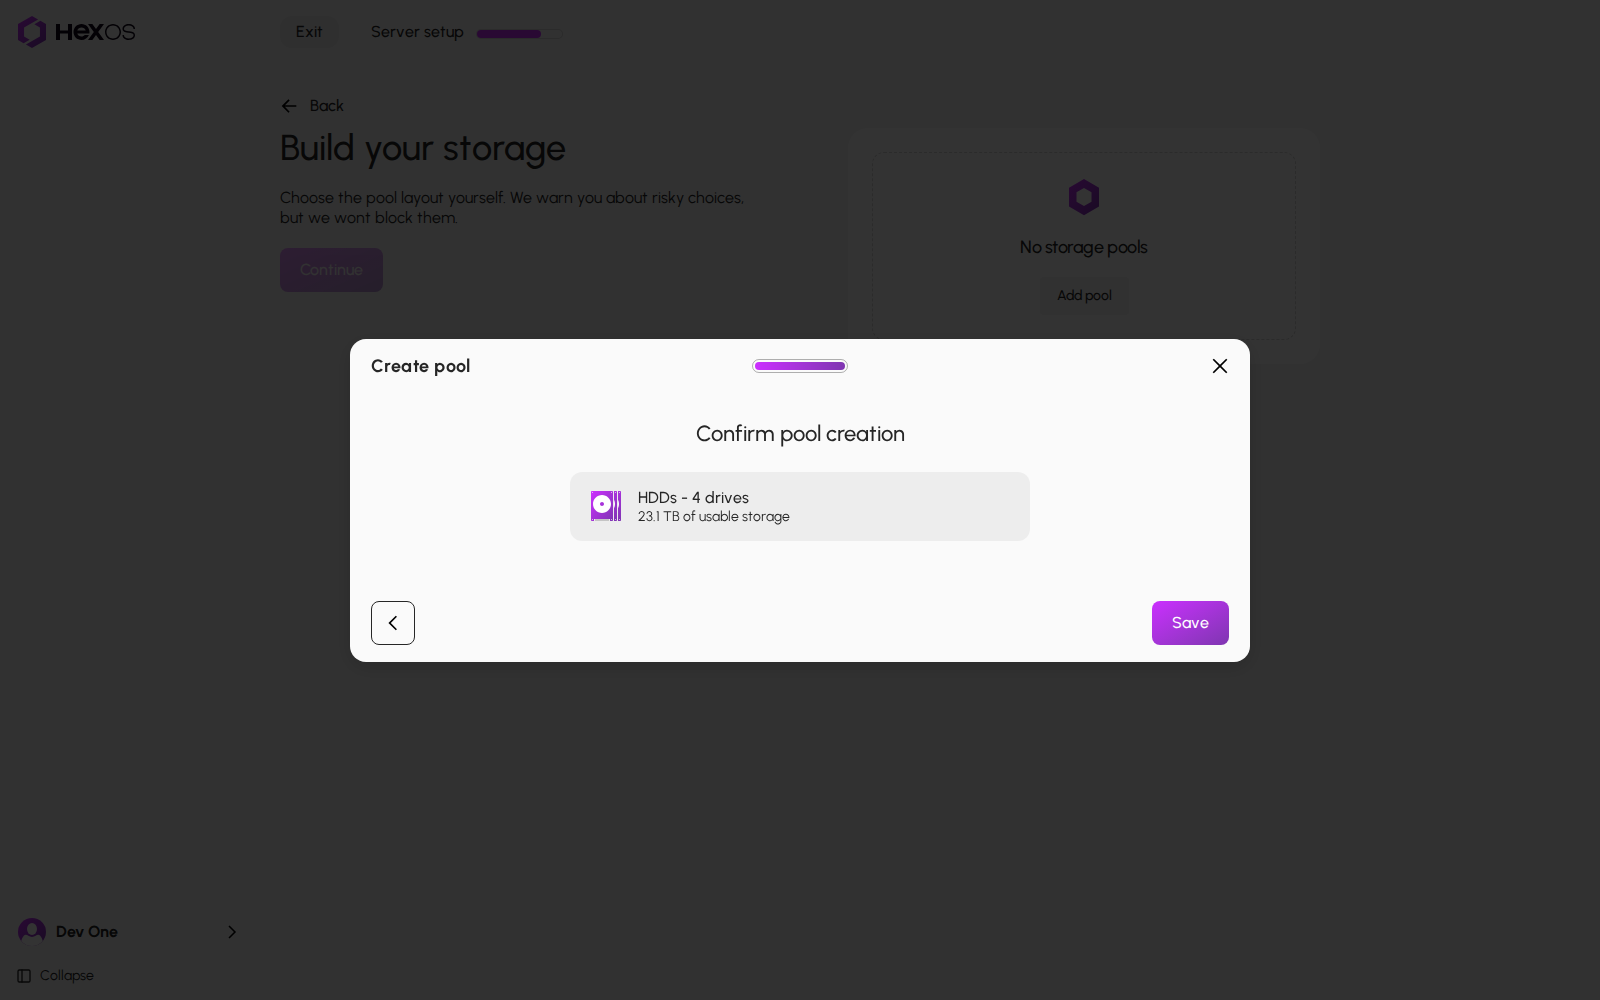
- Click Continue, review the pool, and click Save. There is no erase consent box in this dialog: the pool is added to your plan, and nothing is built yet. If you click Continue right after a change, it waits for the new figures, then moves on by itself.
Once every drive is in a pool, Add pool cannot be clicked.
Add pool
Confirm the pool
Hard drives and SSDs (including NVMe drives) are different kinds of drive. Once you tick drives of one kind, each drive of the other kind says Different kind of drive. Mixing slows the whole pool. You can still tick it.
A different kind of drive
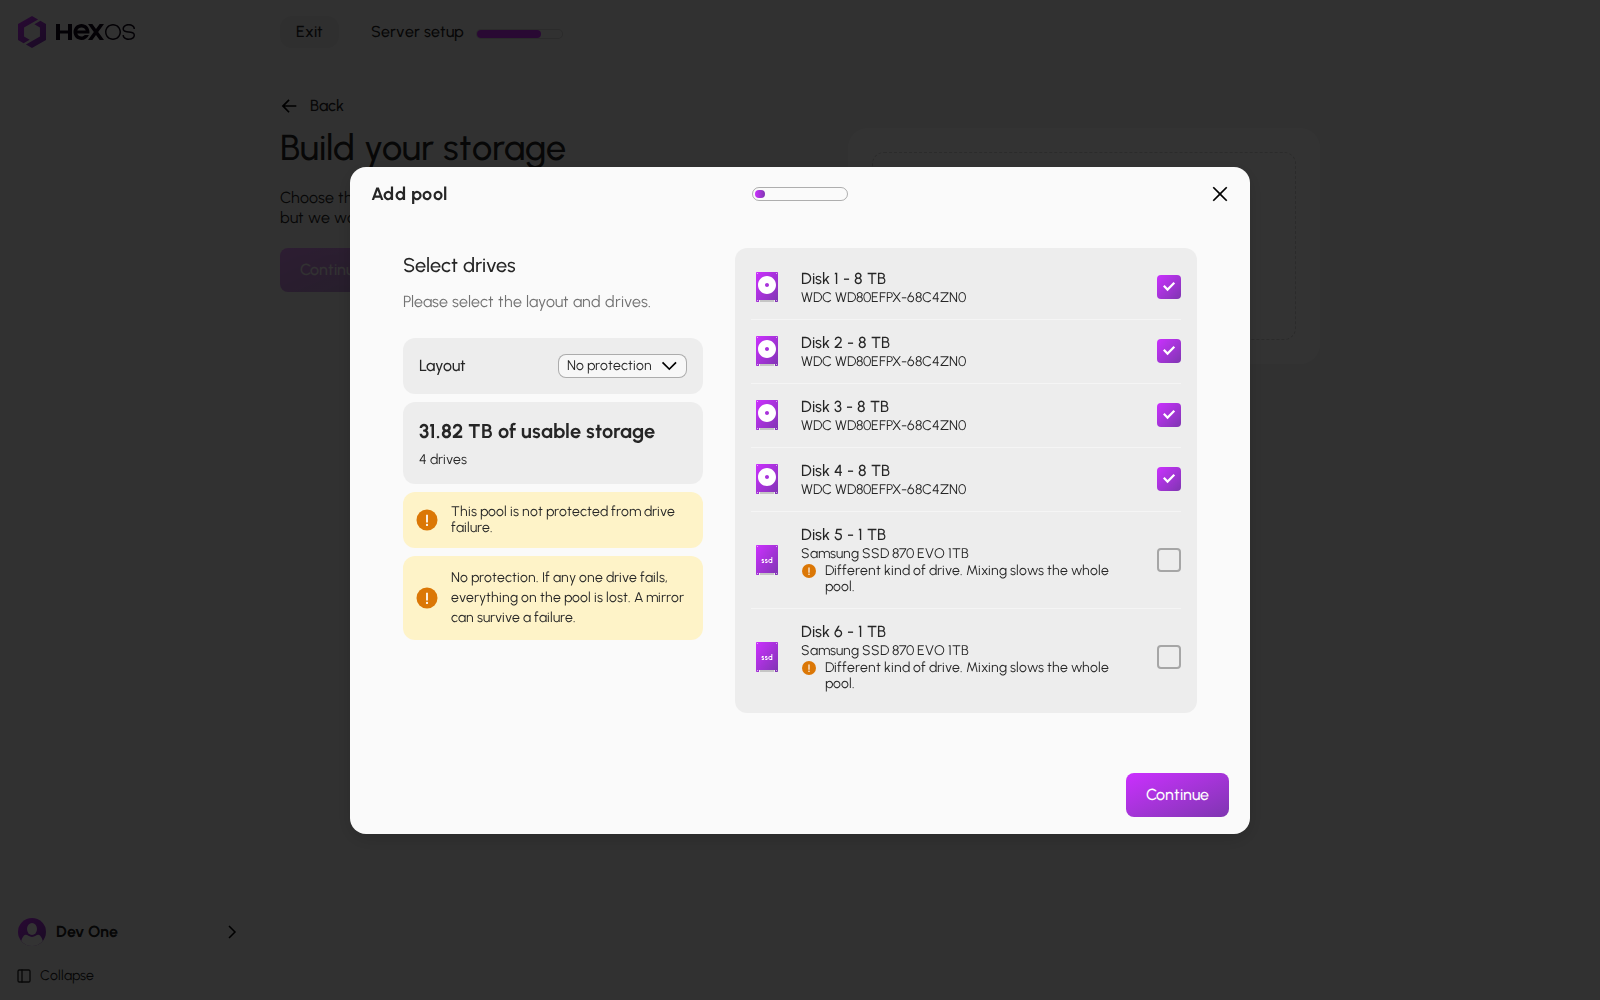
Warning: If you choose a layout that does not protect your data well, HexOS shows a warning that explains the risk. The choice is still yours.
A layout warning
¶ Choose hardware checks
After choosing your pools, Hardware checks asks What tests would you like to run? Memory and Storage both start unticked. Choose either, both or neither.
Hardware checks
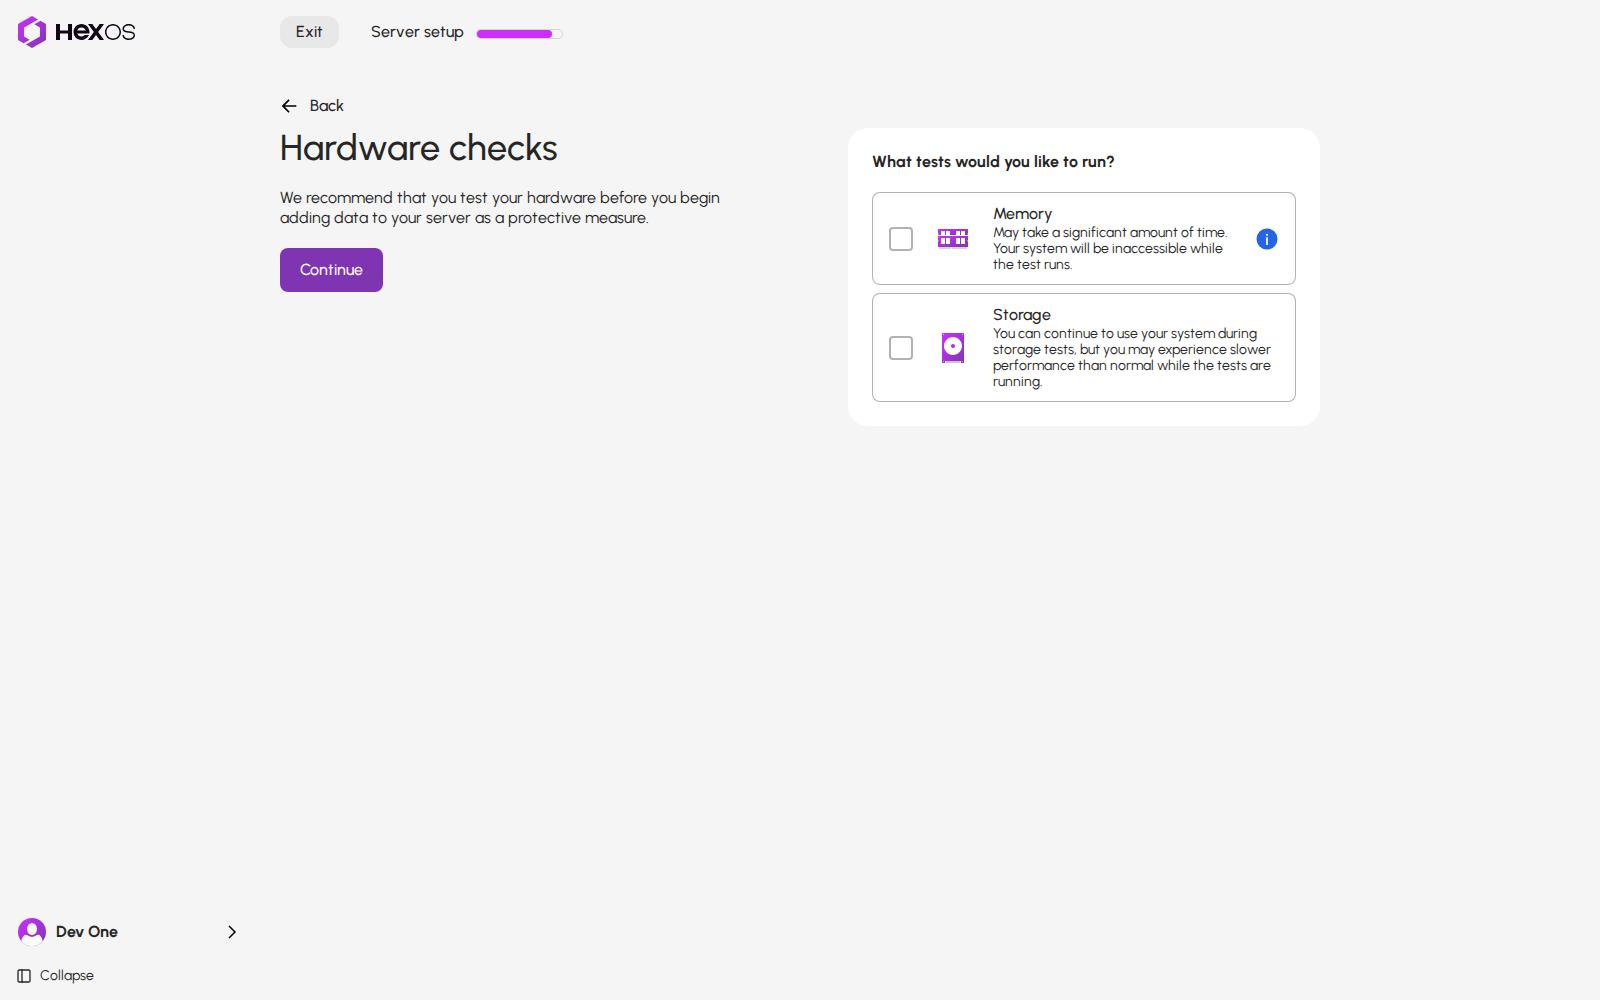
- Memory restarts the server into a memory test after setup finishes. The Command Deck and TrueNAS cannot reach the server during the test.
- Storage requests a deep check of every new, kept and imported pool. You can keep using the server while it runs, with possibly slower performance.
Info: Kept and imported pools need current HexOS server software for their setup checks. An older server build does not start these checks. See New server checklist for what to look for.
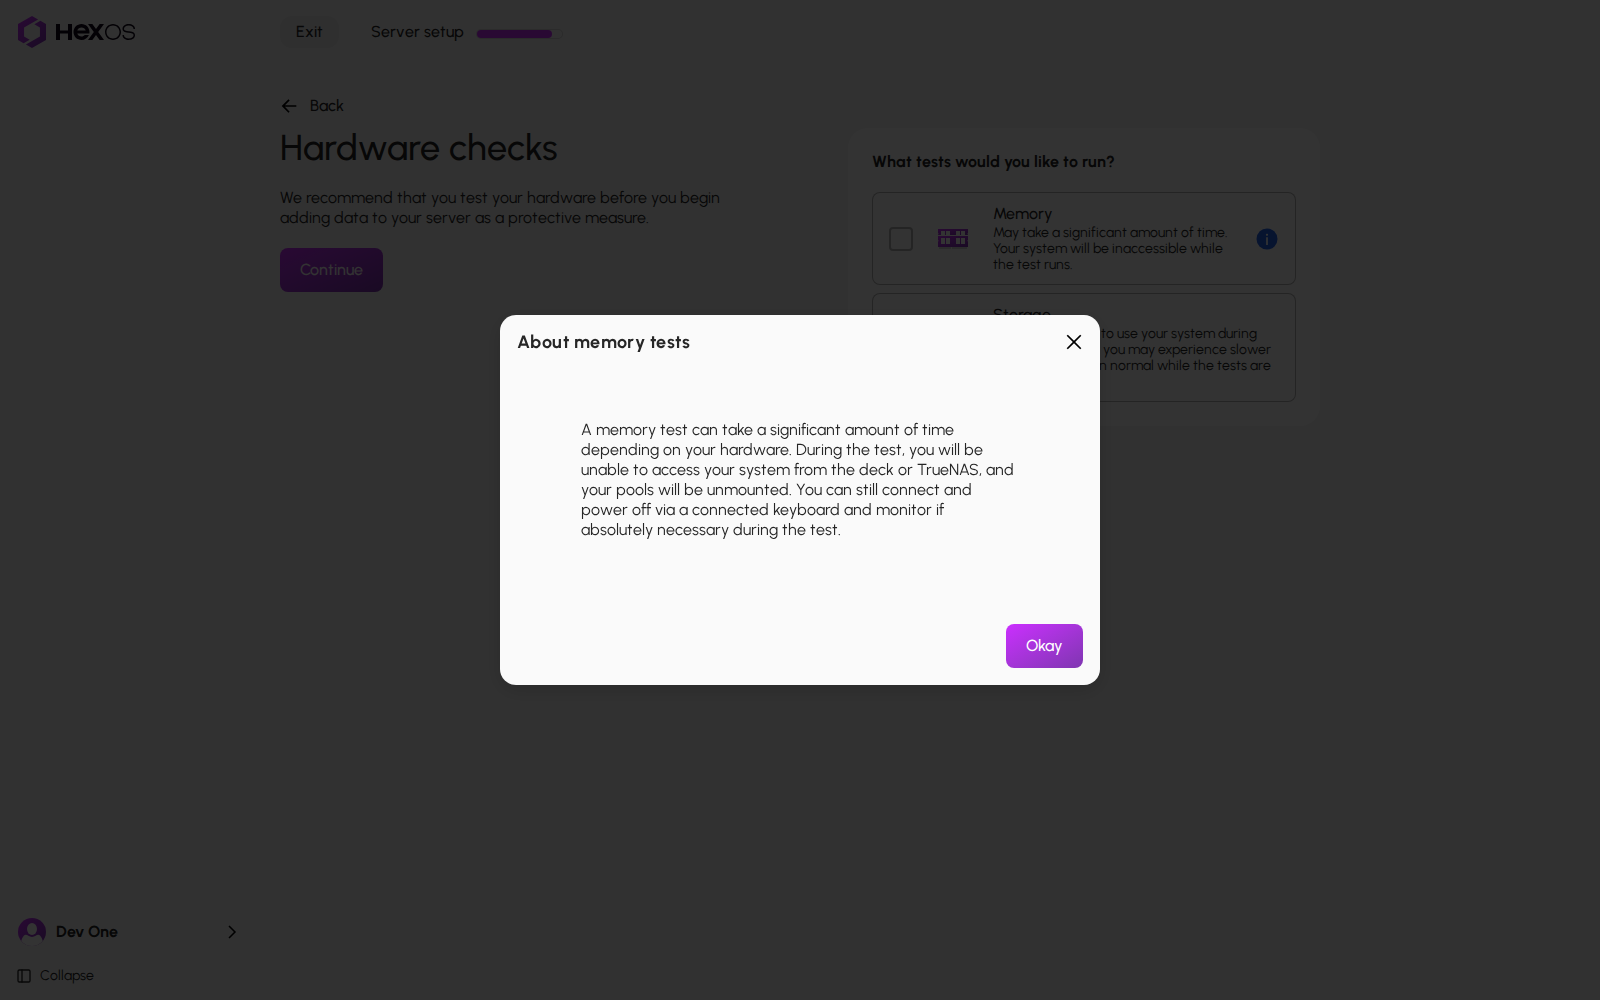
Click the info button beside Memory to read About memory tests, then click Okay. Opening the info dialog does not tick Memory.
About memory tests
Click Continue when you have made your choices. Tests are recommended; leaving both boxes unticked does not lock your storage.
¶ Finish setup
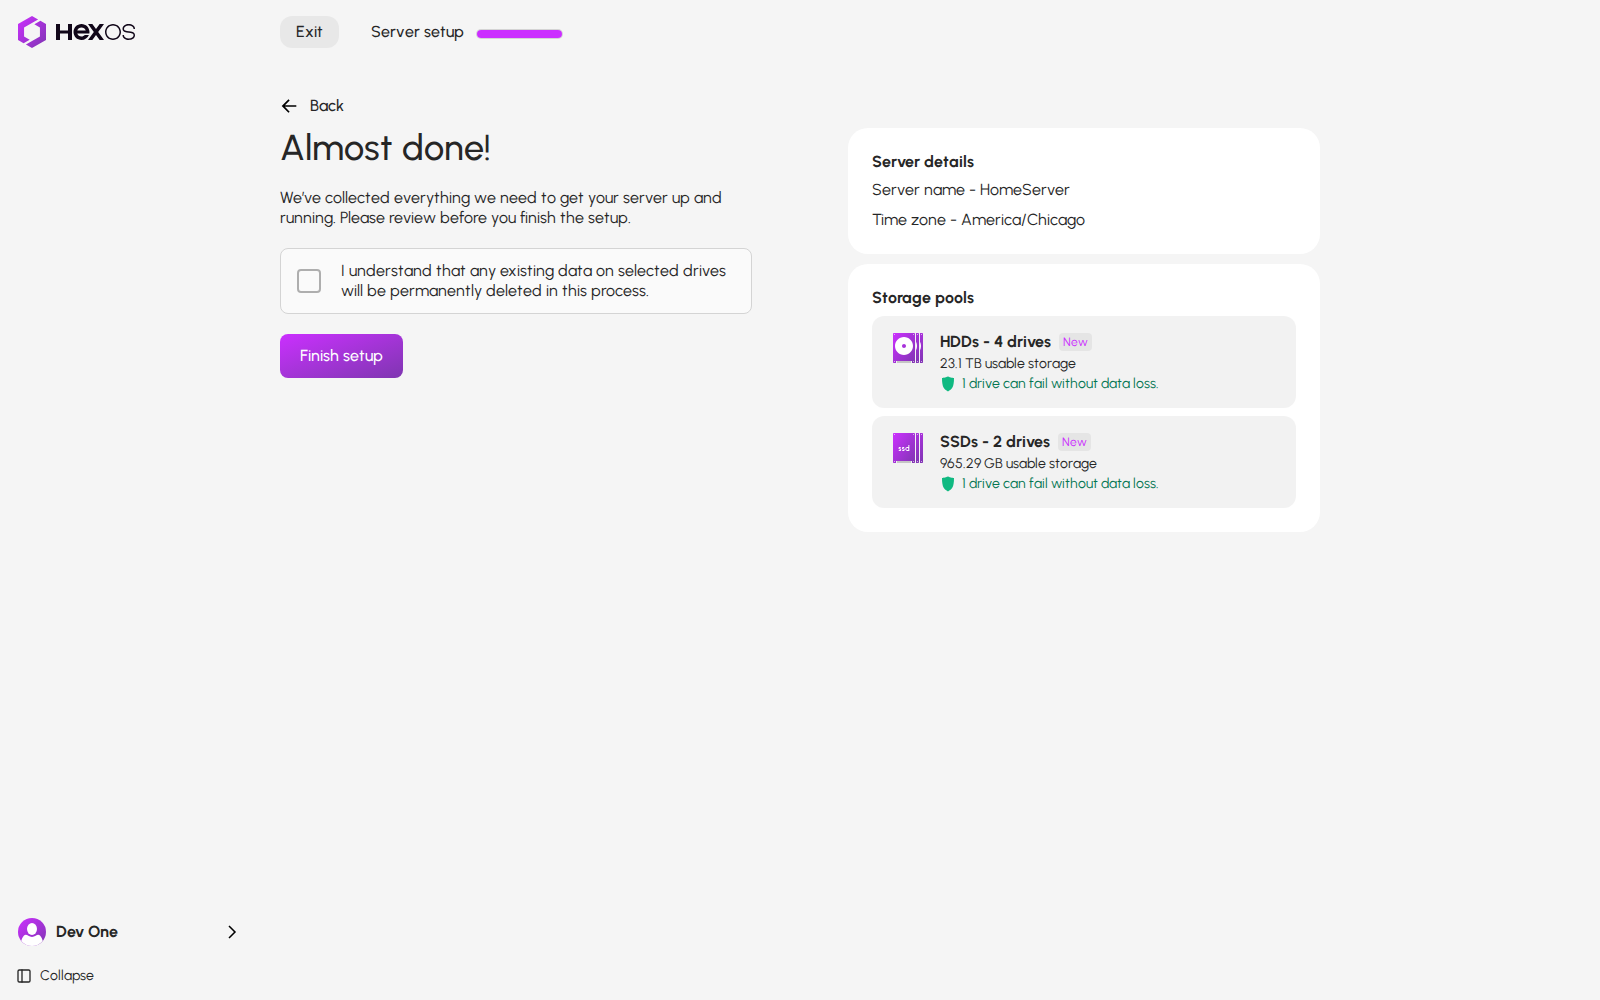
The Almost done! screen is your last look. It lists the server's name and time zone. Each pool has its own card with a drive icon, usable space, protection and a New or Imported badge. Pools you kept on the same server also use Imported.
Almost done
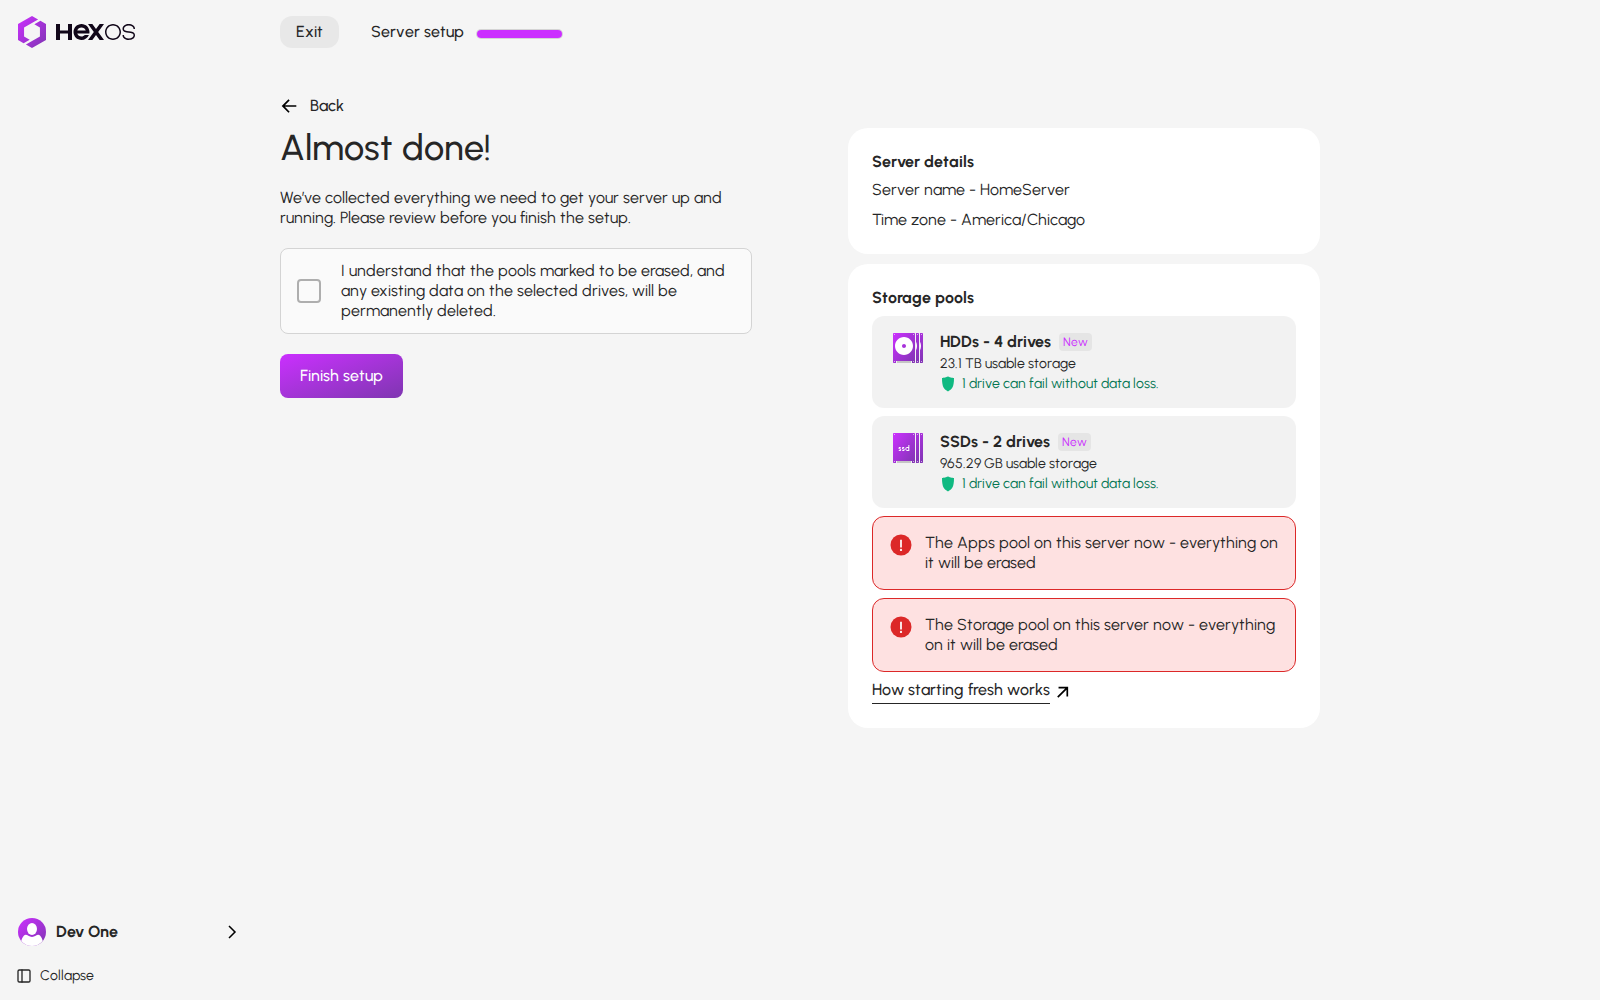
If a new pool uses drives from a pool already on this server, Almost done! marks that pool, for example The Storage pool on this server now - everything on it will be erased. The box to tick then says so too. How starting fresh works opens How starting fresh works.
Almost done with pools to be erased
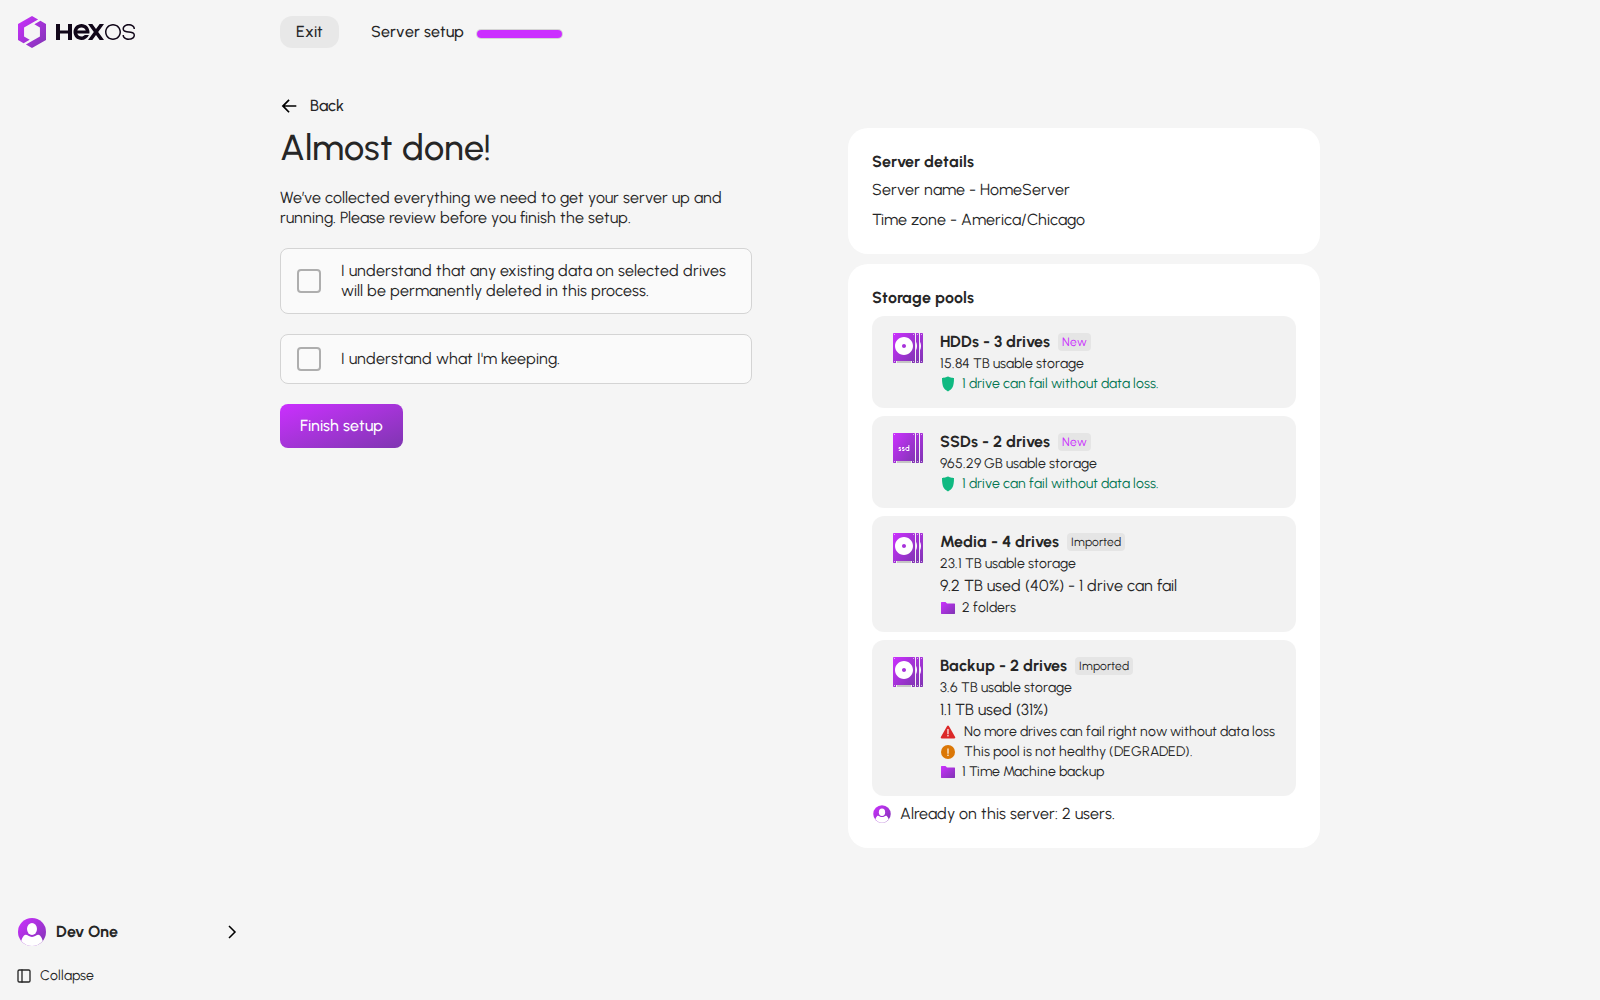
Each pool you kept shows its used space, how many drives can fail, and its own folders, Time Machine backups and apps when that pool holds them. A pool that needs a look has another line, for example This pool is not healthy (DEGRADED). A separate Already on this server line counts users and virtual machines that stay. Contents on a pool that will be erased are not counted as kept.
When you keep anything, a pool or anything already on the server, a second box asks you to confirm it: I understand what I'm keeping. It is separate from the erase box, and you tick both. If what you keep changes before you finish, the box is cleared and asked again. It also shows when something on the server could not be read. When nothing is kept and everything was read, there is no second box.
Almost done with pools you keep
Danger: When you click Finish setup, the drives in the new pools are erased, and so are the pools marked to be erased. Make sure nothing on them is still needed.
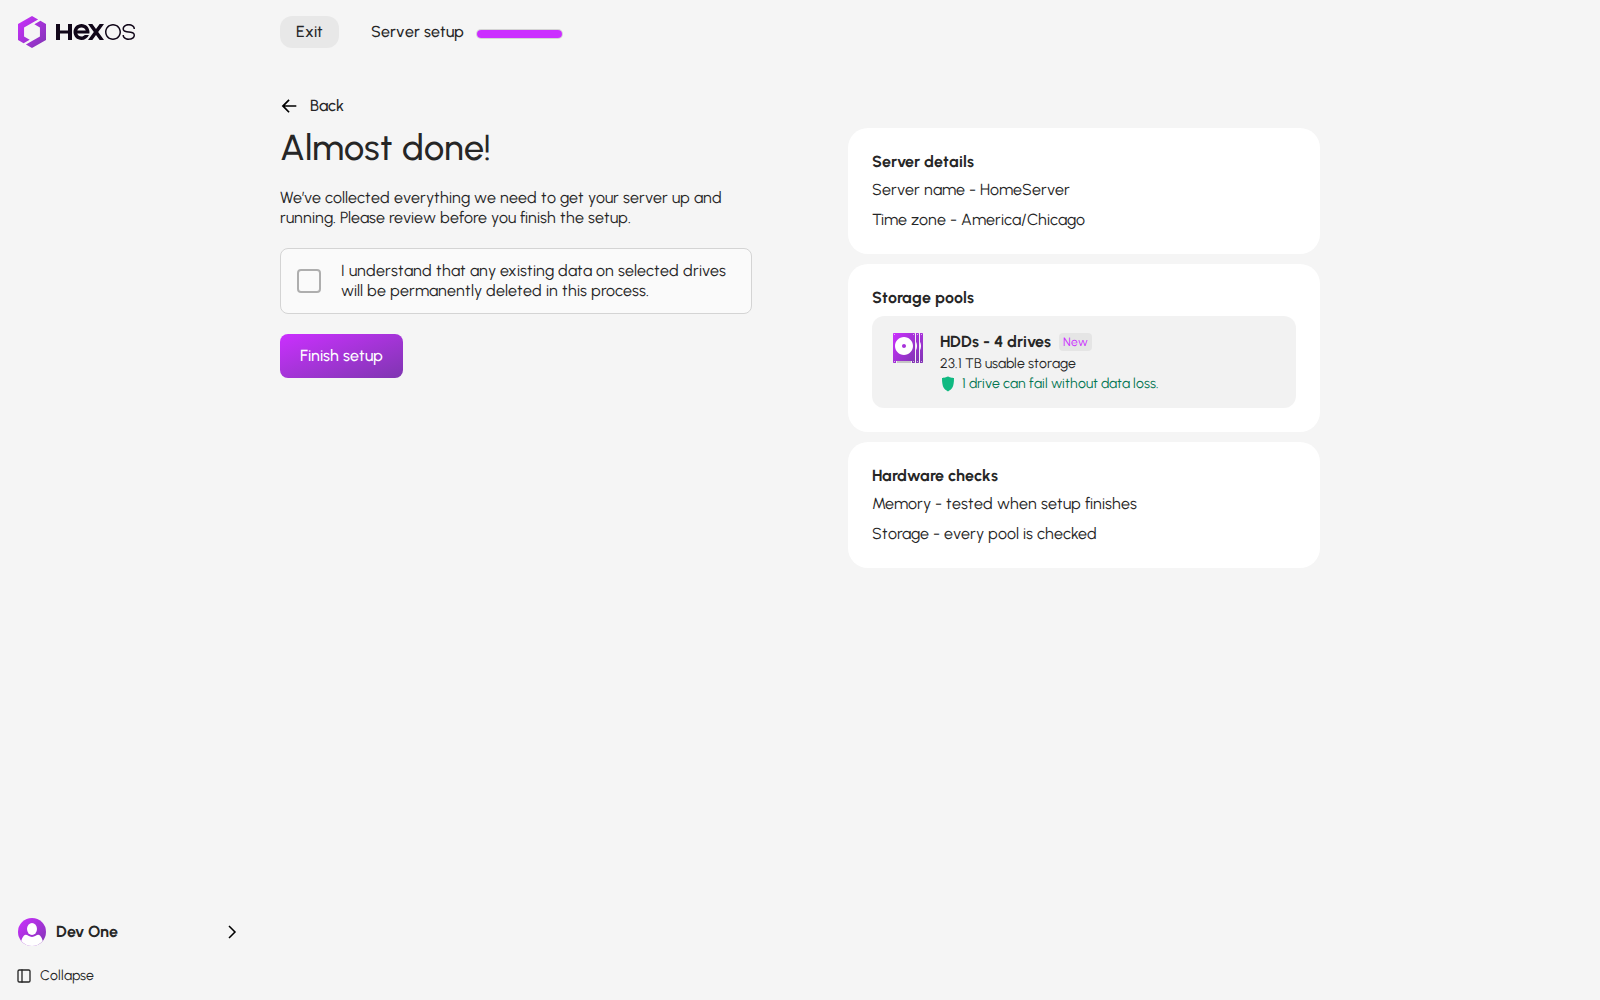
If you chose tests, a Hardware checks card lists them: Memory - tested when setup finishes and Storage - every pool is checked.
Almost done with hardware checks
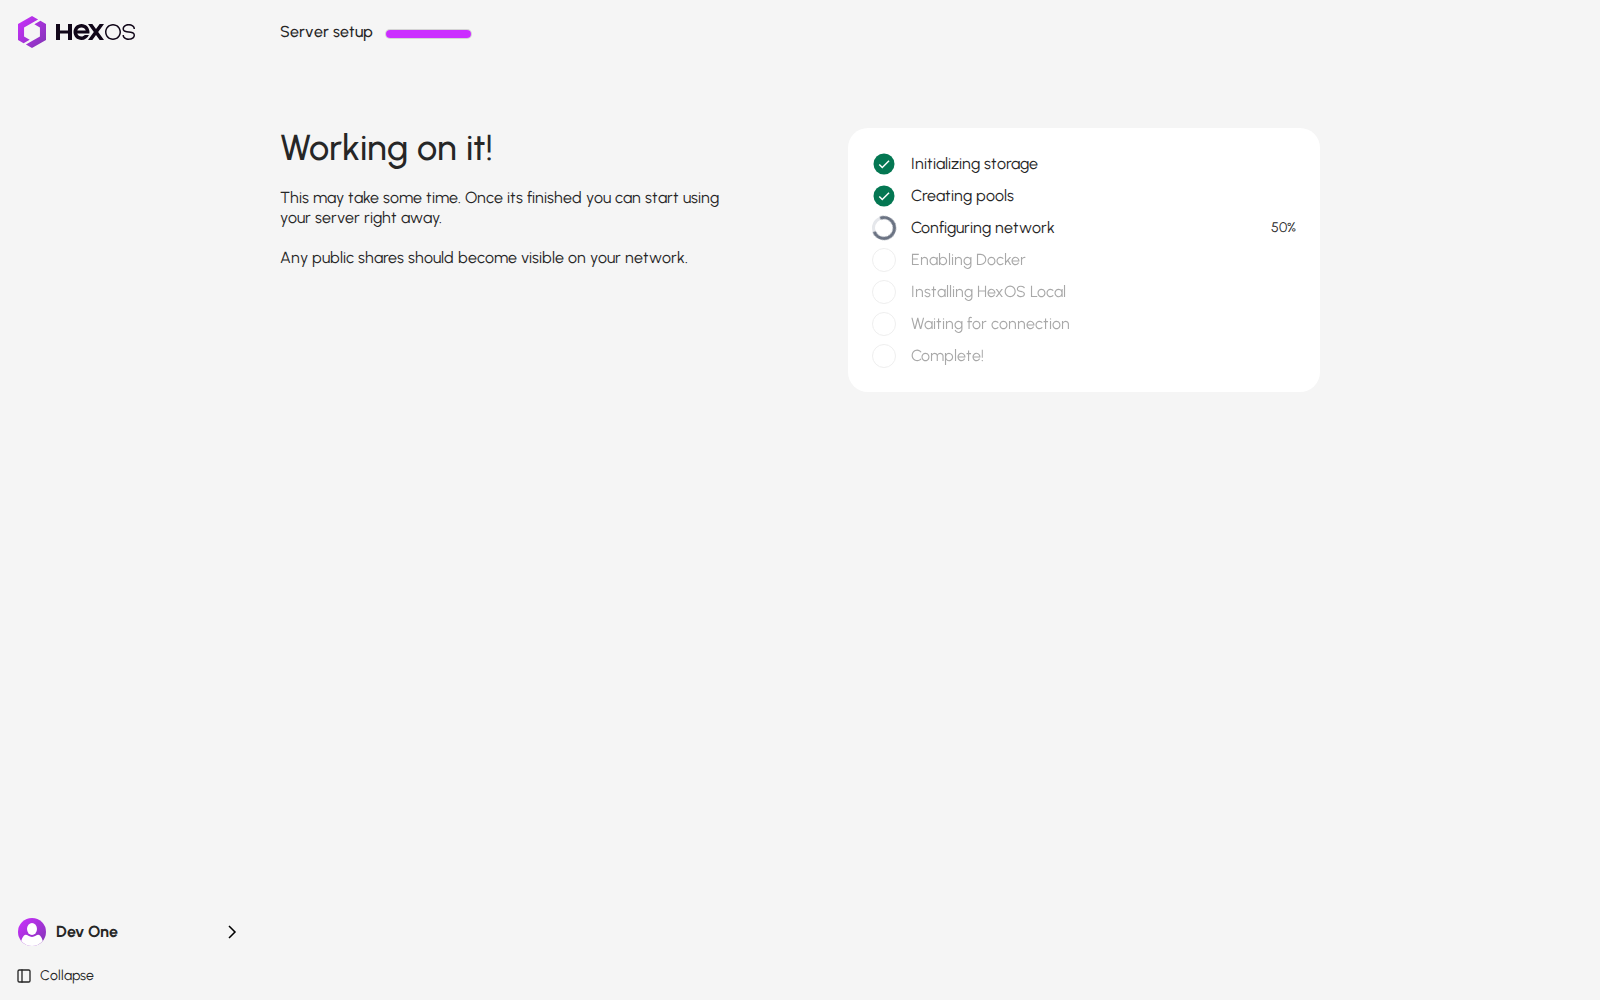
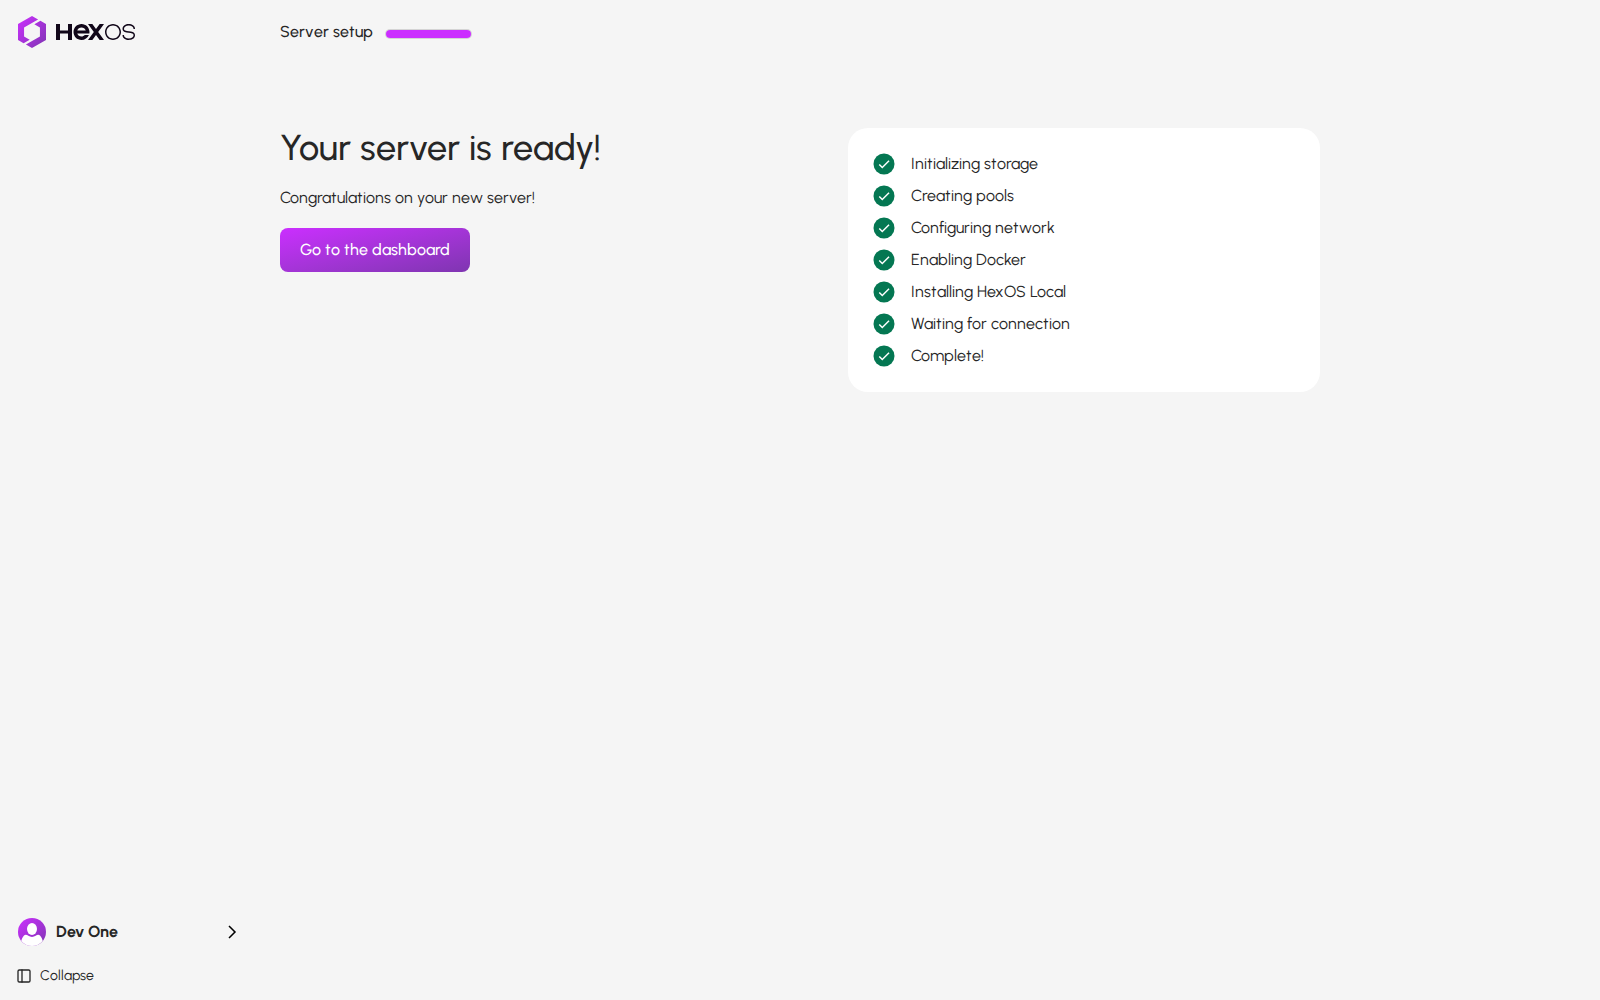
Tick any consent boxes shown, then click Finish setup. Finish setup waits until the pools on the server have been read. Each step gets a check mark as it finishes. If you did not choose Memory, click Go to the dashboard when setup is done.
Working on it
Your server is ready
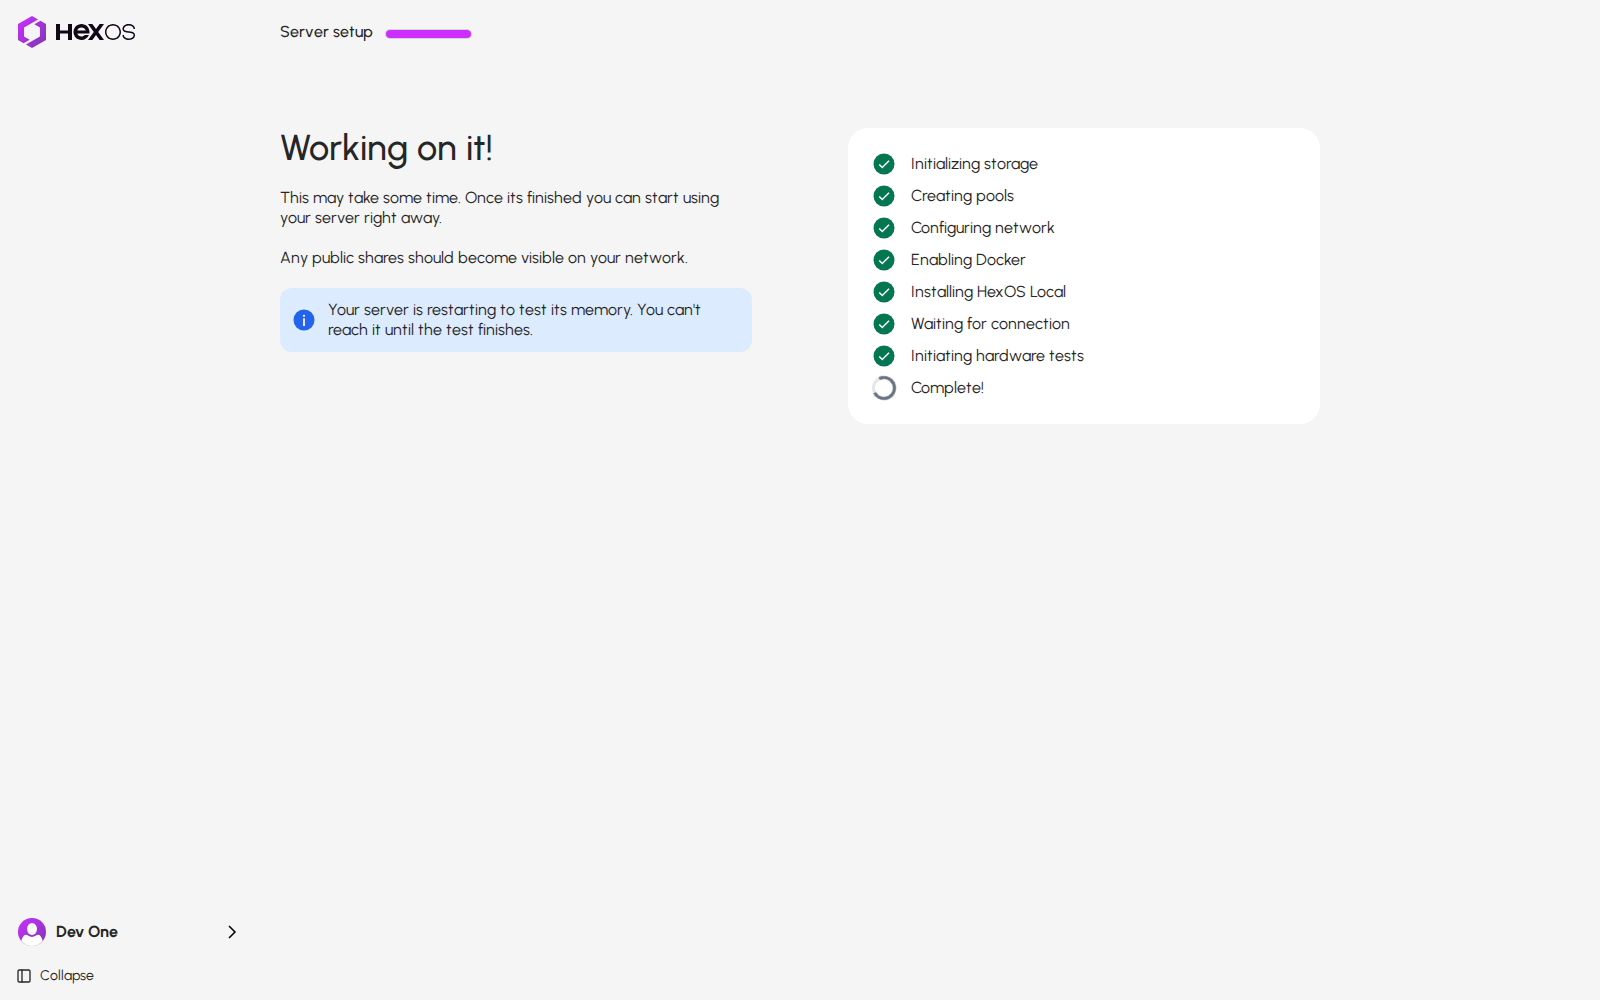
If you chose Memory, Working on it! warns that the server will restart. When the test starts, it says the server is restarting and cannot be reached until the test finishes. If you chose Storage too, the last step says Initiating hardware tests, and the drive checks wait until the server returns.
The server restarting for its memory test
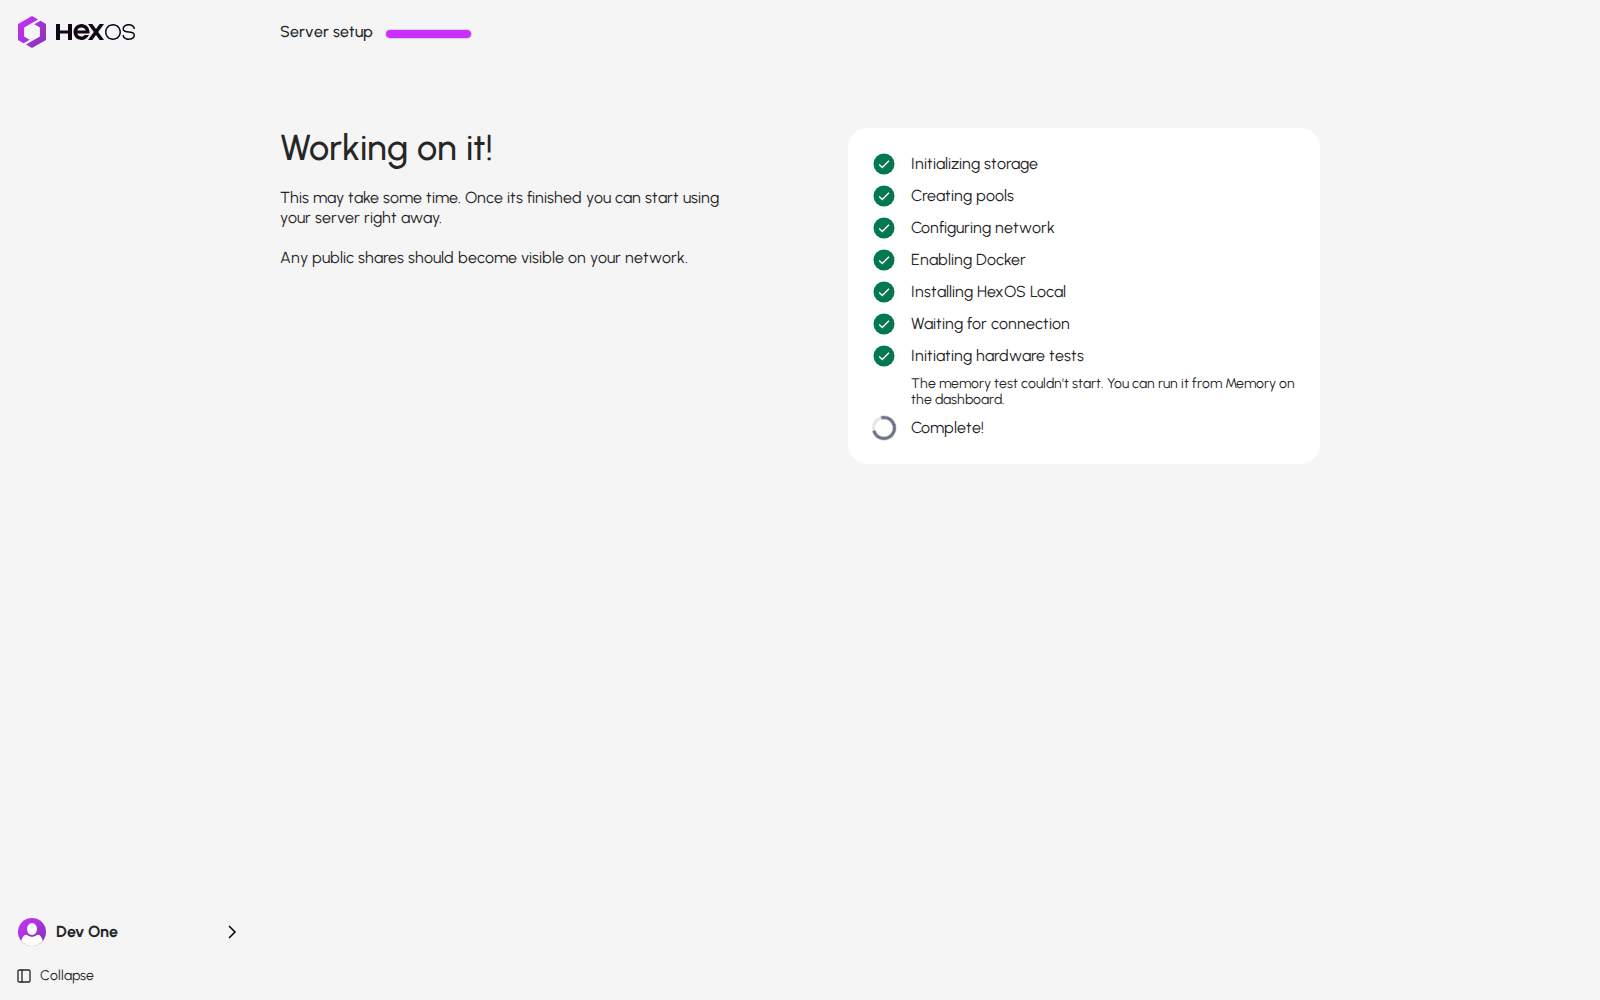
If the memory test cannot start, setup still finishes. The step says The memory test couldn't start. You can run it from Memory on the dashboard.
The memory test could not start
Info: If a drive for a new pool is unplugged or swapped after you saw the summary, setup stops before it changes anything and asks you to check the plan again.
¶ After setup
Hardware checks are recommended and do not lock storage. You can create folders, install apps and create virtual machine disks without passing or skipping them. The server is unavailable while it restarts and runs a memory test. See New server checklist.
If your apps run on a single drive, HexOS can keep a nightly copy of them on a protected pool. See App backups.
Help: Something not working during setup? See Troubleshooting or ask in the HexOS Discord Community.
¶ Show the welcome banner again
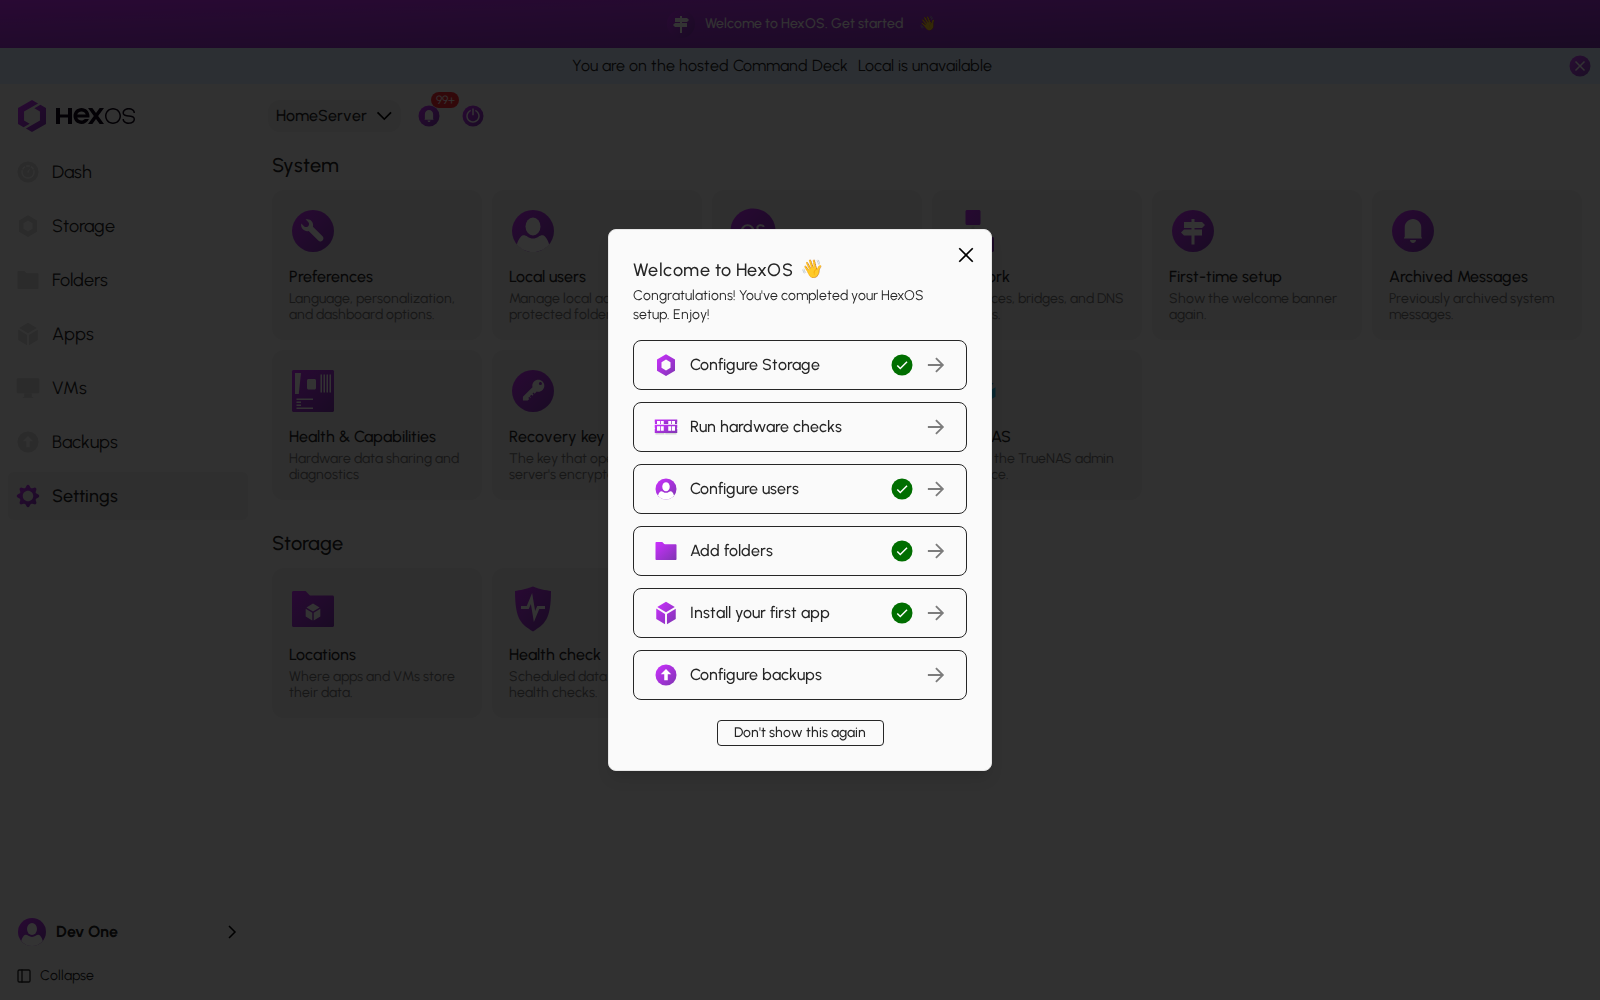
After setup, the welcome offers shortcuts to storage, hardware checks, users, folders and apps. If you dismissed it, you can show it again for the server you have open.
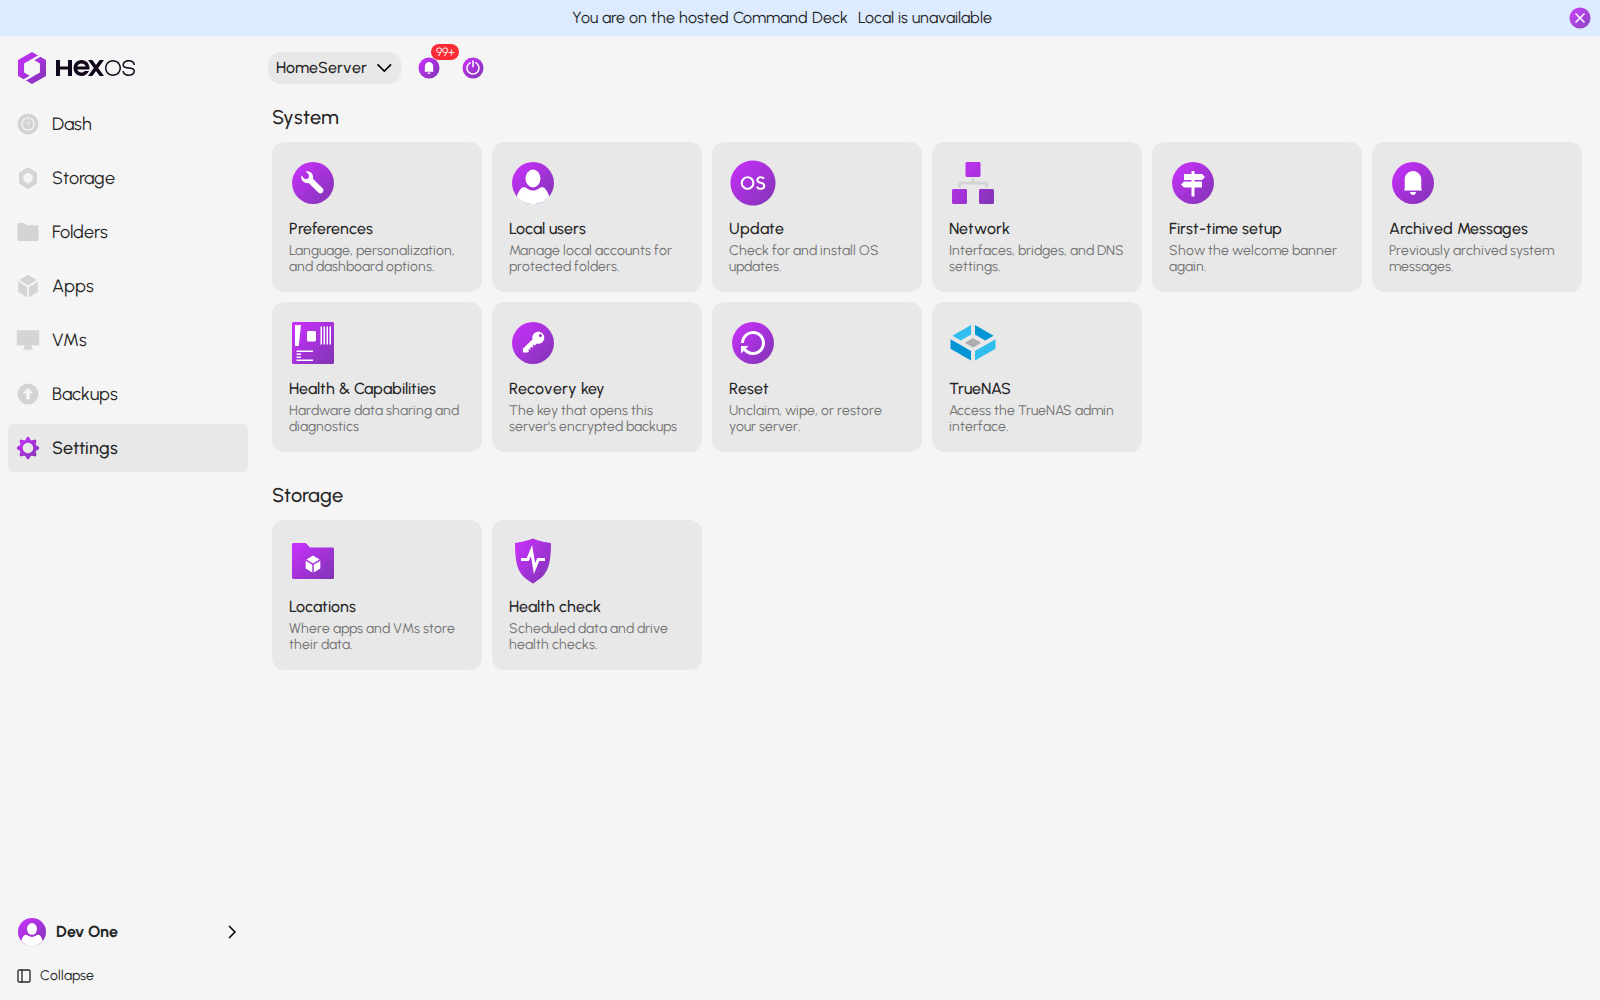
Click Settings, then the First-time setup tile.
First-time setup in Settings
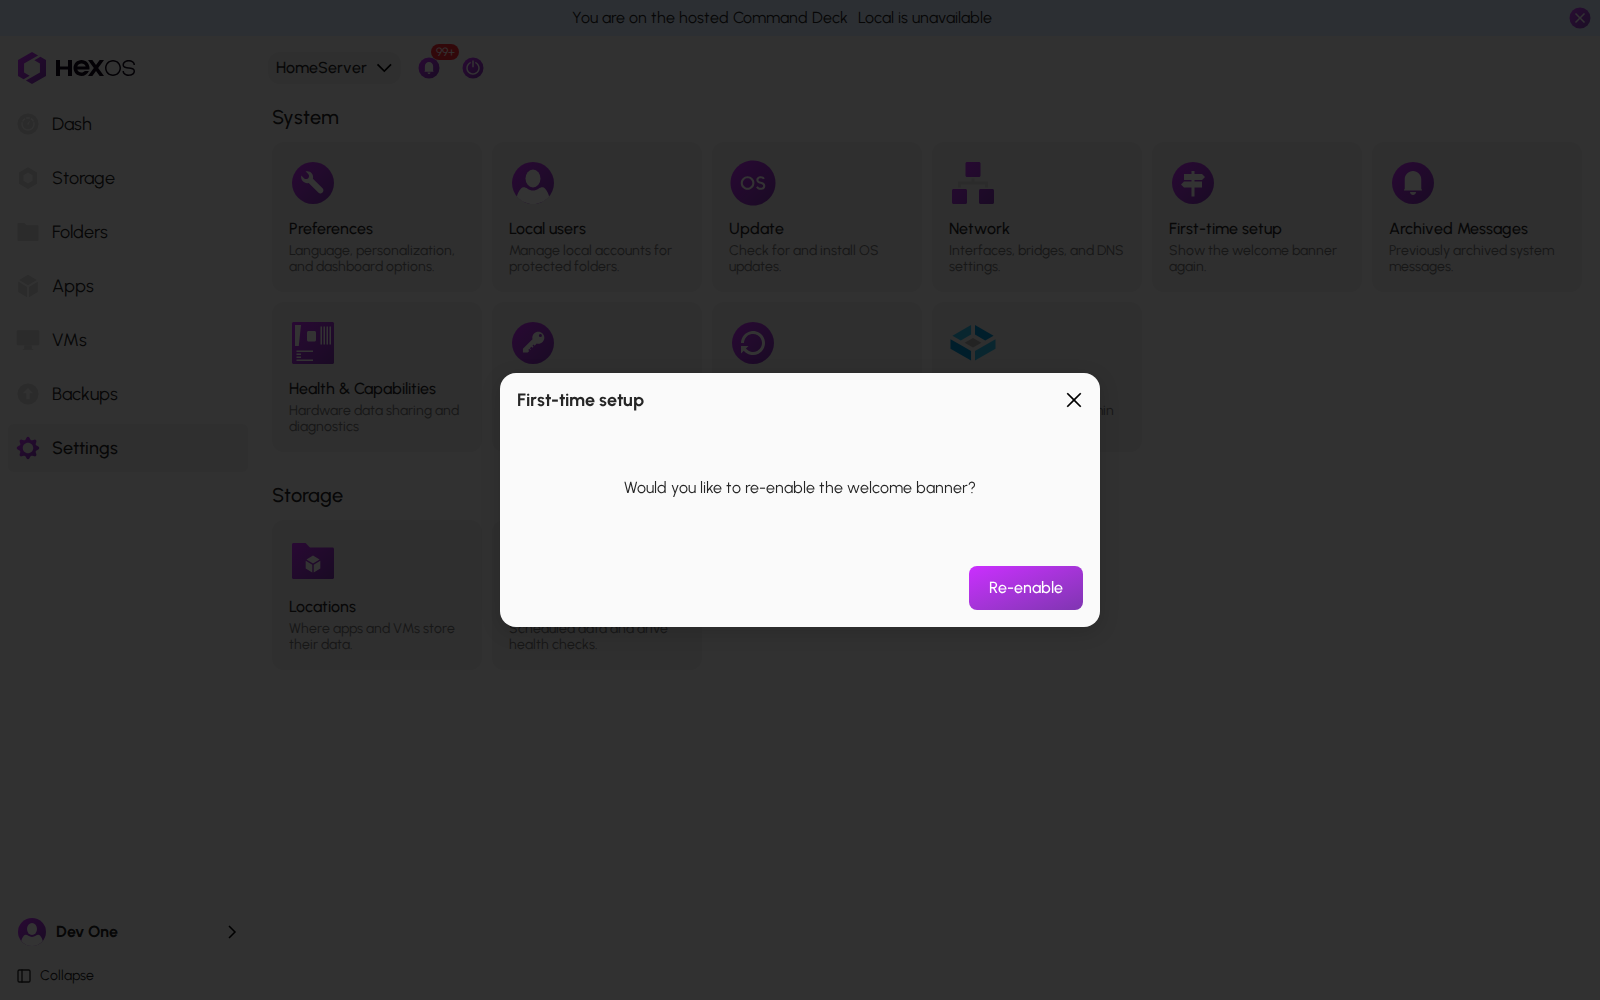
The dialog asks Would you like to re-enable the welcome banner? Click Re-enable.
Re-enable the welcome banner
The welcome opens again. This restores the welcome banner; it does not reset your server or restart server setup.
The welcome reopened