¶ Illustrated Installation Guide
by @Mawson with edits by @gingerling
¶ Before you Begin
You will need:
- To purchase a HexOS license
- Server hardware
- An 8 GB or larger USB drive that can be safely erased
- An ethernet cable to connect your server to your router or network switch
- A display, keyboard and optionally a mouse to connect to your server
- A separate computer to create a bootable USB installer and set up your server after installation
¶ Download the HexOS installer
Start by downloading the HexOS installer. You can download the installer from either link below.
- Official Download Link TrueNAS 25.10.3
- Backup Download Link TrueNAS 25.10.3
- SHA256 Checksum:
e551911445c95c1943e6638091896f34d2d423900cccd688ac09d811e78ed450
- SHA256 Checksum:
- (current as of 4/17/26)
¶ Create Installation USB
The next step is to put the .iso file onto a USB stick with Balena Etcher. The USB will be erased during this process.
- Download Balena Etcher onto your computer
- Install and open Etcher
- Select "Flash from File" and choose your downloaded ISO
- Select your target USB drive
- Click 'Flash!'
Important: Do not use Rufus to create the installation USB - Stick with Balena Etcher.
¶ Installation Process
- Insert the USB into your server and power it on
¶ Getting to the Boot Screen
If you do not see the boot screen (shown in the next section) right away the following are common issues
¶ Boot device order
Your server might be trying to boot from a different drive, for example an old windows install on one of the hard drives.
To fix this first enter the BIOS - usually this is done by pressing F1, F2, F10, F12 or DEL while the machine is turning on.
Then in the BIOS change the order of boot drives so your USB ISO is at the top. Then save/restart.
¶ Disabling Secure Boot
If you see an error message about a “security policy violation” after booting, this is caused by Secure Boot
For instructions on how to disable secure boot search '[your motherboard model here] disable secure boot'. You can also search for the motherboard user manual, and search within that for 'secure boot'".
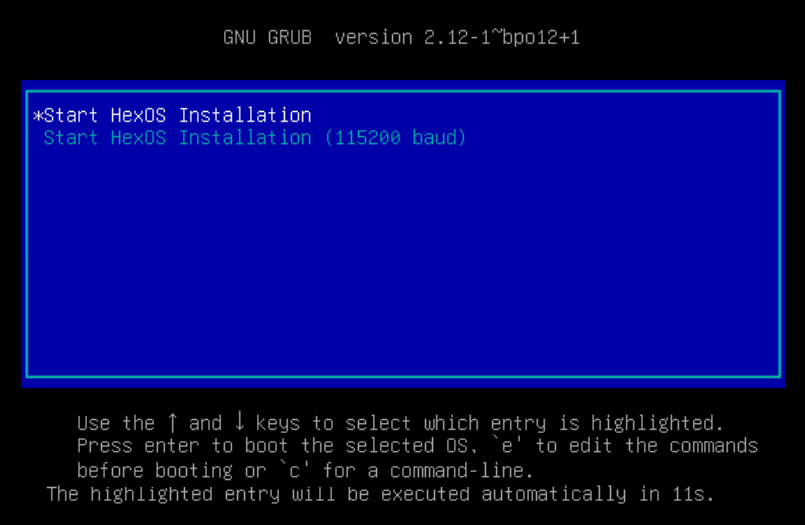
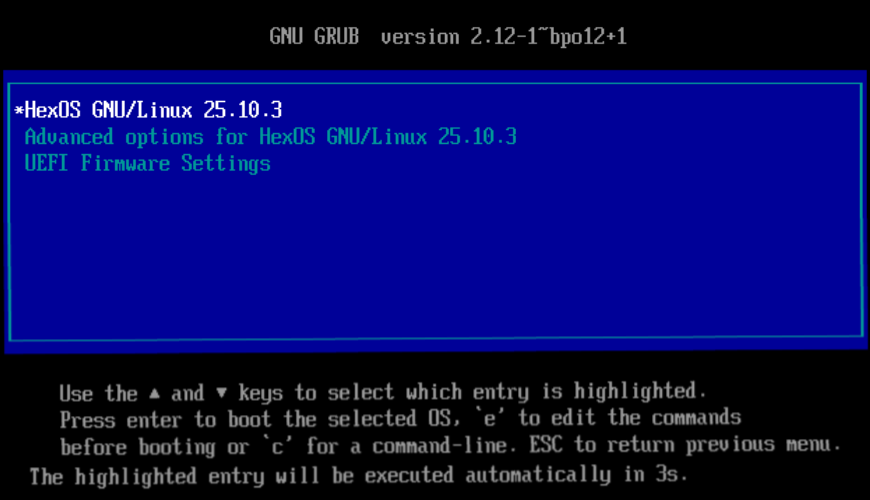
¶ Boot Screen
Once you see this screen, you are ready to boot into HexOS and install it:
- Select "Start HexOS Installation" (default)
- This screen will pass automatically after a moment
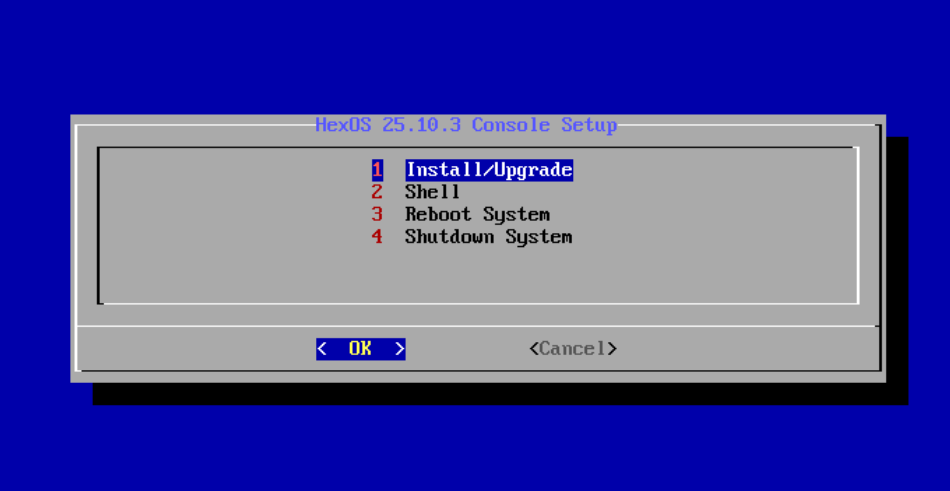
¶ Installation Menu
- Once the system loads, select option 1: "Install/Upgrade"
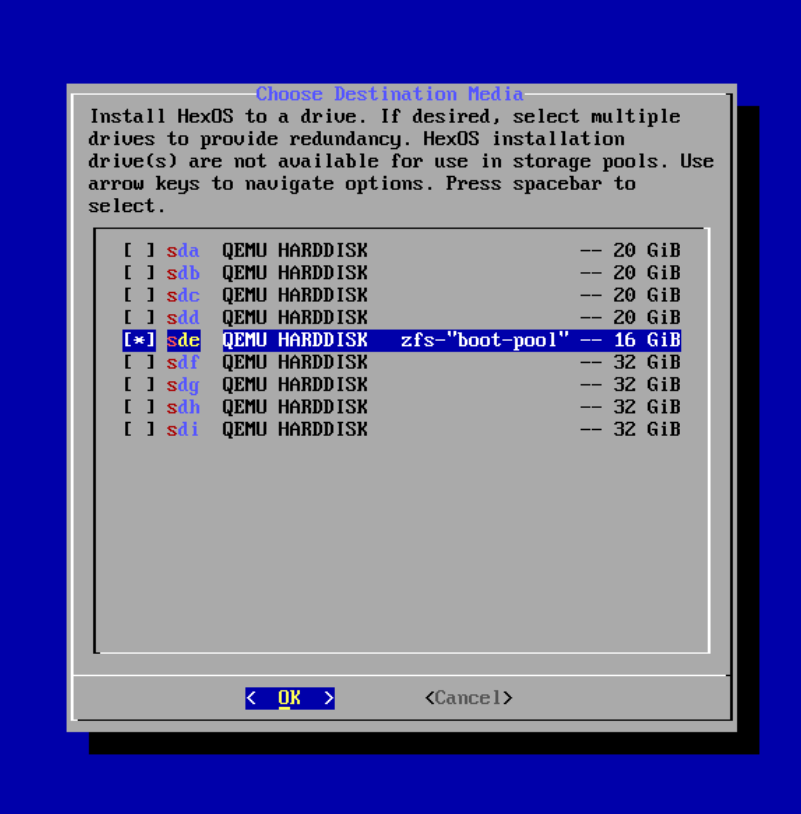
¶ Select Installation Drive
What you see now will depend on how many drives you have in your server. The drive or drives you choose to install HexOS on will not be available to store data on.
- Use arrow keys to navigate, space-bar to select your installation drive or drives
- "[*]" in the first column indicates the device is selected
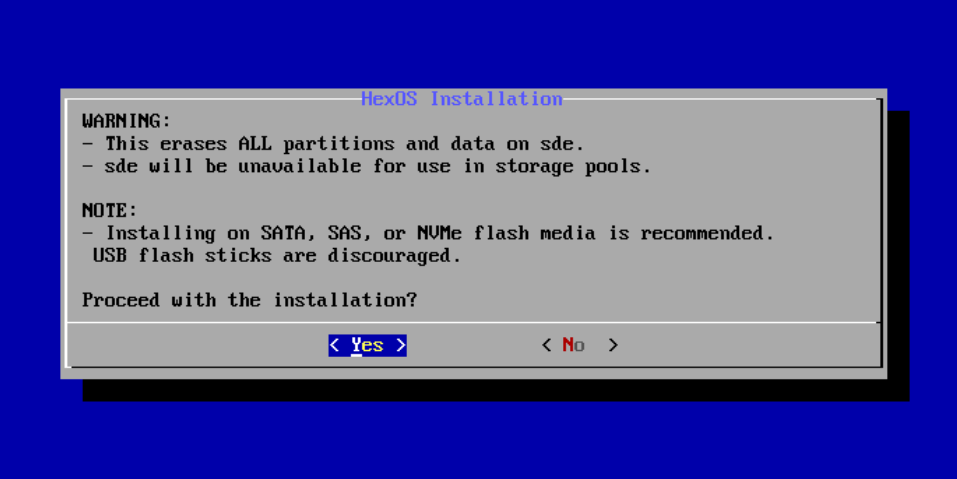
¶ Confirm Drive Erasure
- Confirm you understand the selected drive(s) will be FULLY ERASED
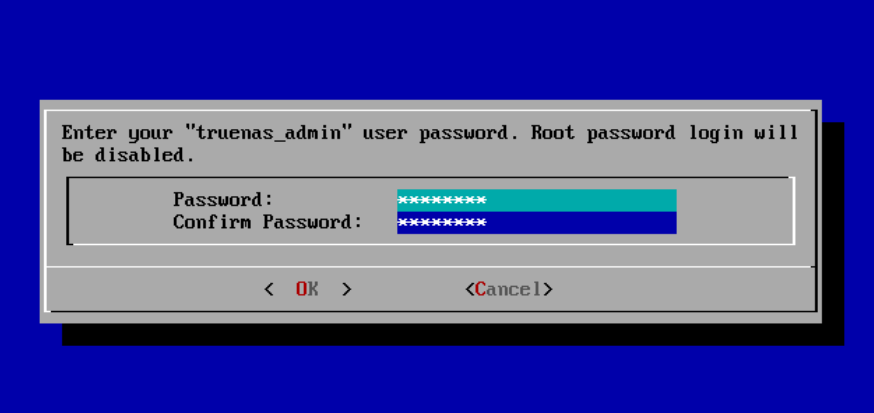
¶ User Account Setup
- Set the root password for the administrative user
truenas_admin - Save this password, you'll need it later
- Non-US keyboard users: Be careful with special characters in the password. The installer uses a US keyboard layout. See details here
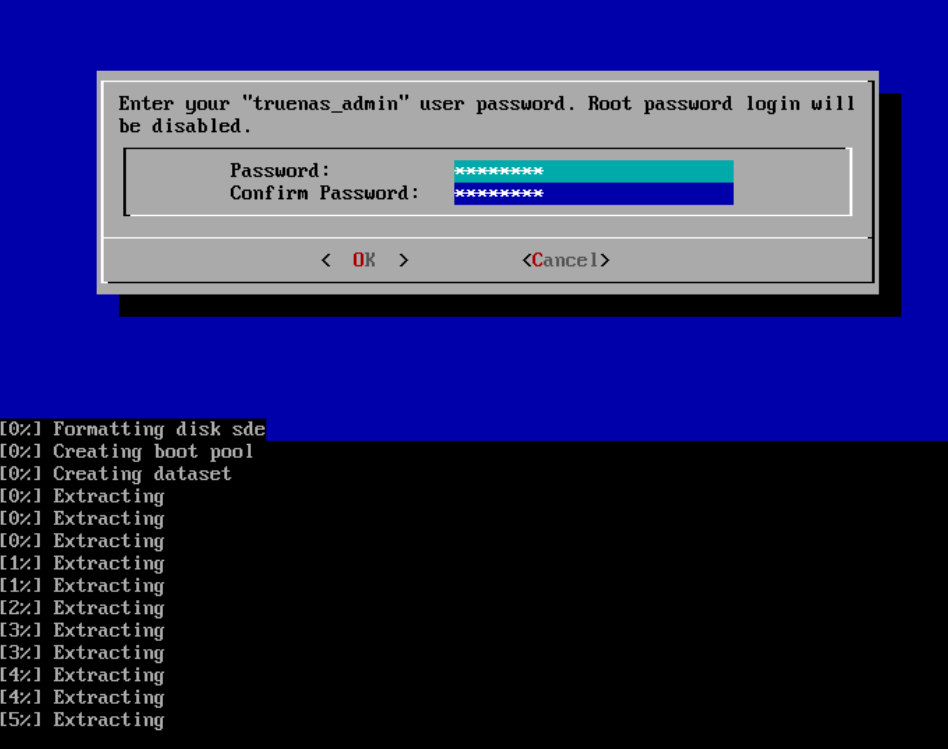
¶ Installation Progress
- The installer will run for a few minutes...
¶ Installation Complete
- Remove the install USB
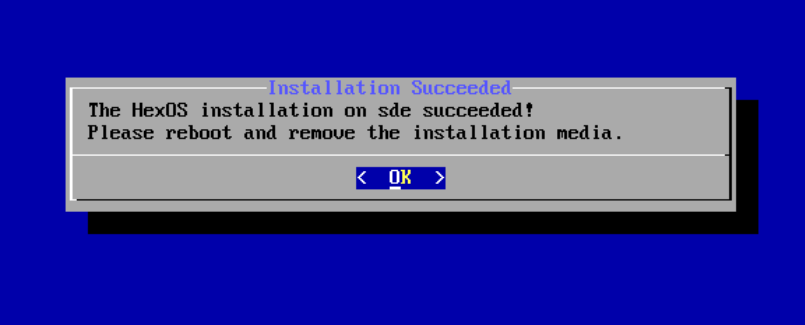
- Restart your Machine
¶ First Boot
¶ Boot Screen
- The boot select screen will appear again - ignore it
- The default option is correct and will auto-select
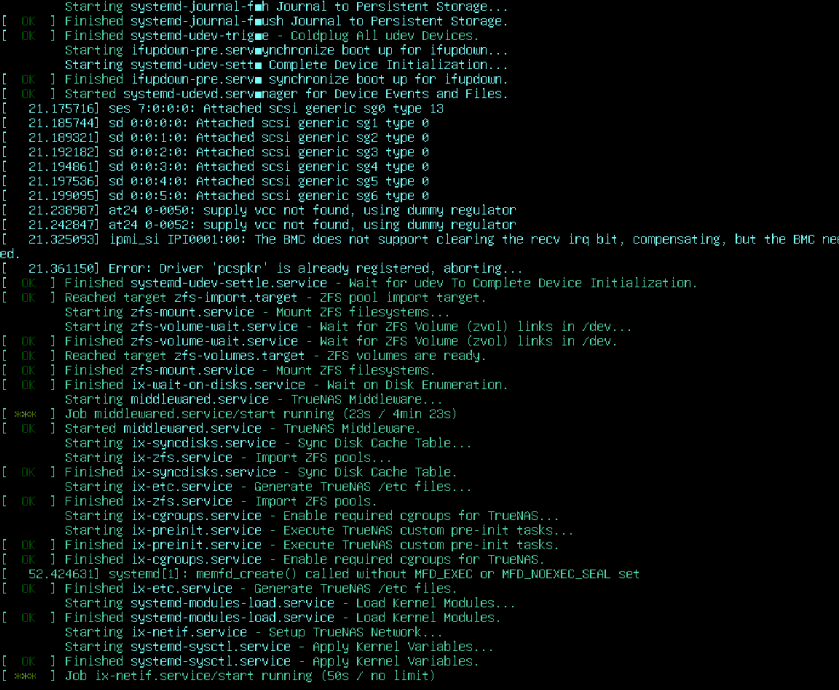
¶ System Startup
- The console will display startup information
- Tip: If boot fails, check that HexOS is at the top in your BIOS boot device order. The instructions are at the top of this guide.
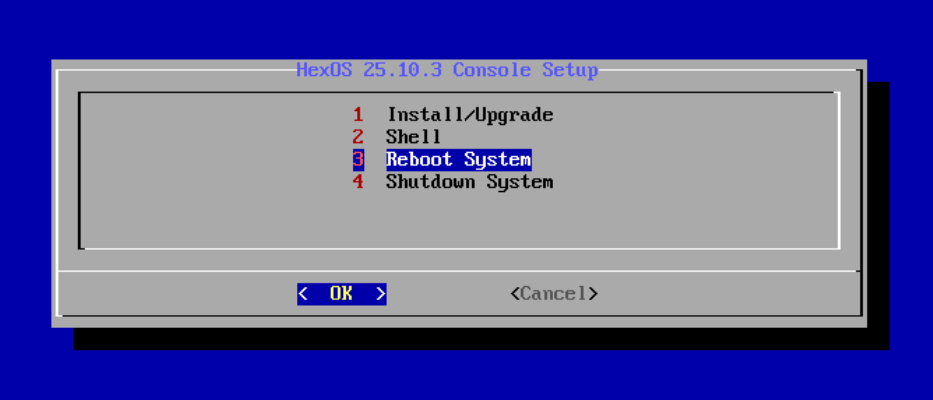
¶ Success!
- The "Console Setup" screen shows when your server has fully booted
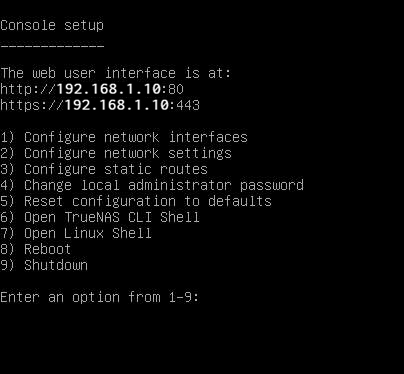
Installation complete!
¶ Next step
- Open a browser window on your laptop and go to https://deck.hexos.com/ to configure your server